
Table of Contents
- Why natural hair masks help hair health
- Choose the right base for your hair type
- Ingredient spotlight: oils, proteins and humectants
- Five easy recipes with variations
- How to mix, apply and time masks safely
- Patch testing, allergy notes and frequency guidelines
- Storing masks and handling leftovers
- Troubleshooting results and when to adjust
- Quick routines: 10 minute versus overnight
- Visual guide and suggested photography shots
- Further resources and references
Why natural hair masks help hair health
In a world of complex ingredient lists and endless product shelves, the simplicity of a DIY hair mask is a breath of fresh air. Creating your own treatments allows you to control exactly what you put on your hair and scalp, eliminating harsh chemicals, sulfates, and silicones that can lead to buildup and dryness. Natural ingredients, straight from your kitchen, are packed with vitamins, antioxidants, and healthy fats that nourish hair from the inside out.
A well-formulated homemade hair treatment can deliver targeted benefits, whether your goal is to add moisture, repair damage, soothe an irritated scalp, or boost shine. By using fresh, active ingredients, you provide your hair with potent nutrients that can strengthen the hair cuticle, improve elasticity, and promote overall hair health. This hands-on approach is not only cost-effective but also empowers you to understand and respond to your hair’s unique needs.
Choose the right base for your hair type
The foundation of any great DIY hair mask is its base. The base ingredient makes up the bulk of the mask and is chosen specifically to address the primary concern of your hair type. Selecting the wrong base can lead to weighed-down fine hair or insufficiently moisturized dry hair. Think of the base as the carrier for other powerful ingredients like oils and extracts.
Best bases for dry and damaged hair
Dry and damaged hair craves moisture and lipids to restore its softness and strength. The best bases are rich, creamy, and packed with healthy fats and nutrients.
- Avocado: Loaded with vitamins B and E and healthy fats, avocado deeply moisturizes and helps smooth the hair cuticle for incredible shine.
- Banana: Rich in potassium and natural oils, banana improves elasticity, preventing split ends and breakage. Ensure it’s blended completely to avoid small chunks in your hair.
- Full-Fat Greek Yogurt: The lactic acid in yogurt gently cleanses the scalp, while its proteins help strengthen hair strands.
- Coconut Cream: The high fat content provides intense hydration, making it perfect for reviving brittle, thirsty hair.
Best bases for oily and fine hair
For oily and fine hair, the goal is to clarify, nourish, and add volume without weighing it down. Lighter, cleansing bases work wonders.
- Aloe Vera Gel: This base is lightweight, hydrating, and soothing for the scalp. Its enzymes can gently strip away excess sebum (oil).
- Bentonite or Rhassoul Clay: These natural clays are excellent for absorbing excess oil and impurities from the scalp and hair, leaving it feeling clean and full of body. Mix with water or apple cider vinegar to a paste-like consistency.
- Egg White: Packed with protein, egg whites can help strengthen fine hair and tighten follicles on the scalp, temporarily controlling oil production.
Options for curly and textured hair
Curly and coily hair types typically need significant moisture and ingredients that provide “slip” to help with detangling. Rich, buttery bases are ideal.
- Mango Butter or Shea Butter: These butters are excellent emollients that seal in moisture, define curl patterns, and reduce frizz. Melt them gently before mixing.
- Pumpkin Purée: A fantastic seasonal option, pumpkin is rich in vitamins A and C, promoting a healthy scalp and soft, hydrated curls.
- Okra Gel (homemade): Boiling okra creates a super-slippery gel that is a dream for detangling and defining textured hair.
Ingredient spotlight: oils, proteins and humectants
Beyond the base, a successful DIY hair mask recipe often includes a balanced mix of oils, proteins, and humectants. Understanding their roles helps you customize your mask perfectly.
| Component Type | Function | Examples |
|---|---|---|
| Oils (Emollients) | Seal and lock in moisture, smooth the hair cuticle, add shine, and reduce friction between strands. | Olive oil, coconut oil, argan oil, jojoba oil, grapeseed oil. |
| Proteins | Temporarily fill in gaps in the hair cuticle, strengthening the hair shaft and improving its structure. Crucial for repairing damaged or chemically treated hair. | Egg, Greek yogurt, gelatin, rice water. |
| Humectants | Attract moisture from the atmosphere and draw it into the hair shaft, providing deep hydration. | Honey, agave nectar, vegetable glycerin, aloe vera. |
A balanced DIY hair mask might contain a moisturizing base, an oil to seal, and a humectant to hydrate. Be cautious with protein; too much can make hair feel brittle, a condition known as “protein overload.”
Five easy recipes with variations
Here are three simple, effective recipes to get you started. Feel free to swap ingredients based on what you have and your hair’s needs. These recipes are your starting point for creating the perfect DIY hair mask at home.
Shine boost: avocado and honey variation
This mask is a moisture bomb for dull, dry hair, leaving it feeling silky and looking incredibly glossy.
- Ingredients: 1/2 ripe avocado, 1 tablespoon honey, 1 tablespoon olive oil.
- Instructions: Blend all ingredients until completely smooth. A blender works best to eliminate lumps.
- Why it works: The healthy fats from the avocado smooth the hair cuticle, while the honey acts as a natural humectant to draw in moisture. Olive oil seals it all in for lasting shine.
- Seasonal Swap: In summer, you can swap olive oil for a lighter oil like almond or grapeseed oil.
Repair focus: yogurt and argan oil variation
Perfect for hair that feels weak, brittle, or has been damaged by heat or color treatments.
- Ingredients: 2 tablespoons plain Greek yogurt, 1 teaspoon argan oil, 1 egg yolk.
- Instructions: Whisk the egg yolk first, then mix in the yogurt and argan oil until you have a smooth, creamy consistency.
- Why it works: The yogurt and egg yolk provide a powerful dose of protein to fortify weakened strands. Argan oil is rich in Vitamin E and antioxidants, nourishing the hair without feeling heavy. For more tips on maintaining healthy hair, you can explore resources like Rich Hair UK.
Scalp care: aloe and tea tree variation
If you’re dealing with an itchy, flaky, or oily scalp, this clarifying and soothing DIY hair mask can help restore balance.
- Ingredients: 3 tablespoons pure aloe vera gel, 2-3 drops of tea tree essential oil, 1 teaspoon jojoba oil.
- Instructions: Combine all ingredients in a bowl and mix thoroughly.
- Why it works: Aloe vera soothes inflammation and hydrates the scalp. Tea tree oil has natural antifungal and antibacterial properties that help combat dandruff. Jojoba oil closely mimics the scalp’s natural sebum, moisturizing without clogging pores.
How to mix, apply and time masks safely
Getting the most out of your DIY hair mask is all in the application technique.
- Preparation: Always start with clean, damp hair. Towel-dry your hair so it’s not dripping wet, which would dilute the mask.
- Mixing: For the smoothest consistency, especially with ingredients like banana or avocado, use a small blender or immersion blender. This prevents leaving food chunks in your hair.
- Application: Section your hair into 4-6 parts. Using your fingers or a dye brush, apply the mask generously from roots to ends, or focus on the areas that need it most (e.g., just the ends for dryness, or just the scalp for oiliness).
- Waiting: Once your hair is fully saturated, pile it on top of your head and cover it with a shower cap or plastic wrap. The heat trapped inside helps the ingredients penetrate the hair shaft more effectively. Leave the mask on for 20-30 minutes.
- Rinsing: Rinse thoroughly with lukewarm water. You may need to shampoo lightly to remove all residue, especially with oil-heavy masks. Always follow with a conditioner to seal the cuticle.
Patch testing, allergy notes and frequency guidelines
Safety should always be a priority when you create a DIY hair mask. Just because an ingredient is natural doesn’t mean it can’t cause a reaction.
- Patch Test: Before applying a new mask to your entire head, perform a patch test. Apply a small amount of the mixture to the skin behind your ear or on your inner elbow. Wait 24 hours to check for any signs of redness, itching, or irritation.
- Allergy Awareness: Be mindful of any food allergies. If you are allergic to nuts, avoid using almond oil. If you have a dairy allergy, steer clear of yogurt-based masks.
- Frequency: For most hair types, using a deep conditioning DIY hair mask once a week is sufficient. Overly porous or damaged hair might benefit from twice-weekly treatments, while oily hair may only need one every two weeks. Listen to your hair.
Storing masks and handling leftovers
The beauty of a DIY hair mask lies in its freshness. These masks are made with natural, perishable food items and do not contain preservatives. Therefore, it is always best to make a fresh batch for each use.
If you do have leftovers, you can store them in an airtight container in the refrigerator for a maximum of 48 hours. Be aware that the mask may separate or oxidize (like an avocado turning brown). Discard it immediately if it smells off or shows any signs of mold. Never store homemade masks at room temperature.
Troubleshooting results and when to adjust
Sometimes your first attempt at a DIY hair mask might not yield the perfect result. Don’t be discouraged! It’s a learning process. Here are some common issues and how to fix them for your next treatment in 2026 and beyond.
- Hair feels greasy or weighed down: You may have used an oil that was too heavy for your hair type, or you didn’t rinse thoroughly enough. Next time, try a lighter oil (like jojoba or grapeseed), use less of it, or apply the mask only from the mid-lengths to ends. A light shampoo after rinsing can also help.
- Hair feels dry or straw-like: This is often a sign of protein overload. If your mask was heavy on egg or yogurt, your hair may not have needed that much protein. Next time, focus purely on moisture with ingredients like avocado, banana, and honey.
- You see no noticeable difference: Consistency is key. It may take a few treatments to see significant results. Alternatively, your hair might need a different combination of ingredients. Experiment with another recipe tailored to your hair type.
Quick routines: 10 minute versus overnight
You don’t always need a full 30-minute session to reap the benefits of a DIY hair mask.
The 10-Minute Pre-Shampoo Boost: When you’re short on time, a quick mask can make a big difference. Apply a simple, lightweight mask (like aloe vera and a few drops of jojoba oil) to dry hair before you hop in the shower. Let it sit for 10 minutes, then shampoo and condition as usual. This protects your strands from the stripping effects of shampoo.
The Overnight Deep Treatment: For intensely damaged or dry hair, an overnight mask can be transformative. Apply a simple, non-drippy mask (like pure coconut oil or shea butter) to the ends of your hair, braid it loosely, and cover with a silk scarf or cap to protect your bedding. Wash it out thoroughly in the morning. Avoid using protein-based masks overnight, as prolonged exposure can make hair brittle.
Visual guide and suggested photography shots
Documenting your DIY hair mask journey can be fun and help you track your progress. Even without images here, you can imagine the perfect shots to capture for your own records or to share online.
- The Ingredient Flat Lay: Arrange your fresh, colorful ingredients like a whole avocado, a glistening bowl of honey, and a sprig of rosemary on a clean background. This shot is all about the natural beauty of the components.
- The Mixing Bowl Shot: A top-down view into the bowl or blender, showing the vibrant, creamy texture of your freshly mixed mask. Swirl it with a spoon to add visual interest.
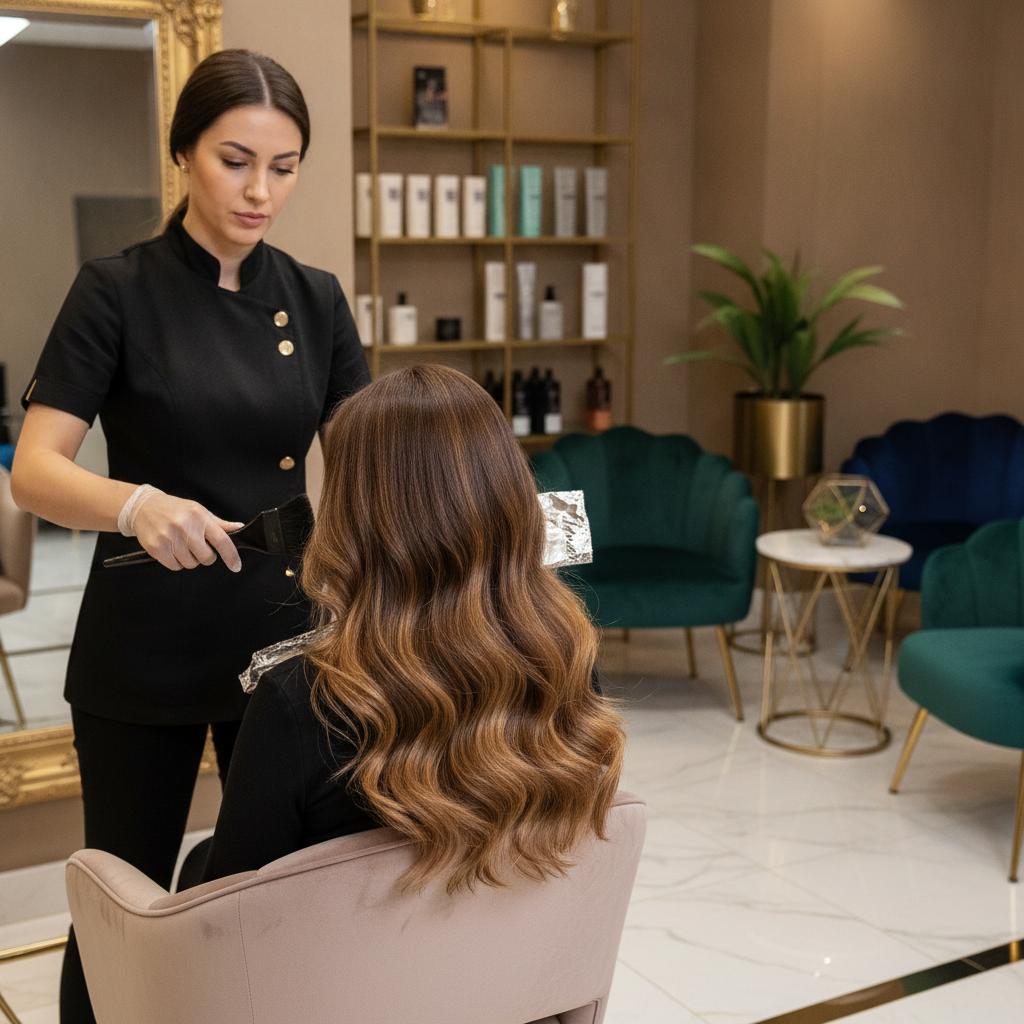
- The Application in Action: A candid shot of you (or a friend) applying the mask to a section of hair. This shows the process and the mask’s texture on the hair itself.
- The “Before and After”: The most impactful shot. Take a photo of your hair in the same lighting before the mask, and then another after you’ve rinsed, dried, and styled it. This visual comparison truly showcases the results of your hard work.
Further resources and references
Embarking on your DIY hair mask adventure is a rewarding step toward healthier, happier hair. Remember to have fun with it, listen to what your hair needs, and don’t be afraid to experiment with different natural ingredients. The journey is one of discovery, and your kitchen holds a wealth of potential treatments waiting to be unlocked.
The science of how specific nutrients impact hair health is a continually developing field. For those interested in delving deeper into the clinical evidence behind the benefits of vitamins and minerals for hair, academic databases are an excellent resource. You can find a vast collection of studies and articles in the National Library of Medicine’s archive of hair nutrition research. By combining hands-on creativity with scientific understanding, you can perfect your own hair care ritual.