Table of Contents
- Quick overview – what a DIY hair mask can realistically do
- Who benefits and when to use at-home masks
- Safety first – patch tests, allergies and frequency
- Pantry ingredients and why they work
- Ingredients to avoid and allergy red flags
- Choosing a mask by hair type
- Five original step-by-step recipes with timing and swaps
- How to apply masks for best results (technique and timing)
- Rinse methods and follow-up routine
- Storage, shelf life and hygiene tips
- Simple troubleshooting (residue, greasiness, stiffness)
- Myths and what the evidence actually shows
- Quick weekly routine pairing masks with basic care
- Further resources and reading
Quick overview – what a DIY hair mask can realistically do
Welcome to the world of at-home hair care! A DIY hair mask is a treatment you create using natural ingredients, often found right in your kitchen pantry. Think of it as a super-powered conditioner that can provide a temporary boost of moisture, shine, and softness to your hair. These masks are fantastic for managing frizz, detangling, and improving your hair’s overall look and feel.
However, it’s important to have realistic expectations. A DIY hair mask cannot permanently repair split ends (only a trim can do that), reverse severe chemical damage, or change your hair’s fundamental structure. What it can do is deeply condition, nourish the hair cuticle, and make your hair more manageable and vibrant. It’s an empowering, budget-friendly way to pamper your hair with ingredients you trust.
Who benefits and when to use at-home masks
Almost everyone can benefit from incorporating a natural, at-home hair mask into their routine. They are particularly useful for:
- Individuals with dry or brittle hair: A moisturizing DIY hair mask can replenish lost hydration and improve elasticity.
- Eco-conscious consumers: Making your own mask reduces packaging waste and gives you full control over the ingredients, ensuring they are natural and sustainable.
- Those with sensitive scalps: By choosing gentle, known ingredients, you can avoid common irritants found in some commercial products.
- People on a budget: Pantry staples are often far more affordable than high-end salon treatments.
- Curly and coily hair types: These hair types are often prone to dryness and can benefit immensely from the deep hydration provided by a regular DIY hair mask treatment.
The best time to use a mask is when your hair feels like it needs a reset—perhaps it’s feeling dull, dry, tangled, or just a bit lackluster. A weekly treatment is a great starting point for most hair types.
Safety first – patch tests, allergies and frequency
Before you mix your first concoction, safety is paramount. Just because an ingredient is natural doesn’t mean it’s right for everyone. Always prioritize your well-being with these simple steps.
The Patch Test: A patch test is non-negotiable, especially when using a new ingredient. It helps you check for skin irritation or allergic reactions before applying the mixture all over your scalp and hair.
- Mix a small amount of your planned DIY hair mask.
- Apply a dab to a discreet area of skin, like behind your ear or on your inner elbow.
- Wait 24 hours. If you experience any redness, itching, swelling, or irritation, do not use the mask.
Allergies: Be mindful of your known food allergies. If you are allergic to eggs, nuts, or dairy, do not put them in your hair mask. The proteins that cause reactions can still be absorbed through your skin.
Frequency: More is not always better. For most hair types, using a DIY hair mask once a week is sufficient. Over-masking, especially with protein-heavy recipes, can lead to stiff, brittle hair—a condition known as protein overload.
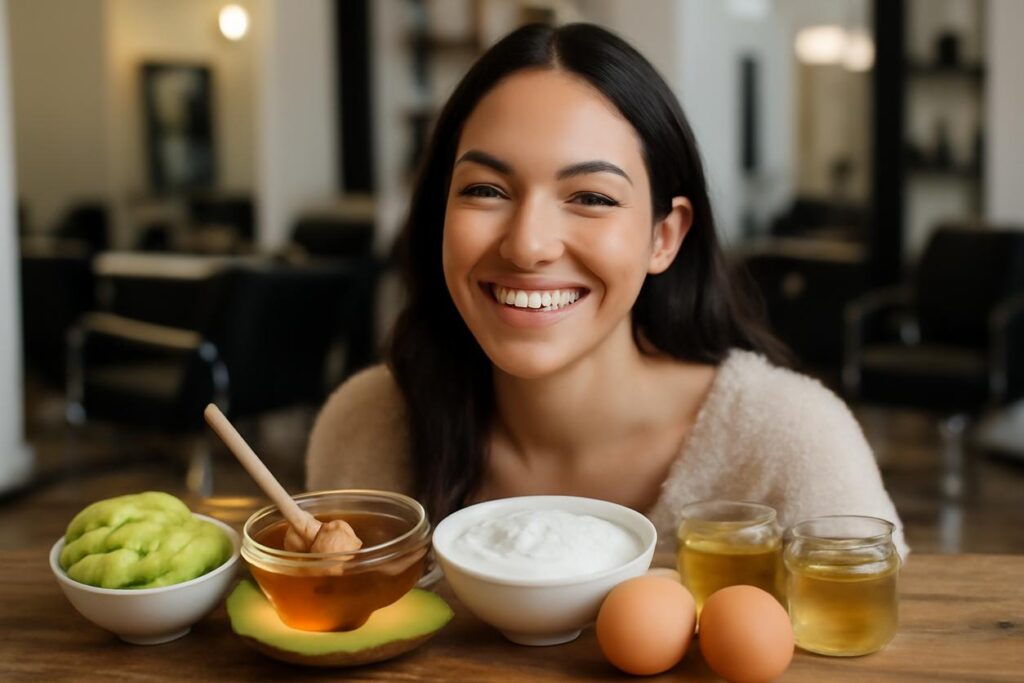
Pantry ingredients and why they work
The magic of a great DIY hair mask lies in understanding what each ingredient does. Your kitchen is full of powerful, hair-loving components that fall into a few key categories.
Carrier oils and their best uses (coconut, olive, jojoba)
Oils are the foundation of most moisturizing masks. They lubricate the hair shaft, reduce friction, and seal in moisture. Some oils can even penetrate the hair cuticle to nourish it from within. Research available through sources like the National Institutes of Health suggests that the molecular structure of certain oils, like coconut oil, allows for deeper penetration.
| Oil Type | Best For | Key Property |
|---|---|---|
| Coconut Oil | Dry, damaged, or protein-deficient hair | Penetrates the hair shaft to reduce protein loss. Can be heavy for fine hair. |
| Olive Oil | Dry, thick, or coarse hair | An excellent emollient that smooths the cuticle and adds shine. |
| Jojoba Oil | Oily, fine, or sensitive scalps | Its structure is very similar to human sebum, making it lightweight and balancing. |
Protein sources (egg, yogurt) and when to prefer them
Hair is primarily made of a protein called keratin. Protein treatments help temporarily patch gaps in the cuticle, adding strength and structure to limp or damaged hair. Use them when your hair feels overly soft, mushy, or lacks elasticity.
- Egg: The yolk is rich in fats and vitamins for moisture, while the white is packed with protein. Use the whole egg for normal hair, just the yolk for dry hair, and just the white for oily hair.
- Yogurt: A great source of protein and lactic acid. Lactic acid is a gentle exfoliant that can help cleanse the scalp and dissolve dead skin cells, while the protein strengthens hair strands.
Humectants and sealants (honey, glycerin, oils)
A successful moisturizing treatment relies on a two-step process: attracting moisture and then locking it in.
- Humectants: These ingredients pull moisture from the air into your hair. Honey is a natural humectant that also has antibacterial properties. Glycerin and aloe vera gel are other excellent choices.
- Sealants: These are typically oils (like the ones mentioned above) that create a barrier on the hair shaft, preventing the moisture drawn in by humectants from escaping.
Combining a humectant with a sealant in your DIY hair mask is a powerful strategy for long-lasting hydration.
Ingredients to avoid and allergy red flags
Not everything in the kitchen belongs on your hair. Some ingredients can be too harsh, disrupt your scalp’s pH, or cause unforeseen damage.
- Raw Lemon or Lime Juice: While often touted for shine, pure citrus juices are highly acidic and can be drying. When exposed to the sun, they can also lighten hair unpredictably and cause skin irritation (phytophotodermatitis).
- Baking Soda: This is extremely alkaline and can strip your hair of its natural oils, leaving it dry, brittle, and prone to breakage.
- Vinegar (undiluted): Similar to citrus, pure vinegar is too acidic. If you use apple cider vinegar, always dilute it heavily with water (e.g., one part vinegar to four parts water) for a final rinse, not as a leave-in mask ingredient.
- Allergy Red Flags: Be extra cautious with potent ingredients. Nut oils (almond, argan) can trigger nut allergies. Essential oils should be used sparingly (1-2 drops) and always in a carrier oil, as they can be potent irritants.
Choosing a mask by hair type
The best DIY hair mask is one tailored to your specific hair needs. Here’s how to choose your base ingredients.
Fine and oily hair – lightweight options
The goal is to nourish without weighing hair down. Focus on ingredients that cleanse, strengthen, and provide light hydration.
- Good Choices: Yogurt, aloe vera gel, clay (like bentonite or rhassoul), egg whites, and lightweight oils like jojoba or grapeseed oil.
- Strategy: Apply your mask primarily to the lengths and ends, avoiding the scalp to prevent greasiness.
Dry and damaged hair – deep moisture builders
Your hair is thirsty for rich, emollient ingredients that can replenish moisture and smooth the cuticle.
- Good Choices: Avocado, banana, olive oil, coconut oil, shea butter, honey, and egg yolk.
- Strategy: Focus on combining a rich oil or butter with a powerful humectant to both hydrate and seal.
Curly and coily hair – definition and retention masks
Curls need moisture, slip for detangling, and gentle strengthening to maintain their pattern.
- Good Choices: Aloe vera gel (for slip), avocado, castor oil (for sealing ends), yogurt, and honey.
- Strategy: A great DIY hair mask for curly hair will provide enough lubrication to work through tangles gently while deeply conditioning.
Five original step-by-step recipes with timing and swaps
Here are five simple, effective DIY hair mask recipes you can try starting in 2025. Always use fresh ingredients and mix in a clean, non-metallic bowl.
Moisture booster for dry strands
This mask is a hydration powerhouse for thirsty, brittle hair.
- Ingredients: 1/2 ripe avocado, 1 tablespoon olive oil, 1 tablespoon honey.
- Instructions: Mash the avocado until completely smooth to avoid chunks. Stir in the olive oil and honey until you have a creamy paste.
- Timing: Apply to clean, damp hair, focusing on the ends. Leave on for 20-30 minutes.
- Simple Swaps: No avocado? Use 1/2 a ripe banana. Swap olive oil for almond or avocado oil.
Gentle protein refresh for limp hair
Perfect for when your hair feels weak or overly soft.
- Ingredients: 3 tablespoons plain, full-fat yogurt, 1 egg yolk.
- Instructions: Whisk the yogurt and egg yolk together until well combined and smooth.
- Timing: Apply to damp hair from root to tip. Leave on for 15-20 minutes. Do not let it fully dry and harden.
- Simple Swaps: For a vegan option, skip the egg and blend 3 tablespoons of yogurt with 1 tablespoon of soaked chia seeds or flaxseed gel.
Scalp soothing mask for sensitivity
Calms an itchy, irritated scalp while gently moisturizing hair.
- Ingredients: 1/4 cup colloidal oatmeal (or regular oats blended into a fine powder), 1/2 cup warm water or chamomile tea, 1 tablespoon aloe vera gel.
- Instructions: Mix the oatmeal powder with the warm liquid and let it sit for a few minutes to form a paste. Stir in the aloe vera gel.
- Timing: Apply gently to the scalp and work through the hair. Leave on for 20 minutes.
- Simple Swaps: Add 1-2 drops of tea tree oil for its antifungal properties, but be sure to patch test first.
Clarifying reset for product buildup
Use this mask once a month to remove buildup and restore vibrancy.
- Ingredients: 2 tablespoons bentonite clay, 1 tablespoon apple cider vinegar, 3-4 tablespoons water.
- Instructions: In a non-metallic bowl, mix the clay and vinegar first (it will fizz). Slowly add water until you get a yogurt-like consistency.
- Timing: Apply to damp hair, focusing on the roots and length. Leave on for 10-15 minutes, but do not let it dry completely.
- Simple Swaps: Use rhassoul clay for a gentler, more moisturizing alternative to bentonite.
Overnight shine and hydration treatment
A lightweight mask you can leave in overnight for a silky finish.
- Ingredients: 3 tablespoons aloe vera gel, 1 teaspoon argan oil.
- Instructions: Whisk the aloe vera gel and argan oil together until fully emulsified.
- Timing: Apply a light coating to dry or damp hair, focusing on the ends. Braid or wrap your hair in a silk or satin scarf and leave it on overnight. Rinse or co-wash in the morning.
- Simple Swaps: Jojoba or grapeseed oil can be used instead of argan oil.
How to apply masks for best results (technique and timing)
Proper application ensures every strand gets the benefit of your DIY hair mask.
- Start with clean, damp hair. Shampoo your hair first to remove dirt and product buildup, allowing the mask to penetrate more effectively. Gently towel-dry until it’s damp, not dripping wet.
- Section your hair. Divide your hair into 4-6 manageable sections. This makes it easier to get even coverage.
- Apply from ends to roots. Your ends are the oldest and usually most damaged part of your hair, so they need the most attention. Work the mask into your ends first, then move up the hair shaft. Avoid applying heavy, oily masks directly to your roots if you have an oily scalp.
- Detangle gently. Use your fingers or a wide-tooth comb to distribute the mask evenly and work through any tangles.
- Cover and wait. Tuck your hair into a shower cap or wrap it with a warm towel. The heat helps open the hair cuticle, allowing the ingredients to penetrate more deeply. Follow the timing recommended in the recipe.
Rinse methods and follow-up routine
Rinsing properly is key to avoiding greasy or weighed-down hair.
- Use lukewarm water. Hot water can strip moisture, while cold water may not be effective at removing oily ingredients.
- Rinse thoroughly. This can take longer than a normal shampoo. Gently massage your scalp and squeeze your hair as you rinse to ensure all residue is gone.
- Follow with conditioner (optional). For most masks, especially protein or clay-based ones, following up with a light conditioner can help seal the cuticle and leave hair feeling extra soft. For very rich, oil-based masks, you might skip this step.
- Style as usual. Proceed with your normal leave-in products and styling routine.
Storage, shelf life and hygiene tips
A homemade DIY hair mask is fresh and preservative-free, which means it has a very short shelf life.
- Make fresh, use immediately. The best practice is to make only enough for one application and use it right away.
- Refrigerate for a short time only. If you have leftovers from a mask without raw egg, you can store it in an airtight container in the refrigerator for up to 48 hours.
- Never store egg-based masks. Raw egg is a breeding ground for bacteria like salmonella. Discard any leftovers immediately.
- Use clean utensils. Always mix your mask with clean spoons and bowls to avoid introducing bacteria into the mixture.
Simple troubleshooting (residue, greasiness, stiffness)
Sometimes your DIY hair mask results aren’t what you expected. Here’s how to fix common issues.
- My hair feels greasy or weighed down. This usually means you either used too much oil, didn’t rinse thoroughly enough, or applied a heavy mask too close to your roots. Next time, use less oil and focus the application on your ends. A very light shampoo after rinsing can also help.
- There are bits of food in my hair. This happens when ingredients like avocado or banana aren’t blended smoothly. Always mash or blend these ingredients until they are completely lump-free.
- My hair feels stiff or brittle. You’ve likely experienced protein overload. This means your hair has too much protein and not enough moisture. Counteract this by using a moisturizing mask (without protein) for your next few treatments.
Myths and what the evidence actually shows
The world of natural hair care is full of myths. Let’s separate fact from fiction.
- Myth: A DIY hair mask can repair split ends.Fact: No product can permanently fuse a split end back together. Masks can temporarily smooth the cuticle, making ends look healthier, but the only real solution is a haircut.
- Myth: Mayonnaise is the ultimate hair mask.Fact: Mayonnaise contains eggs, oil, and vinegar—all common mask ingredients. However, the food-grade emulsifiers aren’t designed for hair. You’ll get better, more targeted results by using the individual ingredients separately.
- Myth: You should leave a mask on for as long as possible.Fact: After a certain point (usually 30-60 minutes), your hair has absorbed as much as it can. Leaving a mask on for hours, especially a protein mask, can sometimes do more harm than good (e.g., protein overload or hygral fatigue from excessive moisture). The overnight mask recipe above is an exception because it’s extremely lightweight.
For more on the science of hair, you can explore peer-reviewed articles on databases like PubMed.
Quick weekly routine pairing masks with basic care
Here’s a sample weekly routine for balanced hair care in 2025.
- Sunday: Treatment Day. Start with your chosen DIY hair mask on damp hair. Leave on for 20-30 minutes, then rinse, shampoo, and condition as usual.
- Wednesday: Mid-Week Refresh. Co-wash (wash with conditioner only) or use a gentle shampoo to cleanse without stripping natural oils.
- Daily: Protect. Sleep on a silk or satin pillowcase to reduce friction and apply a tiny amount of lightweight oil to your ends if needed.
Further resources and reading
Empowering yourself with knowledge is the best thing you can do for your hair. For expert tips on hair care and maintenance, blogs like Rich Hair UK offer practical advice. To dig deeper into the science behind how certain ingredients affect hair, scholarly databases such as PubMed and the National Institutes of Health are invaluable resources.