Why homemade hair masks can help
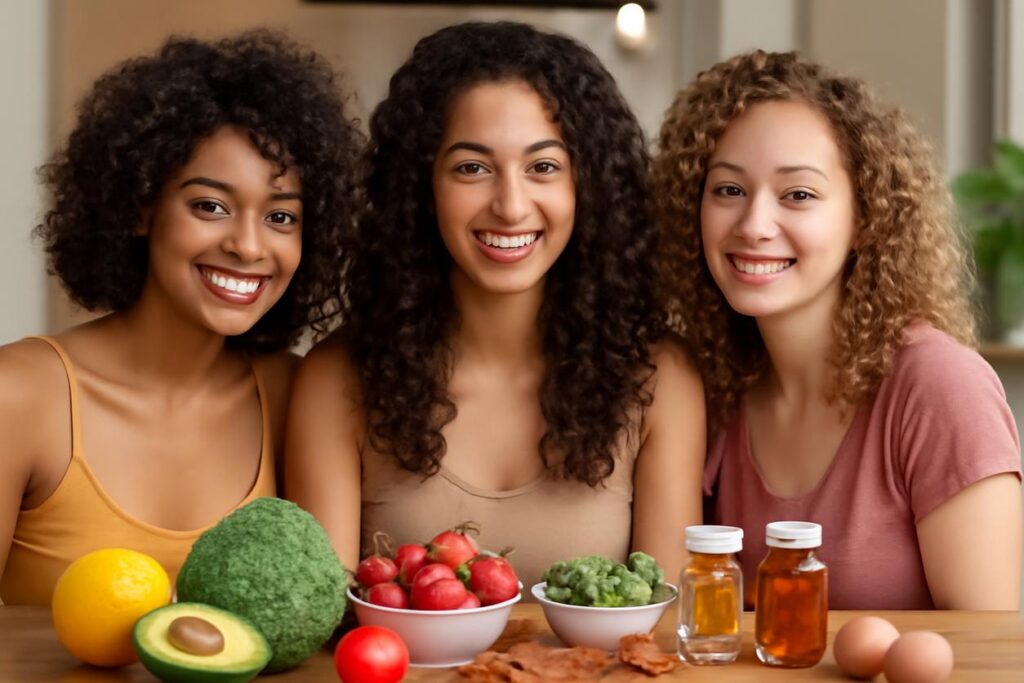
Welcome to the wonderful world of the DIY hair mask! If you’re looking for a way to give your hair some extra love without breaking the bank or navigating confusing ingredient lists, you’ve come to the right place. Creating your own treatments allows you to tailor solutions directly to your hair’s needs using fresh, natural ingredients straight from your pantry. It’s an empowering, cost-effective, and sustainable approach to haircare.
A homemade hair mask can deliver a concentrated dose of nutrients to moisturize, strengthen, and revitalize your locks. Whether you’re battling frizz, nursing damaged strands back to health, or just want to boost your natural shine, a consistent masking routine can make a significant difference.
The science in brief
So, how does a simple kitchen concoction work its magic? It’s all about the hair shaft. Each strand of hair is covered in tiny, overlapping scales called the cuticle. When hair is healthy and moisturized, these scales lie flat, giving it a smooth, shiny appearance. When hair is dry or damaged, the cuticles lift, leading to frizz, dullness, and tangles.
The ingredients in a DIY hair mask work to address this. Emollients like oils smooth and seal the cuticle, locking in moisture. Humectants like honey draw moisture from the air into the hair shaft. Proteins, such as those found in eggs or yogurt, temporarily patch up gaps in the hair’s structure, adding strength and elasticity. By choosing the right ingredients, you can directly influence your hair’s health and appearance.
How to identify your hair needs
Before you start mixing, it’s essential to understand what your hair is asking for. Is it thirsty? Weak? Weighed down? A good DIY hair mask starts with a proper diagnosis. Answering a few simple questions can point you in the right direction.
Quick assessment checklist
Take a moment to observe your hair and answer these questions honestly:
- How does it feel? Is it rough and straw-like (needs moisture) or limp and gummy when wet (may have too much moisture or need protein)?
- How does it look? Is it dull and frizzy (needs moisture and sealing) or flat and greasy (needs clarifying or lighter ingredients)?
- What is your main frustration? Are you dealing with breakage (needs protein and moisture), an oily scalp with dry ends (needs a targeted approach), or color that fades too quickly (needs gentle, strengthening ingredients)?
- What is your hair’s porosity? A simple test: place a clean strand of hair in a glass of water. If it sinks quickly, you have high porosity (absorbs moisture easily but loses it fast). If it floats, you have low porosity (resists moisture). This helps determine if you need lighter or heavier ingredients.
Core ingredients and what they do
Your kitchen is a treasure trove of powerful haircare ingredients. Understanding their roles will help you create the perfect DIY hair mask every time. They generally fall into a few key categories.
Oils, proteins, humectants and carriers
- Oils (Emollients): These ingredients seal the hair cuticle to lock in moisture and add shine. They are excellent for combating frizz and dryness.
- Coconut Oil: Penetrates the hair shaft to prevent protein loss. Best for medium to thick hair; can be too heavy for fine hair.
- Olive Oil: A fantastic moisturizer that adds softness and shine. Great for most hair types.
- Argan Oil: Rich in vitamin E and fatty acids, it’s a lighter oil that helps tame frizz without being greasy.
- Proteins: These ingredients help fortify the hair shaft, improving its elasticity and strength. Essential for damaged, color-treated, or high-porosity hair.
- Egg: The yolk is rich in fats and vitamins, while the white contains protein enzymes. Use the whole egg for normal hair, just whites for oily hair, or just yolks for dry hair.
- Greek Yogurt: Contains lactic acid to cleanse the scalp and proteins to nourish strands.
- Humectants: These substances attract water molecules, drawing moisture into the hair shaft.
- Honey: A natural humectant and emollient, it boosts shine and softens hair.
- Aloe Vera Gel: Packed with vitamins and enzymes, it hydrates the hair and soothes the scalp.
- Carriers: These form the creamy base of your mask, making it easy to apply while adding their own unique benefits.
- Avocado: Loaded with fatty acids, vitamins, and minerals that nourish and moisturize deeply.
- Banana: Rich in potassium and natural oils, it improves elasticity and prevents split ends.
Base formulas to build from
Think of these as your starting templates. Once you’re comfortable with them, you can customize them by adding other ingredients based on your hair’s needs.
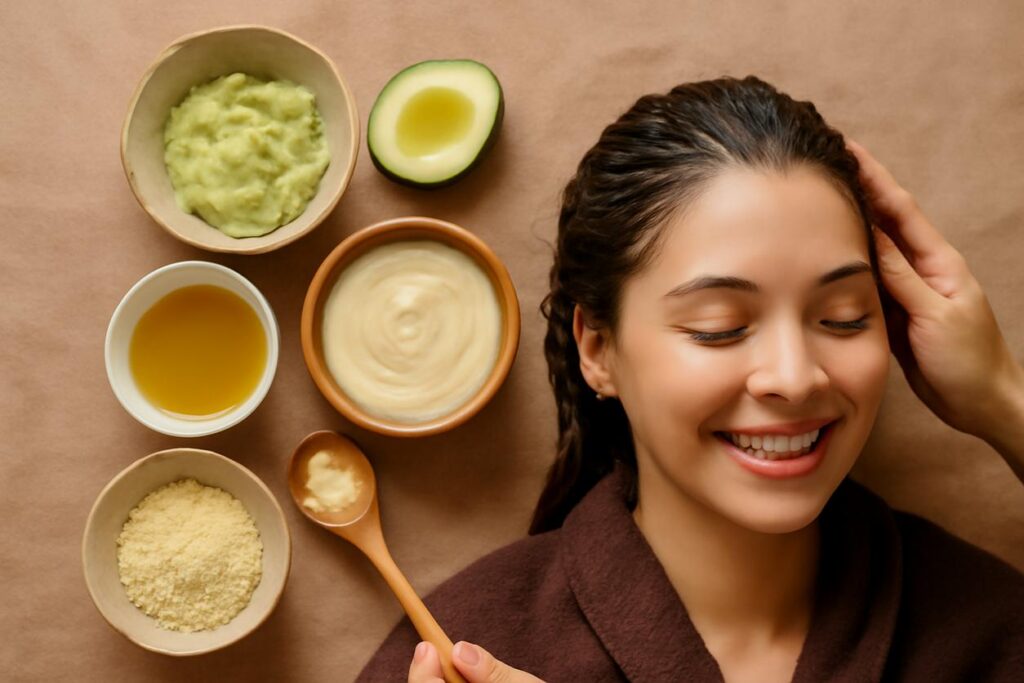
Creamy base
This base is ideal for delivering intense moisture. Mash half a ripe avocado or one ripe banana until completely smooth. This base is perfect for adding oils and humectants.
Oil based base
Perfect for a pre-shampoo treatment or for very dry hair. Gently warm 3 tablespoons of coconut oil or olive oil. You can infuse it with herbs or mix in other lighter oils like jojoba or argan oil.
Gel base
A lightweight, hydrating option that won’t weigh hair down. Use 4 tablespoons of pure aloe vera gel as your foundation. This is an excellent base for adding honey and a few drops of a lightweight oil.
Recipes by hair concern
Here are four targeted DIY hair mask recipes to get you started. We’ve labeled them for quick reference: [QUICK: 15-20 mins] for a fast treatment and [DEEP: 30-60 mins] for a more intensive session.
Dry and frizzy hair recipe [DEEP: 30-60 mins]
This ultra-moisturizing mask smooths the cuticle and replenishes lost hydration.
- Ingredients: 1/2 ripe avocado, 2 tablespoons olive oil, 1 tablespoon honey.
- Instructions: Mash the avocado until there are no lumps. Stir in the olive oil and honey until you have a smooth, creamy paste. Apply to damp hair, focusing on the mid-lengths and ends. Leave on for 30-60 minutes before rinsing thoroughly and shampooing.
Oily scalp but dry ends recipe [QUICK: 15-20 mins]
This dual-action approach treats two problems at once without making either worse.
- Ingredients (for scalp): 3 tablespoons Greek yogurt, 1 teaspoon honey.
- Ingredients (for ends): 1 tablespoon coconut oil (or argan oil for finer hair).
- Instructions: Mix the yogurt and honey. Apply this mixture only to your scalp and roots. Then, apply the oil to the bottom half of your hair. Let both sit for 15-20 minutes before washing out.
Damaged or colored hair recipe [DEEP: 30-45 mins]
This protein-rich mask helps repair and strengthen weakened strands.
- Ingredients: 1 egg, 2 tablespoons Greek yogurt, 1 tablespoon olive oil.
- Instructions: Whisk the egg thoroughly. Mix in the yogurt and olive oil until well combined. Apply to damp hair from root to tip. Do not use heat with this mask, as it can cook the egg. Leave on for 30-45 minutes and rinse with cool water before shampooing.
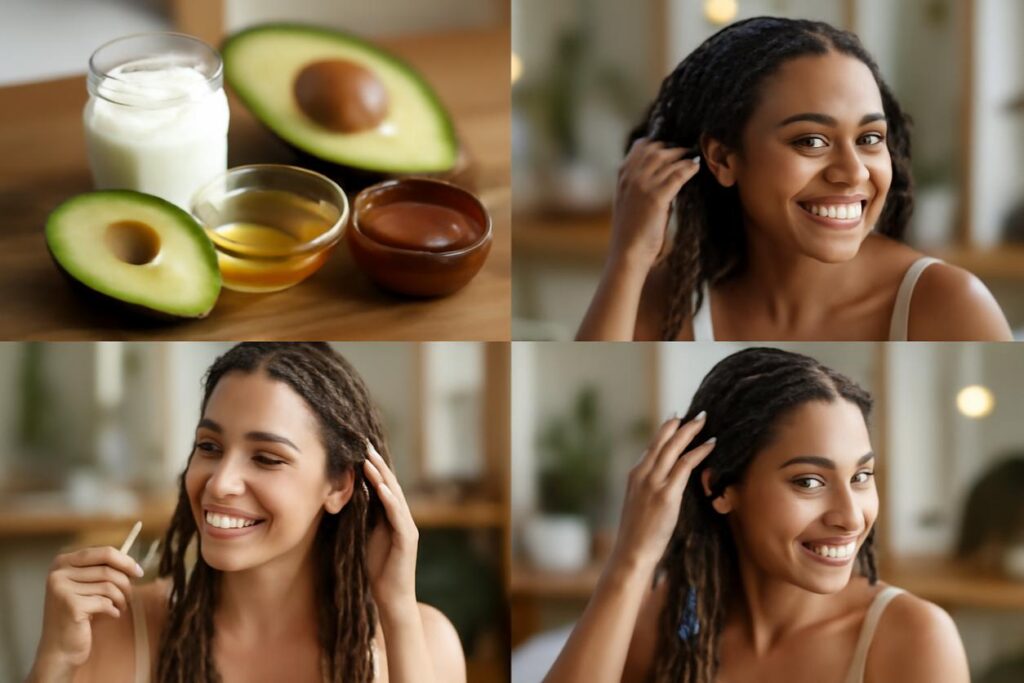
Curly hair moisture balance recipe [DEEP: 30-60 mins]
Designed to hydrate and define curls without weighing them down.
- Ingredients: 1 ripe banana, 2 tablespoons aloe vera gel, 1 tablespoon argan oil.
- Instructions: Blend the banana until it is completely liquified (to avoid chunks). Stir in the aloe vera gel and argan oil. Apply to wet hair, scrunching to encourage curl clumps. Let it sit for 30-60 minutes, then rinse well.
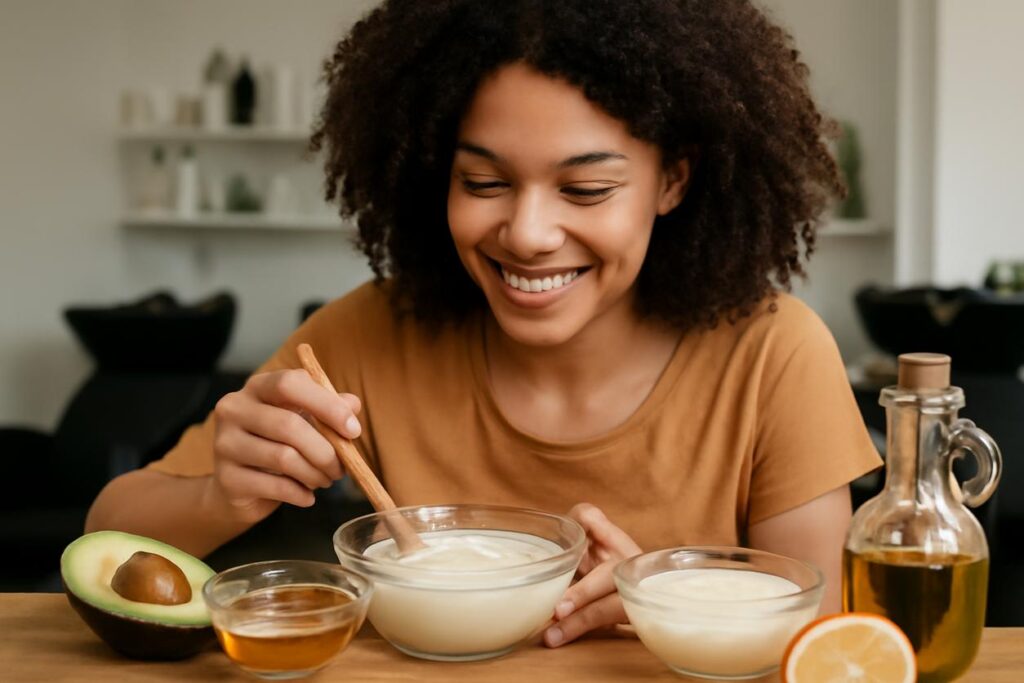
How to apply masks for best results
Application technique can make or break your DIY hair mask experience. Following a few simple steps ensures even coverage and maximum absorption.
Tools and techniques
- Start with clean, damp hair: Most masks work best on hair that has been shampooed and gently towel-dried. This removes buildup, allowing the ingredients to penetrate.
- Section your hair: Use clips to divide your hair into 4-6 manageable sections. This guarantees you won’t miss any spots.
- Apply from ends to roots: Focus the majority of the product on your mid-lengths and ends, which are typically the oldest and driest parts of your hair. Use what’s left for the roots unless it’s a scalp-focused treatment.
- Use your tools: You can use your fingers to work the mask through, but a bowl and a dye brush can make for a cleaner, more even application.
Timing and heat options
Timing is crucial. Leaving a mask on for too long (especially protein masks) can sometimes have adverse effects. Applying gentle heat can help the ingredients penetrate more deeply, especially for those with low-porosity hair.
| Mask Type | Recommended Time | Heat Option |
|---|---|---|
| Moisturizing (e.g., Avocado, Banana) | 30-60 minutes | Cover with a shower cap or warm towel. |
| Protein (e.g., Egg, Yogurt) | 20-30 minutes | No heat. Use a shower cap only. |
| Quick Hydration (e.g., Aloe, Honey) | 15-20 minutes | Optional, a shower cap is sufficient. |
Frequency and scheduling
Consistency is key for any haircare routine. However, overdoing it with masks can lead to product buildup or “hygral fatigue” (over-moisturizing). Here’s a simple guide for your 2025 haircare calendar.
| Hair Condition | Mask Type | Frequency |
|---|---|---|
| Very Dry or Damaged | Deep Moisturizing or Protein | Once a week |
| Normal to Slightly Dry | Moisturizing or Balancing | Once every 2 weeks |
| Oily or Fine | Lightweight or Clarifying | Once a month |
Safety, allergy checks and patch testing
Just because an ingredient is natural doesn’t mean it’s right for everyone. Allergies and sensitivities are possible. Before applying any new DIY hair mask to your entire head, it is crucial to perform a patch test.
To do this, apply a small amount of the mask mixture to a discreet area of skin, like behind your ear or on your inner elbow. Wait 24 hours. If you experience any redness, itching, or irritation, do not use the mask.
Substitutes and pantry swaps
Don’t have a specific ingredient? No problem! Many pantry staples can be swapped. This flexibility is one of the best parts of a homemade hair mask routine.
| If you need… | But don’t have… | You can use… |
|---|---|---|
| A creamy carrier | Avocado | Banana or pumpkin puree |
| A protein source | Egg | Greek yogurt or coconut milk |
| A humectant | Honey | Agave nectar or pure maple syrup |
| A sealing oil | Coconut Oil | Olive oil, jojoba oil, or almond oil |
Troubleshooting common problems
- “My hair feels greasy after the mask.” You may have used too much oil or a type that’s too heavy for your hair. Try using less oil next time, concentrating it only on the ends, or shampooing twice to ensure it’s fully rinsed out.
- “I have chunks of food in my hair!” This usually happens with banana or avocado. The key is to blend or mash the ingredients until they are completely smooth and free of lumps before applying.
- “My hair feels stiff or brittle.” This can be a sign of “protein overload.” You may have used a protein mask too frequently or when your hair didn’t need it. Focus on purely moisturizing masks for a few weeks to restore balance.
Printable recipe card and routine planner
Copy and paste the text below into a document to create your own personalized haircare resources.
— My DIY Hair Mask Recipe Card —
Mask Name: ____________________
Hair Goal: (e.g., Moisture, Strength, Shine) ____________
Ingredients:
- ____________________
- ____________________
- ____________________
Instructions:
1. ____________________
2. ____________________
Application Time: _______ minutes
Notes: ____________________
— Weekly Hair Routine Planner —
- Monday: ____________________
- Tuesday: ____________________
- Wednesday: ____________________
- Thursday: ____________________
- Friday: (DIY Hair Mask Day!) _______________
- Saturday: ____________________
- Sunday: ____________________
Frequently asked questions
Can I leave a DIY hair mask on overnight?
It’s generally not recommended. Leaving a wet mask on for too long can lead to hygral fatigue, which weakens the hair. Protein masks left on too long can cause brittleness. Stick to the recommended times for the best results.
Do I use a hair mask before or after shampoo?
Most masks work best on clean, damp hair, so you would apply it after shampooing and before conditioning. The exception is an oil-based “pre-poo” treatment, which is applied before you wash your hair.
How long can I store a fresh DIY hair mask?
Because they are made with fresh food ingredients and no preservatives, you should make a new batch for each use. They do not store well and can grow bacteria quickly.
Sources and further reading
For those interested in the science behind hair health and ingredient safety, these resources provide evidence-based information.
- Scientific Studies: For peer-reviewed research on cosmetic dermatology and hair science, explore the National Library of Medicine at PubMed.
- Public Health Guidance: For general advice on hair and scalp health from a trusted public health source, visit the NHS website.
- Ingredient Safety: To understand how cosmetic ingredients are regulated and check their safety, refer to the U.S. Food and Drug Administration’s resources at FDA.gov.