Table of Contents
- Why homemade hair masks work and when to use them
- How to identify your hair needs: moisture, protein or scalp care
- Key ingredients explained and hair type matches
- Step by step recipes by hair goal
- How to apply, timing and heat options
- Patch tests, allergy swaps and ingredient safety
- Storage, shelf life and preparing small batches
- Troubleshooting common problems
- Frequently asked questions
- References and further reading
Why homemade hair masks work and when to use them
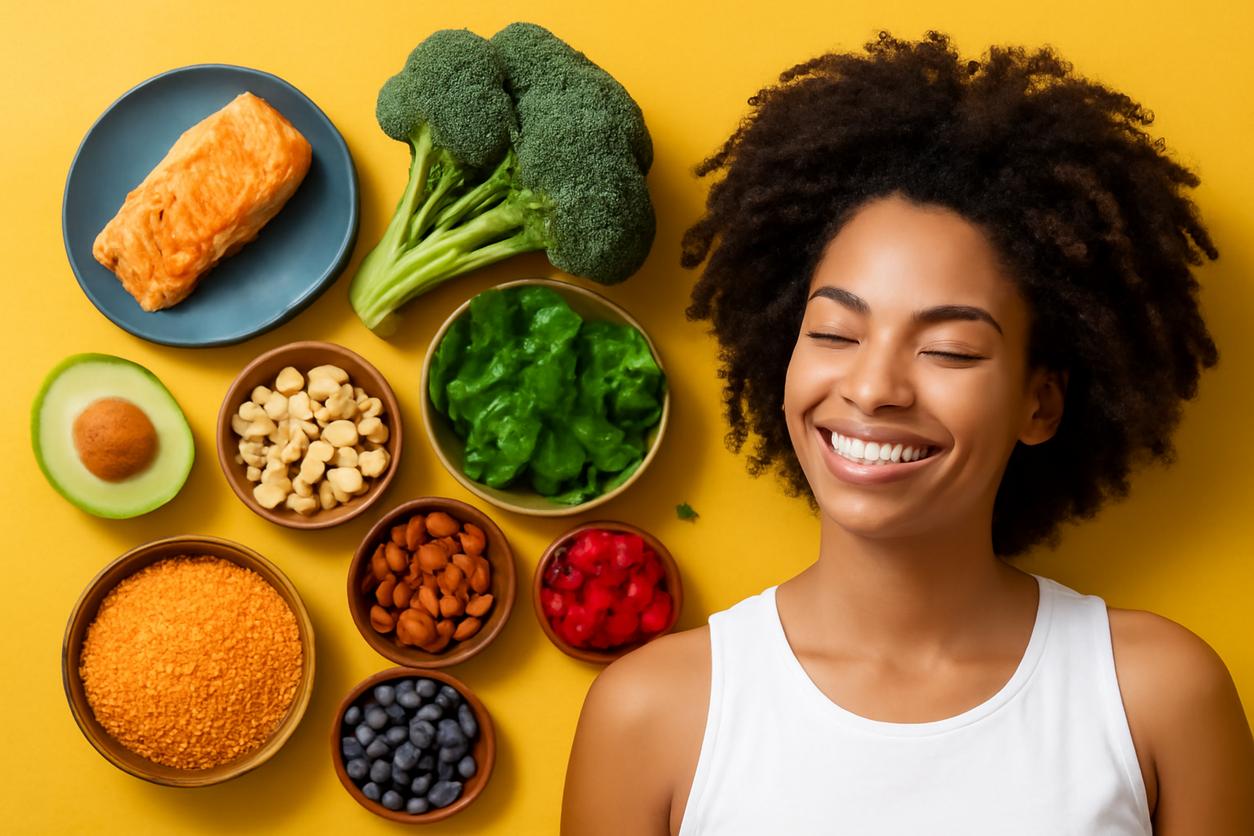
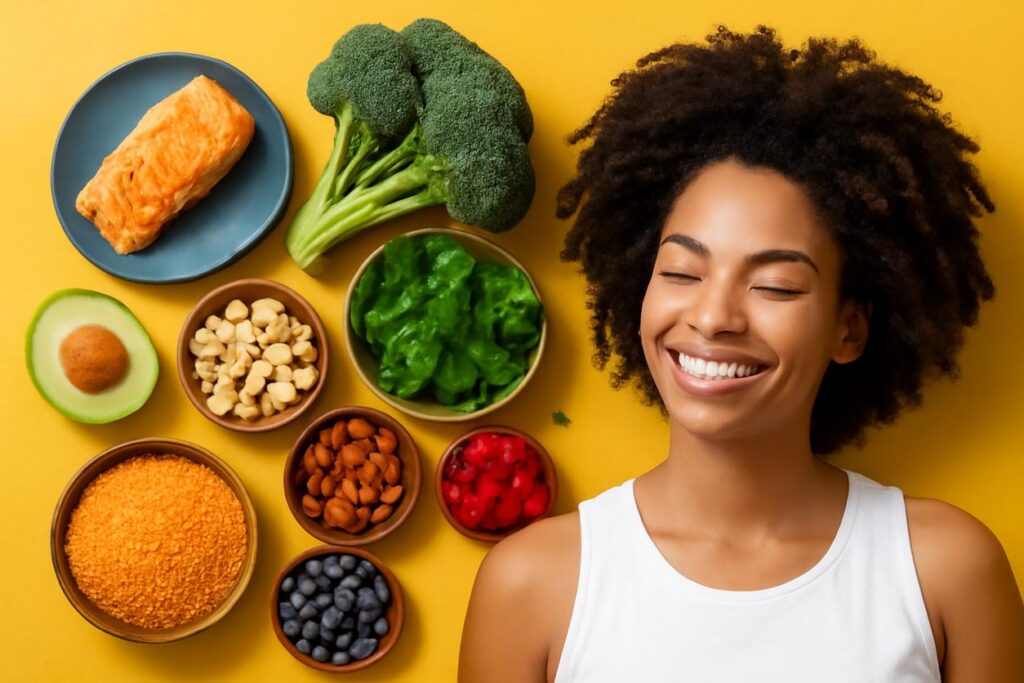
Welcome to the ultimate guide to creating your own effective DIY hair mask right from your kitchen. Moving into 2025 and beyond, the trend of personalized, natural, and sustainable beauty solutions continues to grow, placing homemade treatments at the forefront of haircare. But do they actually work? The answer is a resounding yes. A DIY hair mask works by using concentrated, natural ingredients to deliver a potent dose of nutrients directly to your hair strands and scalp.
Unlike many commercial products, homemade masks are free from synthetic silicones, preservatives, and fragrances that can sometimes cause buildup or irritation. Instead, they rely on the inherent properties of oils, fruits, and other kitchen staples to moisturize, strengthen, and revitalize your hair. These masks can penetrate the hair cuticle to deliver moisture, fill in gaps with proteins, or soothe the scalp with anti-inflammatory compounds. The key is choosing the right ingredients for your specific hair needs.
You should consider using a DIY hair mask whenever your hair feels like it needs a reset. This could be weekly for very dry or damaged hair, or bi-weekly to monthly for hair that is generally healthy. It is an excellent way to supplement your regular hair care routine and tackle specific issues like seasonal dryness, post-styling damage, or scalp flakiness.
How to identify your hair needs: moisture, protein or scalp care
Before you start raiding your pantry, the most crucial step is to understand what your hair is asking for. Hair needs typically fall into three categories: moisture, protein, or scalp care. Using the wrong type of treatment can be ineffective or even make your problem worse.
- Your hair needs MOISTURE if it is: Dry, rough to the touch, dull, frizzy, and prone to tangles. A simple test is the stretch test. Gently take a single strand of clean, shed hair and pull on both ends. If it barely stretches and snaps quickly, it lacks moisture. A moisturizing DIY hair mask will help restore elasticity and softness.
- Your hair needs PROTEIN if it is: Gummy, limp, overly soft, and struggles to hold a curl or style. If you perform the stretch test and the strand stretches on and on without bouncing back, or feels mushy, it is over-moisturized and needs protein to rebuild its structure. A strengthening mask will add rigidity and resilience.
- Your hair needs SCALP CARE if you experience: Itchiness, excessive oiliness, flakes (dandruff), or redness and irritation. A healthy scalp is the foundation of healthy hair, so addressing these issues directly with a targeted scalp mask can make a significant difference in hair growth and overall health.
Some hair types may need a combination, such as a moisturizing mask one week and a light protein treatment the next. Listening to your hair is the best strategy.
Key ingredients explained and hair type matches
The magic of a great DIY hair mask is in its ingredients. Understanding what each one does will empower you to create the perfect formula for your hair type.
Oils and fats (coconut, olive, argan)
Oils and fats are excellent emollients, meaning they smooth and soften the hair cuticle, reducing frizz and adding shine. They also seal in moisture.
- Coconut Oil: This oil is unique because its primary fatty acid, lauric acid, has a small molecular structure that allows it to penetrate the hair shaft instead of just coating it. This helps reduce protein loss from the hair. It is best for medium to thick, non-protein-sensitive hair. For more on this, see the evidence on coconut oil penetration.
- Olive Oil: Rich in oleic acid, palmitic acid, and squalene, olive oil is a fantastic conditioner that coats the hair shaft, sealing in moisture and adding flexibility. It is best suited for very dry, thick, or coarse hair.
- Argan Oil: Often called “liquid gold,” argan oil is lighter than the others and packed with vitamin E, fatty acids, and antioxidants. It is great for taming frizz and adding shine without weighing down finer hair types.
Proteins and yogurts (egg, yogurt, collagen-friendly options)
Protein treatments temporarily patch weak spots in the hair’s cuticle, adding strength and structure.
- Egg: A complete protein powerhouse. The yolk is rich in fats and vitamins, making it moisturizing, while the white contains enzymes that can help remove excess oil. Use the whole egg for normal hair, just the yolk for dry hair, and only the white for oily hair.
- Yogurt: Plain, full-fat yogurt contains both protein for strengthening and lactic acid, a gentle alpha-hydroxy acid (AHA) that helps cleanse the scalp and dissolve dead skin cells. This makes it a great multi-purpose ingredient for your homemade hair mask.
- Collagen-Friendly Options: While collagen itself is too large a molecule to penetrate hair, ingredients like gelatin (hydrolyzed collagen) contain amino acids that can bind to the hair, providing a strengthening effect.
Hydrators and humectants (honey, aloe vera, glycerin substitutes)
Humectants are ingredients that attract water from the atmosphere and bind it to the hair, providing deep hydration.
- Honey: A natural humectant that draws moisture into the hair shaft. It also has emollient properties to smooth the follicles and antibacterial qualities beneficial for the scalp.
- Aloe Vera: The gel from the aloe vera plant is rich in water, vitamins, enzymes, and amino acids. It is incredibly hydrating and soothing, making it perfect for both dry hair and irritated scalps.
- Glycerin Substitutes: While pure glycerin can be used, it can sometimes pull moisture out of the hair in very dry climates. Natural alternatives like agave nectar function similarly to honey as a powerful plant-based humectant.
Step by step recipes by hair goal
Now, let’s put that knowledge into practice! Always use fresh ingredients and mix your DIY hair mask right before you plan to use it. The measurements below are for shoulder-length hair; adjust as needed.
Deep moisturizing mask for dry hair
This mask is a thirst-quenching treat for brittle, straw-like hair.
- Ingredients: 1/2 ripe avocado, 1 tablespoon olive oil, 1 tablespoon honey.
- Instructions: Mash the avocado in a bowl until completely smooth. Stir in the olive oil and honey until you have a consistent, creamy paste.
- Why it works: The avocado provides deep conditioning with its natural fats and vitamins, the olive oil seals in that moisture, and the honey draws in extra hydration.
Strengthening protein treatment for brittle hair
Use this mask to restore structure to limp, over-processed, or “gummy” feeling hair. Do not overuse; once or twice a month is plenty.
- Ingredients: 1 egg, 3 tablespoons plain, full-fat yogurt.
- Instructions: Whisk the egg and yogurt together in a bowl until smooth and well-combined.
- Why it works: Both ingredients deliver a strong dose of protein to temporarily fill in gaps along the hair shaft, increasing its strength and elasticity.
Scalp balancing mask for irritation or dandruff-prone scalps
This soothing mask targets the scalp to calm itchiness and reduce flakiness.
- Ingredients: 3 tablespoons aloe vera gel (fresh is best), 1 tablespoon finely ground oatmeal (colloidal), 2-3 drops of tea tree essential oil.
- Instructions: Mix the aloe vera gel and ground oatmeal together to form a paste. Stir in the tea tree oil. Apply directly to your scalp in sections.
- Why it works: Aloe vera soothes inflammation, oatmeal provides gentle anti-itch relief, and tea tree oil has natural antifungal properties that can help with dandruff.
Shine and frizz control gloss mask for dull hair
This recipe smooths the hair cuticle to create a glossy finish and fight frizz.
- Ingredients: 1 ripe banana, 1 tablespoon argan oil.
- Instructions: Blend the banana and argan oil in a blender until absolutely no lumps remain. Straining it through a fine-mesh sieve is highly recommended to avoid fruit bits in your hair.
- Why it works: Banana is rich in silica, a mineral that helps boost shine and smoothness, while the argan oil coats the hair to fight frizz and add a reflective sheen.
How to apply, timing and heat options
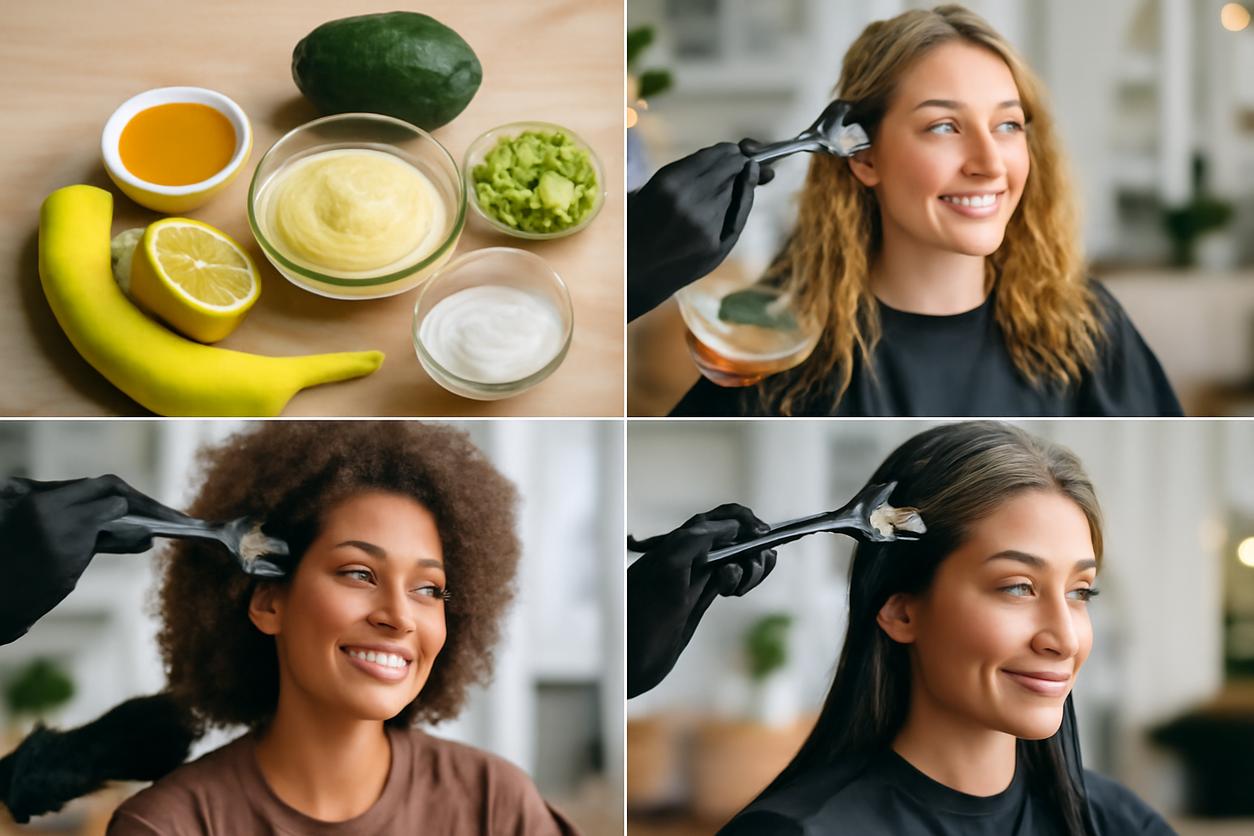
Proper application ensures you get the most out of your DIY hair mask.
- Start with Clean Hair: Apply your mask to clean, towel-dried (damp) hair. This allows the ingredients to penetrate without a barrier of dirt or product buildup.
- Section and Apply: Divide your hair into 4-6 sections. Use your fingers or a brush to apply the mask evenly, starting from the ends and working your way up. For scalp-focused masks, concentrate the application on the roots.
- Set the Timer: Most moisturizing and glossing masks can be left on for 20-30 minutes. However, be cautious with protein masks; leaving them on for too long (over 30 minutes) can lead to stiffness.
- Add Gentle Heat: To boost absorption, cover your hair with a shower cap or plastic wrap, then wrap a warm, damp towel around your head. The heat gently lifts the hair cuticle, allowing the mask to penetrate more deeply.
- Rinse Thoroughly: Rinse the mask out with lukewarm water until your hair feels clean. Follow up with a light conditioner to seal the cuticle, then style as usual.
Patch tests, allergy swaps and ingredient safety
Safety first! Just because an ingredient is natural doesn’t mean it’s right for everyone.
Always perform a patch test 24 hours before trying a new ingredient, especially if you have sensitive skin. Apply a small amount of the ingredient or finished mask to a discreet area of skin, like behind your ear or on your inner elbow. If you experience any redness, itching, or irritation, do not use it.
If you have known allergies, here are some simple swaps:
| If You Are Allergic To… | You Can Swap It For… |
|---|---|
| Eggs (Protein) | Plain Yogurt or Avocado |
| Dairy / Yogurt | Coconut Cream or an Egg |
| Honey (Humectant) | Agave Nectar or Maple Syrup |
| Nut Oils (Argan, Almond) | Olive Oil, Jojoba Oil, or Sunflower Oil |
Storage, shelf life and preparing small batches
One of the biggest differences between a DIY hair mask and a store-bought one is the lack of preservatives. This means they are highly perishable.
- Make It Fresh: The best practice is to make only enough for a single application right before you use it.
- Short-Term Storage: If you have leftovers, you can store them in an airtight container in the refrigerator for a maximum of 24-48 hours. Be aware that ingredients like avocado and banana will oxidize and turn brown, though they are still safe to use within this window.
- Never Freeze: Freezing can change the texture and efficacy of most homemade hair mask recipes, so it is not recommended.
Troubleshooting common problems
Sometimes, your first attempt at a homemade hair mask might not go perfectly. Here’s how to fix common issues.
- Problem: My hair feels greasy or weighed down.
Cause: You likely used too much oil for your hair type, or you didn’t rinse thoroughly enough.
Solution: Use a clarifying shampoo to remove the excess oil. Next time, reduce the amount of oil in your recipe by half. - Problem: My hair feels stiff and brittle after the mask.
Cause: This is a classic sign of “protein overload.” Your hair received more protein than it needed.
Solution: Follow up with a deep moisturizing treatment (without protein). In the future, use protein masks less frequently and for shorter durations. - Problem: I have bits of food stuck in my hair!
Cause: Ingredients like banana, avocado, or oatmeal were not blended smoothly enough.
Solution: For a perfectly smooth DIY hair mask, always use a blender instead of mashing by hand. Straining the mixture through a fine-mesh sieve or cheesecloth before application is also a game-changer.
Frequently asked questions
How often should I use a DIY hair mask?
This depends on your hair’s condition. For very dry or damaged hair, once a week is beneficial. For normal to oily hair, once every two to four weeks is usually sufficient for maintenance.
Can I use a DIY hair mask on color-treated hair?
Yes, most moisturizing and conditioning masks are perfectly safe for colored hair. In fact, they can help restore moisture lost during the coloring process. Avoid ingredients known for their lightening properties, such as large amounts of lemon juice or chamomile, unless that is your goal.
Do I apply the mask to wet or dry hair?
Damp hair is the ideal canvas. It is clean from product buildup, and the water on the strands helps the mask spread more easily and absorb better than on dry hair.
References and further reading
For more evidence-based information on hair care and the science behind these ingredients, we recommend exploring these resources:
- NHS Hair and Scalp Care Guidance: Official advice on maintaining healthy hair from the UK’s National Health Service.
- PubMed Search for Hair Oil Studies: A portal to a vast database of scientific research on the effects of various oils on hair health.
- Evidence on Coconut Oil Penetration: Specific studies investigating the unique ability of coconut oil to penetrate the hair shaft and prevent protein loss.