Table of Contents
- Why Make Your Own Hair Treatments?
- How to Identify Your Hair Needs Before Mixing
- Key Natural Ingredients and What They Actually Do
- DIY Hair Mask Recipes for Every Hair Type
- Application Techniques and Timing for Best Absorption
- Safety Checklist: Allergies, Patch Tests and Heat Rules
- Frequency Guide: Tailoring Masks to Your Hair Routine
- Storing Mixtures and Extending Shelf Life Safely
- What to Avoid: Ingredients That Can Worsen Hair Health
- Troubleshooting Common Outcomes and Adjustments
- Suggested Follow-Up Routine and Measuring Results
Why Make Your Own Hair Treatments?
In a world of complex ingredient lists and high price tags, the appeal of a DIY hair mask is stronger than ever. Turning your kitchen into a personal hair care lab isn’t just a fun, sensory experience; it’s a practical way to nourish your hair with fresh, potent ingredients. By creating your own treatments, you gain complete control over what you put on your scalp and strands, avoiding synthetic fragrances, silicones, and harsh preservatives. This approach is not only cost-effective but also allows you to tailor treatments precisely to your hair’s unique, changing needs. A homemade hair treatment offers a direct path to providing your hair with the targeted nutrition it craves, straight from nature.
How to Identify Your Hair Needs Before Mixing
Before you start mashing and mixing, understanding your hair’s specific condition is crucial for choosing the right ingredients. A successful DIY hair mask starts with a proper diagnosis. Here’s how to become a hair detective.
The Porosity Test
Porosity determines how well your hair can absorb and retain moisture. It’s a game-changer for selecting ingredients.
- How to test: Take a clean strand of hair (from your brush is fine) and drop it into a glass of water.
- Low Porosity: If the hair floats, the cuticle is tightly bound. It resists moisture. Your hair needs lightweight oils and humectants.
- Normal Porosity: If it floats for a bit then slowly sinks, your hair has balanced moisture absorption.
- High Porosity: If it sinks quickly, the cuticle has gaps. It absorbs moisture easily but loses it just as fast. Your hair craves sealing oils and proteins to fill those gaps.
The Elasticity Test (Protein Check)
This test reveals if your hair is lacking protein, which gives it strength and structure.
- How to test: Gently take a single wet strand of hair and stretch it slightly.
- Balanced Hair: It stretches a bit and then bounces back to its original length.
- Needs Protein: It stretches more than it should and feels limp or gummy before breaking. Your hair is over-moisturized.
- Needs Moisture: It barely stretches at all and snaps easily. Your hair is brittle and dry.
Scalp Assessment
Don’t forget the foundation. Look at your scalp in a mirror. Is it flaky and dry, or oily and congested? Is there redness or irritation? Answering these questions will help you decide if you need to add soothing or balancing ingredients to your DIY hair mask. For persistent scalp issues or hair loss concerns, consulting official guidance is always a good idea, such as the information provided by the NHS hair loss and care guidance.
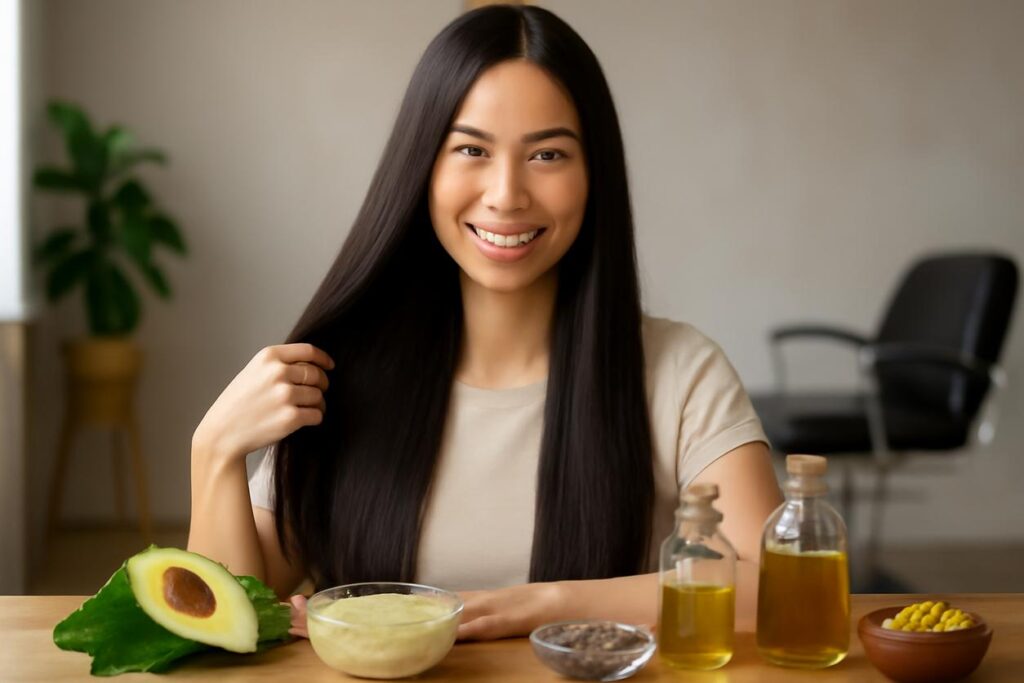
Key Natural Ingredients and What They Actually Do
Navigating natural ingredients can feel overwhelming, but a few kitchen staples do most of the heavy lifting. Here’s a breakdown of the science behind what they do for your hair.
- Avocado: Packed with fatty acids, biotin, and vitamins A and E, it’s a super-moisturizer. Its oils are emollients, meaning they coat the hair shaft to lock in moisture and add shine.
- Honey: A natural humectant, which means it actively draws moisture from the air into your hair. It also has antibacterial properties beneficial for the scalp.
- Egg: The yolk is rich in fats and vitamins for moisture, while the white is packed with protein. This helps to temporarily patch weak spots in the hair cuticle, adding strength and reducing breakage.
- Yogurt: The lactic acid in yogurt gently exfoliates the scalp, clearing away dead skin cells. It also contains protein to fortify strands.
- Banana: Rich in potassium, silica, and natural oils. Silica can help strengthen hair and improve its elasticity, making bananas great for softness and shine, especially in a DIY hair mask for curly hair.
- Coconut Oil: Its molecular structure allows it to penetrate the hair shaft better than many other oils, reducing protein loss and providing deep moisture.
- Oats (Colloidal): Famous for its soothing properties, oats contain compounds called avenanthramides that reduce inflammation and itching, making them perfect for an irritated scalp.
- Aloe Vera: Contains proteolytic enzymes that repair dead skin cells on the scalp. It acts as a fantastic conditioner, leaving hair smooth and shiny.
DIY Hair Mask Recipes for Every Hair Type
Here are four targeted, easy-to-make recipes. Always use ripe, fresh ingredients for the best results and smoothest consistency.
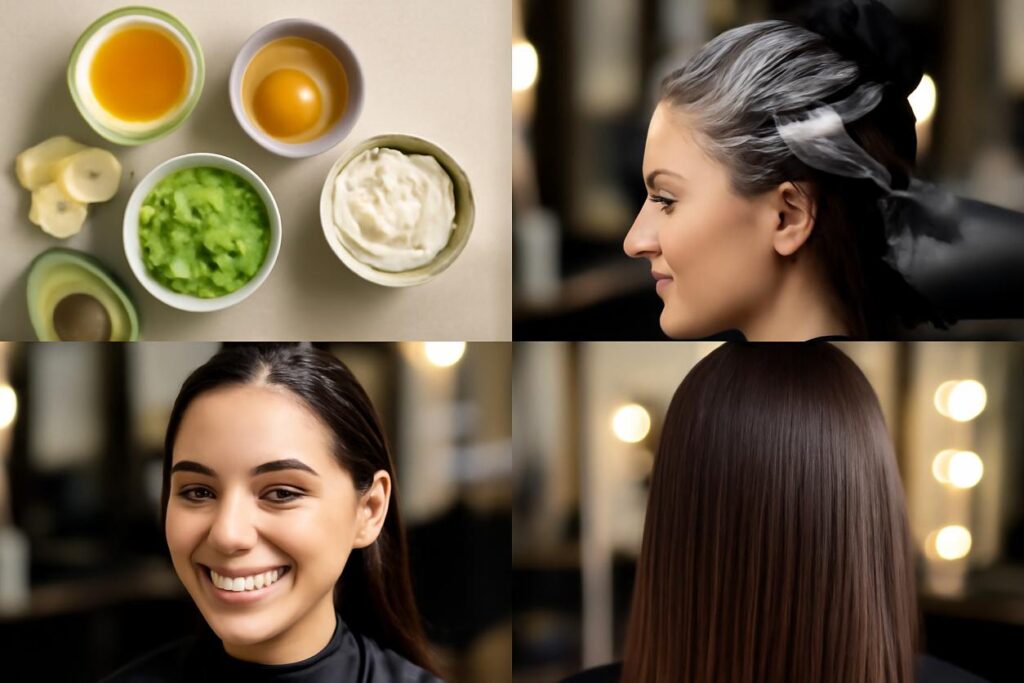
Hydration Recipe: Avocado and Honey for Dry Hair (Step-by-Step)
This mask is a drink of water for thirsty, brittle strands.
- Ingredients: 1/2 ripe avocado, 1 tablespoon of honey, 1 tablespoon of olive oil.
- Instructions: Mash the avocado in a bowl until completely smooth to avoid chunks. Stir in the honey and olive oil until you have a uniform, creamy paste.
- Sensory Cue: The final mixture should feel rich and have the consistency of a thick, smooth pudding.
Protein Repair: Egg and Yogurt Treatment for Brittle Hair
Perfect for hair that feels overly soft, limp, or is showing signs of breakage.
- Ingredients: 1 egg, 2 tablespoons of plain, full-fat yogurt.
- Instructions: Whisk the egg thoroughly in a bowl. Fold in the yogurt and mix until the texture is consistent.
- Sensory Cue: You are looking for a light, frothy consistency that spreads easily.
Scalp Soothe: Oat and Aloe Mask for Irritation and Balance
A calming treatment for an itchy, flaky, or sensitive scalp.
- Ingredients: 2 tablespoons of colloidal oatmeal (or finely ground oats), 3 tablespoons of pure aloe vera gel.
- Instructions: Combine the ground oats and aloe vera gel in a bowl. Mix well until it forms a spreadable, calming paste. Add a little water if it’s too thick.
- Sensory Cue: The texture should be a cooling, gentle paste, similar to a thick porridge.
Curl Care Variant: Banana and Coconut for Bounce and Definition
This mask provides slip, moisture, and frizz control for curly and coily hair types.
- Ingredients: 1/2 ripe banana, 1 tablespoon of coconut oil (melted), 1 tablespoon of honey.
- Instructions: Blend the banana until it is completely pureed—this is key to avoid fruit bits in your hair! Stir in the melted coconut oil and honey.
- Sensory Cue: Aim for a silky, lump-free smoothie texture that will glide through your curls.
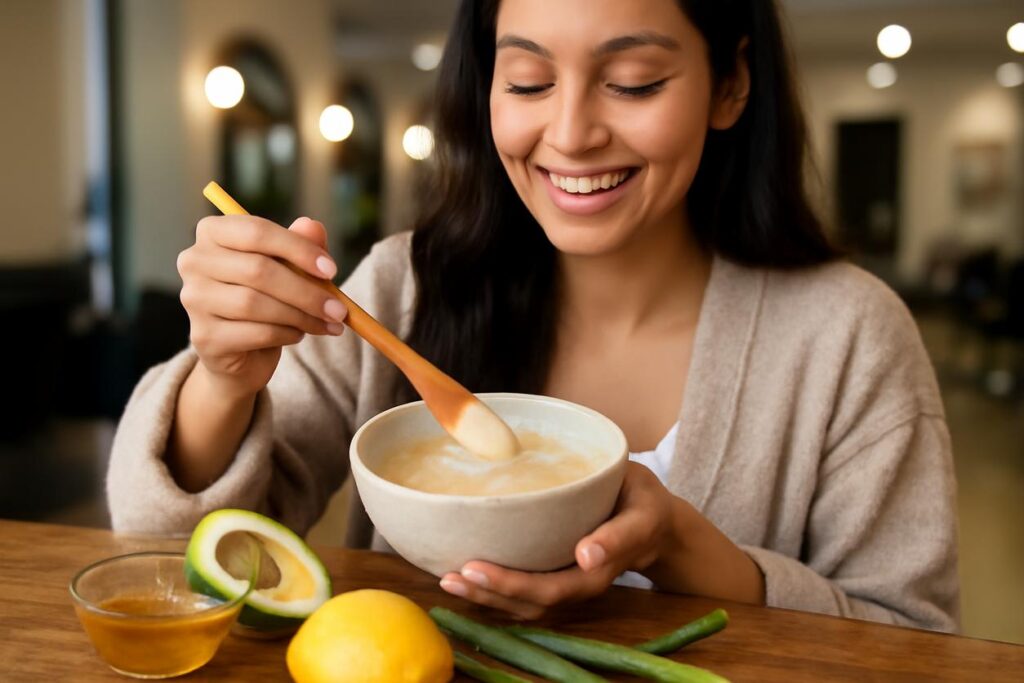
Application Techniques and Timing for Best Absorption
How you apply your DIY hair mask is just as important as the recipe itself. To maximize benefits, start with clean, towel-dried (damp) hair. Section your hair into 4-6 parts to ensure even distribution. Apply the mask with your fingers, starting from the ends and working your way up to the roots, paying special attention to the most damaged areas. Once your hair is fully saturated, cover it with a shower cap or a warm towel. The trapped heat will help open the hair cuticle, allowing the ingredients to penetrate more deeply. Leave the mask on for 20-30 minutes. Any longer provides diminishing returns and can lead to issues like moisture overload.
Safety Checklist: Allergies, Patch Tests and Heat Rules
Natural doesn’t always mean non-reactive. Prioritizing safety is non-negotiable.
The Importance of a Patch Test
Before applying any new mixture to your entire head, always perform a patch test. Apply a small amount of the mask to a discreet area of skin, like your inner elbow or behind your ear. Wait 24 hours to check for any signs of redness, itching, or irritation. This simple step can prevent a significant allergic reaction.
Understanding Allergies
Be mindful of any known food allergies. If you are allergic to bananas, do not put them on your scalp. Cross-reactivity can also occur, so proceed with caution if you have sensitivities.
Heat Safety
While gentle warmth from a towel is beneficial, never apply direct high heat from a hairdryer to your mask, especially if it contains egg. You risk cooking the egg in your hair, making it extremely difficult to rinse out. For expert advice on general hair care practices, the American Academy of Dermatology hair care advice provides a reliable resource.
Frequency Guide: Tailoring Masks to Your Hair Routine
Using a DIY hair mask too often or too rarely can be ineffective. Customize your routine based on your hair type and the type of mask you are using. Remember, consistency is more important than intensity.
| Hair Type | Hydrating Mask Frequency | Protein Mask Frequency |
|---|---|---|
| Dry or Damaged | Once a week | Once or twice a month |
| Normal | Every 1-2 weeks | Once a month |
| Oily or Fine | Every 2 weeks (focus on ends) | Every 4-6 weeks |
Listen to your hair. If it feels stiff, you may be experiencing protein overload and should scale back on protein treatments. If it feels limp and overly soft, it might have moisture overload and could benefit from a protein boost.
Storing Mixtures and Extending Shelf Life Safely
The biggest benefit of a DIY hair mask is its freshness, which is also its biggest challenge. These masks are made from perishable food ingredients and do not contain preservatives.
- Rule of Thumb: Make only what you need for a single application.
- Storage: If you have leftovers, store them in an airtight container in the refrigerator immediately.
- Shelf Life: Use any refrigerated mixture within 48 hours. After that, the risk of bacterial growth increases, and the ingredients lose their potency.
- Signs of Spoilage: Discard the mixture if you notice any change in color, a sour or “off” smell, or any signs of mold.
What to Avoid: Ingredients That Can Worsen Hair Health
Not everything in your pantry is good for your hair. Some common DIY ingredients can cause more harm than good.
- Undiluted Lemon Juice or Apple Cider Vinegar: These are highly acidic and can strip your hair’s natural oils, disrupt its pH balance, and make it brittle over time. If used, they must be heavily diluted.
- Baking Soda: Its high alkalinity is extremely harsh on the hair cuticle, leading to severe dryness and frizz.
- Granulated Sugar: While it can be used in gentle scalp scrubs, large sugar crystals can be too abrasive on the delicate skin of the scalp and are difficult to rinse out fully.
Troubleshooting Common Outcomes and Adjustments
Sometimes your first attempt at a homemade hair treatment might not go as planned. Here’s how to fix common issues.
My Hair Feels Greasy or Weighed Down
This usually means the mask was too heavy with oils for your hair type, or it wasn’t rinsed out properly. Next time, reduce the amount of oil in your recipe. When rinsing, use lukewarm water and be thorough. If needed, use a gentle shampoo to wash out the excess residue.
My Hair Feels Stiff or Brittle
This is a classic sign of protein overload. Your hair has too much protein and not enough moisture to balance it. The solution is to skip protein treatments for a few weeks and focus solely on hydrating masks. Your hair will regain its softness and flexibility.
I Don’t See Any Difference
Results from natural treatments are cumulative. You may not see a dramatic transformation after one use. Ensure you’ve correctly identified your hair’s needs and be consistent with your chosen DIY hair mask routine for at least a month to see noticeable changes.
Suggested Follow-Up Routine and Measuring Results
What you do after masking is crucial for locking in the benefits. Always rinse your mask with lukewarm water, as hot water can strip moisture. Follow up with your regular conditioner. The conditioner’s job is to close the hair cuticle, sealing in all the nutrients you just deposited. This final step leaves your hair smoother and more protected.
To measure results beyond 2025, track your hair’s progress. Take a photo in the same lighting once a month. Keep a hair journal and note changes in its texture, shine, and manageability. Does it feel softer? Is there less frizz? Is your elasticity improving? Celebrating these small victories will keep you motivated on your journey to healthier, happier hair. For a broader perspective on hair health, a resource like Rich Hair UK can offer additional insights.