The Ultimate Guide to a DIY Hair Mask: Science-Backed Recipes for 2025
Table of Contents
- Why Make a Mask at Home?
- How Hair Structure Influences Treatment Choice
- Safety First: Allergy Tests and Ingredient Cautions
- Key Ingredient Groups and What They Do
- Five Starter Recipes for Common Needs
- Step-by-Step Mixing and Application Guide
- Timing, Rinsing, and Frequency Guidelines
- Customizing Masks for Color-Treated and Sensitive Scalps
- Storage, Sanitation, and Sustainability Tips
- Troubleshooting Common Issues
- FAQ: Common Reader Questions Answered
- Sources and Further Reading
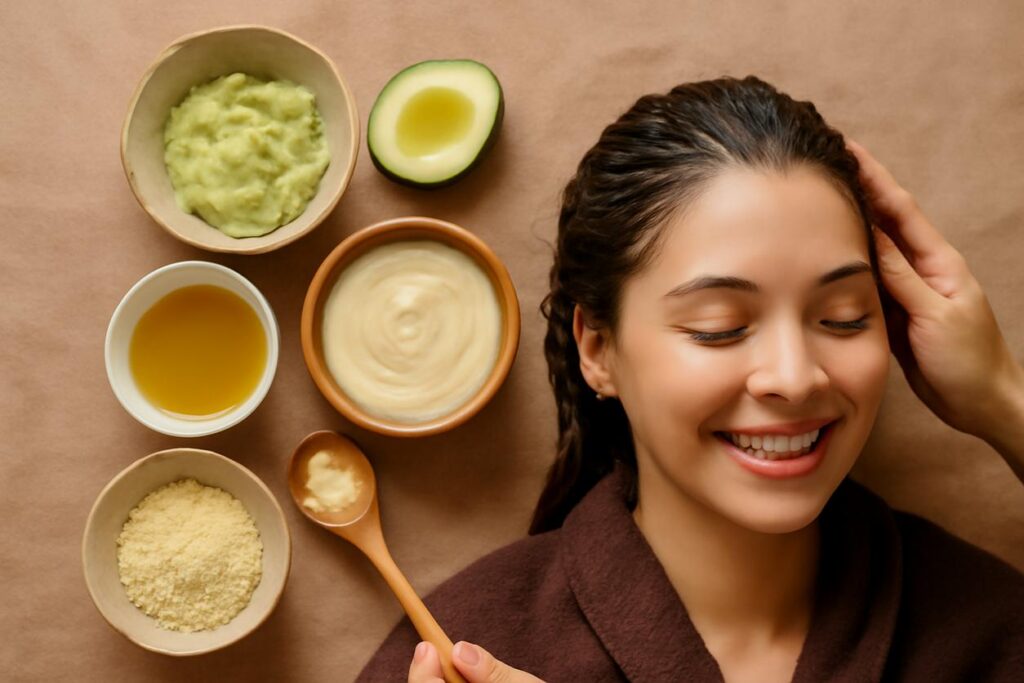
Welcome to your complete guide to crafting the perfect DIY hair mask right from your kitchen. Forget expensive salon treatments and store-bought products with confusing ingredient lists. By understanding a little about your hair’s structure and the science behind common household ingredients, you can create a personalized, effective, and affordable treatment that delivers exactly what your hair needs. This guide will walk you through everything, from choosing the right ingredients to mastering application for incredible results in 2025 and beyond.
Why Make a Mask at Home?
Opting for a DIY hair mask puts you in complete control. For beginners and haircare enthusiasts alike, the benefits are clear. First, it’s cost-effective; you can create a luxurious treatment using ingredients you likely already have. Second, you achieve ingredient transparency. You know exactly what’s going on your hair and scalp, avoiding potentially irritating silicones, parabens, and sulfates. Finally, it’s about customization. No two heads of hair are the same, and a homemade mask allows you to tailor the formula specifically to your hair’s unique needs, whether it’s dry, oily, damaged, or curly.
How Hair Structure Influences Treatment Choice
To create an effective DIY hair mask, it helps to understand the basic structure of a hair strand. Each strand has three main layers: the medulla (the innermost core), the cortex (the middle layer providing strength and color), and the cuticle (the outer, protective layer made of overlapping scales).
The condition of your cuticle determines your hair’s porosity—its ability to absorb and retain moisture.
- Low Porosity: Tightly bound cuticles make it hard for moisture to get in. Hair often feels smooth but products can sit on top of it. This type benefits from lightweight oils and humectants.
- Medium Porosity: The cuticles are looser, allowing moisture to enter and stay in easily. This is generally considered the ideal, balanced state.
- High Porosity: Gaps and holes in the cuticle layer let moisture in easily but it also escapes just as quickly. This hair is often dry, frizzy, and prone to damage, benefiting from sealing oils and proteins.
Understanding your porosity helps you choose ingredients that will actually penetrate and benefit your hair, rather than just coating the surface.
Safety First: Allergy Tests and Ingredient Cautions
Before you mix your first DIY hair mask, safety is paramount. Just because an ingredient is natural doesn’t mean it can’t cause a reaction.
- Perform a Patch Test: Always test a small amount of your finished mask mixture on a discreet patch of skin, like behind your ear or on your inner elbow. Wait 24 hours to check for any signs of redness, itching, or irritation.
- Use Fresh Ingredients: Avoid using food items that are past their prime. Mold and bacteria can irritate your scalp. Always make your mask fresh for each use.
- Ingredient Cautions: Be mindful of potent ingredients. For instance, essential oils must be diluted in a carrier oil (like coconut or olive oil) and should not be applied directly to the skin. Acidic ingredients like lemon juice or apple cider vinegar should be heavily diluted to avoid irritation and stripping the hair.
Key Ingredient Groups and What They Do
A great DIY hair mask is all about balance. The best recipes typically combine ingredients from these three key groups to moisturize, strengthen, and nourish.
Oils and Emollients: When and How to Use Them
Emollients are substances that smooth and soften the hair cuticle, reducing frizz and adding shine. Most oils function as emollients, sealing in moisture that’s already present in the hair.
- Coconut Oil: Rich in lauric acid, its small molecular structure allows it to penetrate the hair shaft to moisturize from within. Best for medium to high porosity hair.
- Olive Oil: A heavier oil that is excellent at coating and sealing the cuticle. Ideal for very dry, thick, or coarse hair.
- Avocado Oil: Packed with vitamins, it’s a medium-weight oil that nourishes without being overly greasy. Great for most hair types.
- How to use: Add oils to your mask to seal in hydration and add slip. Use sparingly if you have fine or oily hair to avoid weighing it down.
Proteins and Strengtheners: Benefits and Limits
Proteins temporarily patch the gaps in the cuticle of damaged, high-porosity hair, adding strength and structure.
- Egg: The yolk is rich in fats and vitamins, while the white is packed with protein. An excellent all-in-one ingredient for a strengthening DIY hair mask.
- Greek Yogurt: Contains lactic acid to cleanse the scalp and proteins to fortify the hair strands.
- Rice Water: The starchy water left after rinsing rice contains inositol, which can penetrate and strengthen hair.
- Caution: Be careful of protein overload. Using protein treatments too frequently on hair that doesn’t need it (especially low-porosity hair) can lead to stiff, brittle strands. Start by using a protein mask once or twice a month.
Humectants and Hydration Boosters
Humectants are ingredients that attract water molecules from the atmosphere and draw them into the hair shaft, boosting hydration.
- Honey: A natural humectant and emollient, honey attracts moisture and helps smooth the hair cuticle. It also has antibacterial properties.
- Aloe Vera Gel: Packed with vitamins and enzymes, aloe vera is incredibly hydrating and soothing for the scalp.
- Glycerin: A powerful humectant, a small amount can significantly boost a mask’s moisturizing power. Use with caution in very dry climates, as it can sometimes pull moisture from the hair if there isn’t enough in the air.
Five Starter Recipes for Common Needs
Here are five simple, effective recipes to get you started. Mix all ingredients in a bowl until smooth. Adjust amounts based on your hair length and thickness.
Recipe 1 – Deep Hydration for Dry Hair
This mask is perfect for parched, thirsty hair that needs a serious moisture boost.
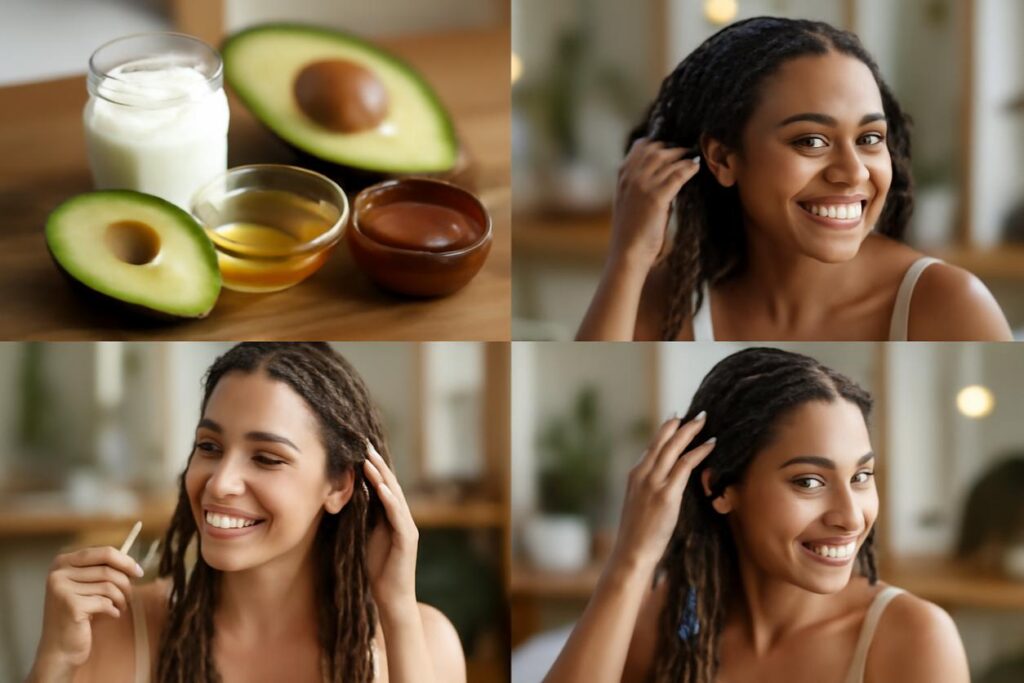
- Ingredients: Half a ripe avocado, 1 tablespoon of olive oil, 1 tablespoon of honey.
- Why it works: Avocado and olive oil provide deep conditioning and emollient properties, while honey acts as a humectant to draw in moisture.
Recipe 2 – Strengthening for Weak, Damaged Hair
Use this protein-rich DIY hair mask to help fortify hair that’s been chemically treated or is prone to breakage.
- Ingredients: 1 egg, 2 tablespoons of Greek yogurt, 1 teaspoon of coconut oil.
- Why it works: The egg provides a strong dose of protein to patch the hair cuticle, while yogurt adds extra protein and lactic acid for a gentle cleanse.
Recipe 3 – Lightweight Mask for Oily Scalp
This mask clarifies the scalp and lightly conditions the ends without weighing hair down.
- Ingredients: 2 tablespoons of aloe vera gel, 1 tablespoon of honey, 1 teaspoon of diluted apple cider vinegar (1 part ACV to 3 parts water).
- Why it works: Aloe vera soothes the scalp, honey hydrates, and apple cider vinegar helps clarify buildup and balance scalp pH.
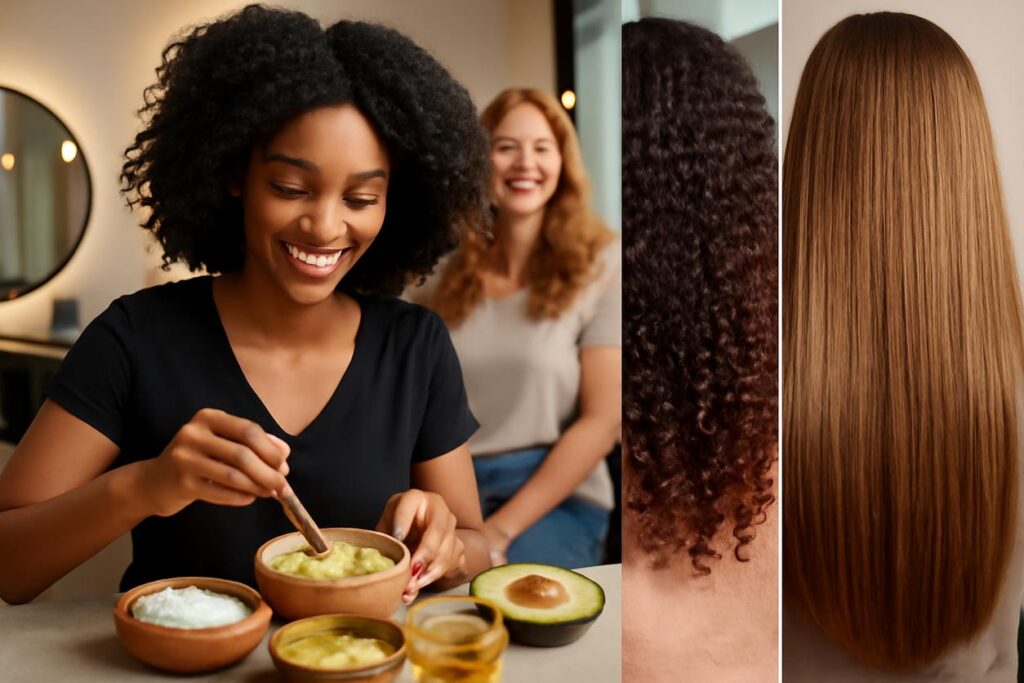
Recipe 4 – Definition and Moisture for Curly Hair
Curls need a careful balance of moisture and strength to stay defined and frizz-free.
- Ingredients: Half a ripe banana (mashed well), 2 tablespoons of plain yogurt, 1 tablespoon of jojoba oil.
- Why it works: Banana is rich in potassium and silica, which can help soften hair and improve elasticity. Yogurt provides a gentle protein boost, and jojoba oil seals in moisture without being too heavy.
Recipe 5 – Overnight Repair Options
For a low-effort, high-impact treatment, an overnight mask is a great choice.
- Ingredients: 2 tablespoons of aloe vera gel mixed with 1 tablespoon of argan or sweet almond oil.
- Why it works: This simple, non-drippy blend provides sustained hydration overnight. Aloe soothes and moisturizes, while the lightweight oil seals it in without creating a mess on your pillowcase (though a towel or cap is still recommended).
Step-by-Step Mixing and Application Guide
Applying your DIY hair mask correctly is key to getting the best results.
- Prepare Your Hair: Start with clean, damp hair. Towel-dry your hair until it’s not dripping wet. This allows the mask to penetrate more effectively than on dry hair and not get too diluted as it would on soaking wet hair.
- Mix Your Ingredients: In a non-metallic bowl, combine your ingredients. Blend or whisk until the mixture is smooth and free of lumps to ensure easy application and rinsing.
- Section and Apply: Divide your hair into 4-6 manageable sections. Using your fingers or a brush, apply the mask from the ends upwards. Concentrate on the mid-lengths and ends, which are typically the driest and most damaged parts. Apply sparingly near the roots if you have an oily scalp.
- Cover and Wait: Once your hair is fully saturated, twist it into a bun and cover it with a shower cap or plastic wrap. This traps heat from your scalp, which helps open the hair cuticle for deeper penetration.
Timing, Rinsing, and Frequency Guidelines
Patience and proper technique are crucial for success with any DIY hair mask.
- Timing: For most masks, 20-30 minutes is the sweet spot. For masks containing protein like egg or yogurt, do not exceed 30 minutes, as they can make hair stiff if left on too long. Overnight masks are the exception.
- Rinsing: Rinse the mask out thoroughly with lukewarm water. Hot water can strip moisture, while cool water helps seal the hair cuticle. You may need to shampoo lightly to remove all oil residue, especially if you used a heavy oil. Always follow with a conditioner to seal the cuticle and lock in the benefits.
- Frequency: For most hair types, using a deep-conditioning mask once a week is sufficient. Over-treated or very damaged hair might benefit from twice-weekly treatments initially, while oily or fine hair might only need a mask every two weeks.
Customizing Masks for Color-Treated and Sensitive Scalps
You can easily adapt recipes for specific needs.
- For Color-Treated Hair: Avoid highly acidic ingredients like pure lemon juice or undiluted vinegar, which can potentially strip color. Stick to nourishing ingredients like avocado, banana, and oils. Adding a few drops of vitamin E oil can provide antioxidant benefits.
- For Sensitive Scalps: Avoid potential irritants like cinnamon or peppermint oil unless you know you tolerate them well. Focus on soothing ingredients like aloe vera, oatmeal (blended into a fine powder and mixed with water to form a paste), and chamomile tea (brewed and cooled). Always perform a patch test.
Storage, Sanitation, and Sustainability Tips
Because your DIY hair mask is made with fresh food ingredients, it has a very short shelf life.
- Storage: These masks are meant for single, immediate use. Do not store leftovers, as they can spoil and grow bacteria within hours. Always make a fresh batch for each treatment.
- Sanitation: Always use clean bowls, utensils, and blenders to prepare your mask. This prevents contamination and keeps your treatment safe and effective.
- Sustainability: Be mindful of waste. You can compost many leftover ingredients like avocado pits, banana peels, and eggshells. Choose ingredients that are seasonal and locally sourced when possible.
Troubleshooting Common Issues
What if your results aren’t what you expected? Here’s how to fix common problems.
- My hair feels greasy or weighed down: You likely used too much oil or a type of oil that was too heavy for your hair. Next time, use less oil, choose a lighter option (like jojoba or grapeseed), and concentrate the application on your ends only. Ensure you rinse thoroughly, possibly with a gentle shampoo.
- My hair feels stiff or brittle: This is a classic sign of protein overload. Your hair either didn’t need the protein or you left the mask on for too long. Counteract this by using a moisturizing, protein-free mask next time and reducing the frequency of your protein treatments.
- I don’t see any difference: Consistency is key. You may not see dramatic results after just one use. Stick with a weekly routine for at least a month. Also, double-check that you’re using the right ingredients for your hair’s porosity and needs.
FAQ: Common Reader Questions Answered
Can I use a DIY hair mask on dry hair?
You can, but applying it to damp hair is generally more effective. Damp hair has a slightly raised cuticle, allowing the ingredients to penetrate more deeply. If applying to dry hair, you may need to use more product to achieve full saturation.
Do I shampoo before or after a hair mask?
It’s best to shampoo before. This removes any product buildup, allowing the mask to work on a clean slate. After rinsing the mask, you can apply your regular conditioner to seal everything in.
Can I use mayonnaise as a hair mask?
Yes! Mayonnaise contains eggs, oil, and vinegar, hitting all the key ingredient groups: protein, emollients, and a clarifier. It’s a classic, effective, all-in-one DIY hair mask, especially for dry and damaged hair.
Is a DIY hair mask as good as a store-bought one?
It can be! While commercial masks contain preservatives and advanced cosmetic ingredients, a well-formulated DIY hair mask using fresh, targeted ingredients can deliver incredible moisture, strength, and shine without the extra cost or synthetic chemicals.
Sources and Further Reading
For more in-depth knowledge on hair health and the science behind treatments, explore these trusted resources:
- For understanding conditions that may affect hair health, see the NHS page on hair loss.
- To explore scientific studies on nutrition and hair, browse the PubMed database for hair nutrition abstracts.
- For general hair care tips and resources, visit Rich Hair UK.