Table of Contents
- Why homemade hair masks can help
- How hair structure and porosity change ingredient choices
- Safety first: allergies, patch testing and timing
- Ingredient primer: oils, humectants, proteins and butters
- Targeted DIY recipes for common concerns
- How to apply masks, rinse techniques and styling tips
- Troubleshooting: dullness, buildup and unwanted stiffness
- When homemade care is not enough: signs to consult a professional
- FAQ: timing, frequency and storage
- References and further reading
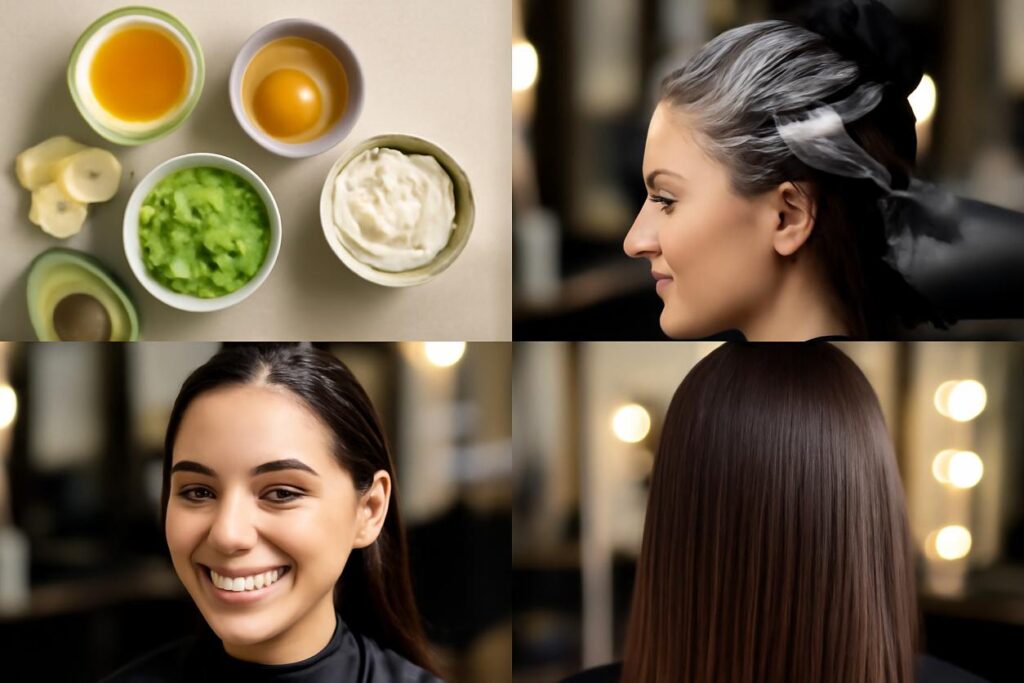
Why homemade hair masks can help
Diving into the world of the DIY hair mask can feel like unlocking a secret level of personal care. Instead of navigating long ingredient lists on commercial products, you become the formulator. This approach offers incredible benefits, especially for beginners. You have complete control over what goes onto your hair and scalp, ensuring every ingredient is fresh, natural, and tailored to your specific needs. Crafting a homemade hair mask is not only cost-effective but also a wonderfully simple way to provide your hair with a concentrated dose of nutrients, moisture, or protein that can transform its health and appearance.
The core advantage of a DIY hair mask is its ability to deliver targeted treatment. Whether your hair is feeling dry and brittle from environmental stress, weighed down by product buildup, or your scalp is crying out for soothing relief, there is a kitchen-based concoction that can help. By understanding a few basic principles about your hair type and the properties of different ingredients, you can create powerful, effective treatments that rival expensive salon therapies, all from the comfort of your own home.
How hair structure and porosity change ingredient choices
Before you start mixing, it’s essential to understand your hair’s unique personality. The most critical factor is hair porosity, which refers to your hair’s ability to absorb and retain moisture. It is determined by the structure of your hair’s cuticle layer, which is made of overlapping scales.
- Low Porosity Hair: The cuticles are tightly packed and flat. This makes it difficult for moisture to get in, but also difficult for it to get out. Hair often takes a long time to get wet and a long time to dry. It’s prone to product buildup because products tend to sit on top of the hair rather than being absorbed.
- Medium Porosity Hair: The cuticles are looser, allowing moisture to penetrate easily and be retained well. This hair type is generally the easiest to care for, holding styles well and absorbing color evenly.
- High Porosity Hair: The cuticles are raised or have gaps, which can be due to genetics or damage from chemical treatments and heat styling. This hair type absorbs moisture very quickly but loses it just as fast, leading to frizz and dryness.
Knowing your porosity is a game-changer for any DIY hair mask. A heavy mask with coconut oil might be a miracle for high porosity hair but could leave low porosity hair a greasy, weighed-down mess. Conversely, a lightweight mask might not provide enough hydration for highly porous strands. You can do a simple float test: drop a clean strand of hair into a glass of water. If it sinks quickly, you likely have high porosity. If it floats, you have low porosity. If it hovers in the middle, you have medium porosity.
Safety first: allergies, patch testing and timing
While using natural ingredients sounds perfectly safe, it’s important to remember that allergies and sensitivities can occur with anything. Before slathering a new DIY hair mask all over your head, always perform a patch test.
To do this, apply a small amount of the mixture to a discreet area of skin, like behind your ear or on your inner elbow. Wait 24 hours to see if any irritation, redness, or itching develops. This is especially important if you are using ingredients known for their potency, such as essential oils, apple cider vinegar, or lemon juice.
Timing is also crucial. More is not always better. Leaving a mask on for too long, particularly acidic or highly clarifying formulas, can irritate the scalp or even damage the hair shaft. Stick to the recommended times in the recipes. Always use fresh ingredients; that banana sitting on your counter for two weeks is not a good candidate. A DIY hair mask is a fresh treatment and should be made right before you plan to use it.
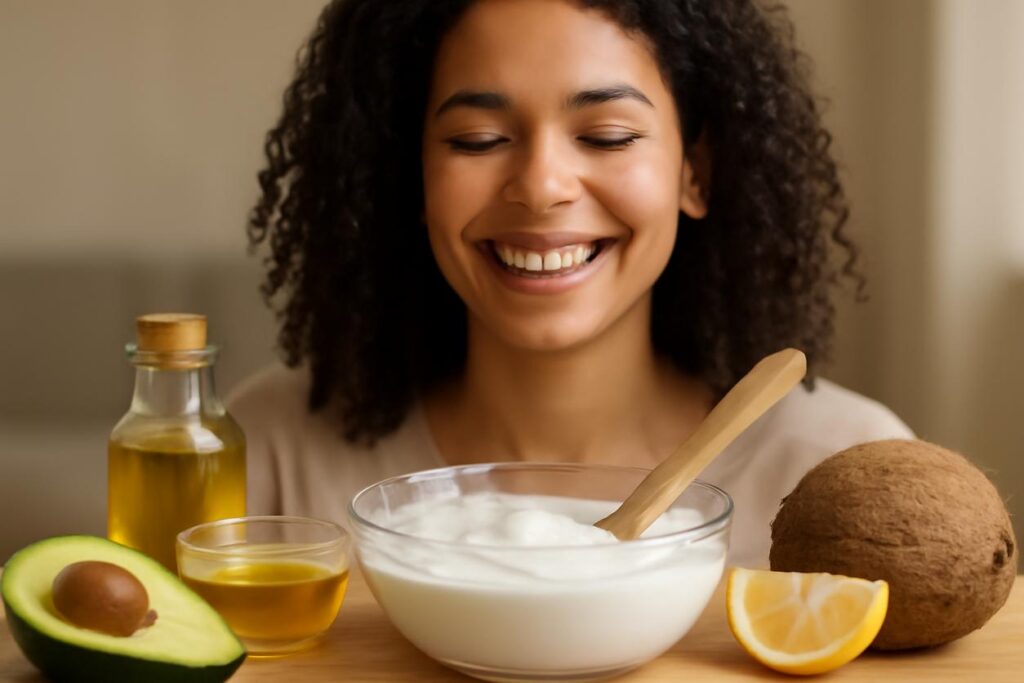
Ingredient primer: oils, humectants, proteins and butters
Your kitchen is a treasure trove of hair-loving ingredients. Understanding the role of each category will help you customize your perfect DIY hair mask.
- Oils: These are emollients that seal in moisture, add shine, and nourish the hair. Their molecular size determines whether they penetrate the hair shaft or coat it.
- Humectants: These ingredients attract moisture from the environment into your hair. Think of them as moisture magnets. Common examples include honey, aloe vera gel, and glycerin.
- Proteins: Hair is primarily made of a protein called keratin. Protein treatments help to patch up gaps in the cuticle, strengthening the hair and reducing breakage. Common sources are eggs, yogurt, and gelatin.
- Butters: These are heavier than oils and are excellent for sealing and providing intense moisture to very dry, coarse, or highly porous hair. Shea butter and cocoa butter are popular choices.
Best oils for low, medium and high porosity hair
Choosing the right oil based on your hair porosity is the secret to a successful DIY hair mask that hydrates without creating an oil slick.
- Low Porosity Hair: Needs lightweight oils that can penetrate the tight cuticle without sitting on top.
- Argan oil
- Grapeseed oil
- Jojoba oil (closely mimics the scalp’s natural sebum)
- Sweet almond oil
- Medium Porosity Hair: Has more flexibility and can benefit from a wider range of oils.
- Olive oil
- Jojoba oil
- Avocado oil
- High Porosity Hair: Needs heavier oils and butters to seal the gaps in the cuticle and prevent moisture loss.
- Coconut oil (can penetrate the hair shaft)
- Castor oil
- Shea butter
- Olive oil
Natural protein sources and when to use them sparingly
Protein is vital for hair strength, but there can be too much of a good thing. Protein overload occurs when there’s an imbalance of protein and moisture, leaving hair feeling stiff, brittle, and straw-like. If your hair feels overly soft, mushy when wet, or lacks structure, it likely needs protein. If it already feels stiff and dry, focus on moisture instead.
Use protein-based masks sparingly, perhaps once or twice a month, depending on your hair’s needs. Great natural sources for a DIY hair mask include:
- Yogurt or Greek Yogurt: Contains lactic acid to cleanse and protein to strengthen.
- Egg: The yolk is rich in fats and moisture, while the white is packed with protein. Use the whole egg for balance.
- Gelatin: A potent source of protein that can add structure to fine or limp hair.
Targeted DIY recipes for common concerns
Here are five simple and effective DIY hair mask recipes to get you started. Adjust quantities based on your hair length and thickness.
Quick 10-minute moisture boosts
Perfect for a pre-shampoo treat when you’re short on time.
- Ingredients: 2 tablespoons of aloe vera gel and 1 tablespoon of honey.
- Instructions: Mix the aloe vera and honey until smooth. Apply to damp hair, focusing on the ends. Leave on for 10-15 minutes, then shampoo and condition as usual.
Strengthening blends for breakage-prone hair
This mask provides a balanced dose of protein and moisture.
- Ingredients: 1 egg, 2 tablespoons of plain yogurt, and 1 tablespoon of olive oil.
- Instructions: Whisk all ingredients together thoroughly. Apply to damp hair from root to tip. Cover with a shower cap and leave for 20-30 minutes. Rinse with cool water (to avoid scrambling the egg), then shampoo. Use monthly.
Scalp soothing masks for irritation and flaking
This mask gently exfoliates and soothes an irritated scalp.
- Ingredients: 1/2 cup of finely ground oatmeal, 2 tablespoons of warm water, and 1 tablespoon of your favorite lightweight oil (like jojoba).
- Instructions: Mix the oatmeal and water to form a paste. Stir in the oil. Part your hair and apply the mask directly to your scalp, massaging gently. Let it sit for 15-20 minutes before rinsing thoroughly and shampooing.
Shine and frizz control masks for fine or limp hair
This lightweight treatment adds shine without weighing hair down.
- Ingredients: 1/4 cup of apple cider vinegar (ACV) and 1 cup of cool water.
- Instructions: This is more of a rinse than a mask. After shampooing and conditioning, pour the diluted ACV mixture over your hair. Let it sit for a minute or two, then rinse lightly with cool water. The ACV helps to seal the hair cuticle, reducing frizz and boosting shine. Use every two weeks.
Overnight restorative formulas for deep conditioning
For very dry or damaged hair, an overnight DIY hair mask can work wonders.
- Ingredients: 2 tablespoons of shea butter and 1 tablespoon of coconut oil.
- Instructions: Melt the shea butter and coconut oil together. Allow it to cool slightly so it’s not hot, but still liquid. Apply to the lengths and ends of your hair (avoiding the scalp if you have fine hair). Braid your hair or put it in a bun, and cover with a silk scarf or shower cap to protect your pillow. In the morning, shampoo thoroughly (you may need to shampoo twice) to remove all residue.
How to apply masks, rinse techniques and styling tips
To get the most out of your DIY hair mask, follow these steps for flawless application and removal:
- Start with Clean, Damp Hair: Most masks apply best to hair that is slightly damp and free of other styling products. A light misting with a spray bottle is perfect.
- Section Your Hair: Divide your hair into 4-6 sections. This ensures you get even coverage from root to tip.
- Apply Strategically: Use your fingers or a brush to apply the mask. If your goal is moisture, focus on the mid-lengths and ends. For scalp treatments, gently massage the mixture directly onto the scalp.
- Cover and Wait: Use a shower cap or a warm towel to cover your hair. This traps heat, which helps the ingredients penetrate more effectively. Let the mask sit for the recommended time.
- Rinse Thoroughly: This is a critical step. Use lukewarm water to rinse the mask out completely. If your hair still feels coated, you haven’t rinsed enough. For protein masks, always use cool water.
- Follow Up: Depending on the mask, you may need to follow with your regular shampoo and conditioner. For very moisturizing masks, you might be able to skip conditioner. Style as usual.
Troubleshooting: dullness, buildup and unwanted stiffness
Sometimes, a DIY hair mask adventure doesn’t go as planned. Here’s a quick guide to fixing common issues.
| Problem | Likely Cause | Solution for Next Time |
|---|---|---|
| Hair feels greasy or weighed down | Mask was too heavy for your hair type, or not rinsed out properly. | Use lighter oils (e.g., grapeseed instead of coconut). Apply only to ends. Rinse with lukewarm water for an extra minute. |
| Hair feels stiff, dry, or brittle | Protein overload. | Avoid protein-heavy ingredients like eggs or yogurt for a few weeks. Focus on moisture-only masks with aloe, honey, or avocado. |
| Hair looks dull or has a film on it | Product buildup from the mask. | Perform a clarifying rinse (like the ACV recipe) after the treatment. Ensure you are rinsing thoroughly. |
When homemade care is not enough: signs to consult a professional
A DIY hair mask can solve many common hair woes, but it is not a cure-all. It’s time to consult a dermatologist or a trichologist (a hair and scalp specialist) if you experience:
- Persistent, significant hair loss.
- Scalp conditions that don’t improve, such as severe dandruff, psoriasis, or eczema.
- Pain, sores, or intense itching on the scalp.
- A sudden change in your hair’s texture or density.
These can be signs of underlying health issues that require professional diagnosis and treatment. In 2025 and beyond, a holistic approach that combines smart at-home care with professional medical advice when needed will be the best strategy for hair health.
FAQ: timing, frequency and storage
How often should I use a DIY hair mask?
For most moisturizing masks, once a week is a great routine. For strengthening protein masks, limit use to once or twice a month to avoid protein overload.
How long should I leave a hair mask on?
This depends on the ingredients. Quick moisture boosts can take just 10-15 minutes. Deeper conditioning treatments benefit from 30-60 minutes. Overnight masks are for intensive repair. Always follow the specific recipe’s guidelines.
Can I store my homemade hair mask?
It’s strongly recommended to make a fresh batch for each use. Since these masks contain no preservatives, they can spoil quickly and grow bacteria. If you have leftovers, you can store them in an airtight container in the refrigerator for a maximum of 24-48 hours.
References and further reading
For more evidence-based information on hair and scalp health, we recommend these trusted resources:
- NHS Scalp Advice: Provides clear, medical guidance on common scalp conditions like dandruff.
- Research Articles Repository: A database for scientific studies on the effects of various natural ingredients on hair health.
- Dermatology Reference: Offers in-depth information on hair biology and care from a dermatological perspective.