The Ultimate Guide to a DIY Hair Mask: Recipes and Science for Healthy Hair
Welcome to the ultimate guide to creating the perfect DIY hair mask right from your kitchen. Forget expensive salon treatments; the secret to luscious, healthy hair might just be sitting in your pantry. In this guide, we will explore the science behind what your hair truly needs, provide step-by-step recipes for every hair concern, and empower you to create a customized hair care ritual that delivers visible results. Get ready to transform your hair care routine in 2025 and beyond.
Why a Homemade DIY Hair Mask is Your Hair’s Best Friend
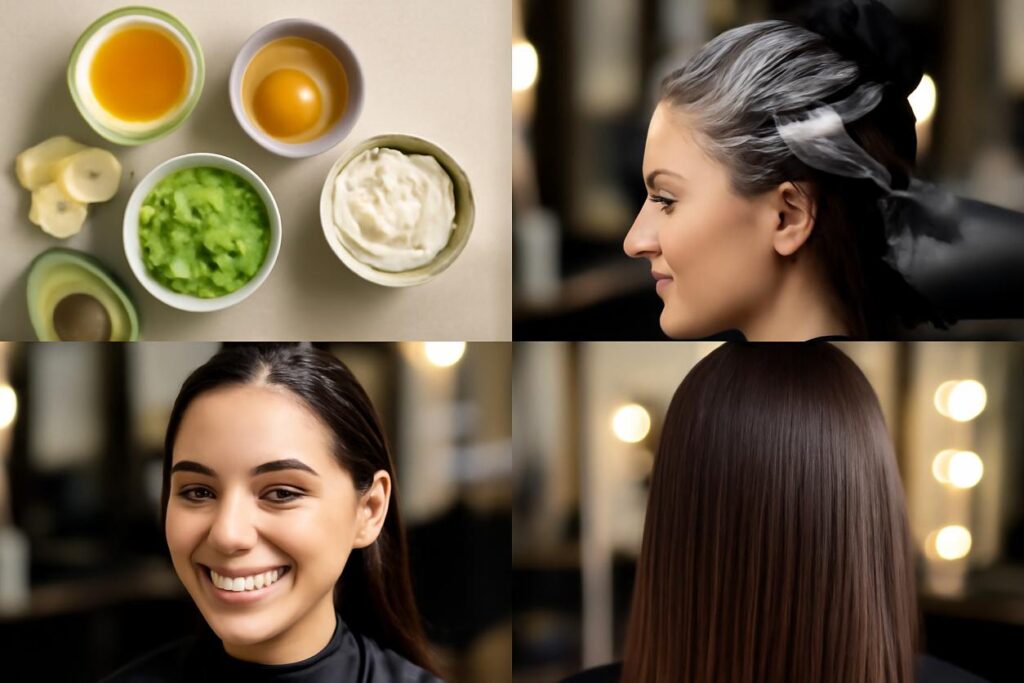
A DIY hair mask is a deep conditioning treatment made from natural, household ingredients. Unlike many store-bought products that can contain silicones, sulfates, and synthetic fragrances, a homemade mask gives you complete control. You can tailor the ingredients to your specific hair type and concerns, whether you are battling dryness, frizz, or a lackluster appearance. By using fresh, nutrient-rich ingredients, you are delivering a potent dose of vitamins, fats, and proteins directly to your hair shaft and scalp, promoting long-term health from the inside out.
The Simple Science: How Hair and Scalp Health Dictate Your Mask Choice
To understand why a DIY hair mask works, it helps to know a little about hair structure. Each hair strand has an outer layer called the cuticle, which looks like overlapping scales. When these scales lie flat, your hair appears smooth and shiny. When they are raised due to damage or dryness, hair can look frizzy and dull. The inner core, the cortex, provides strength and elasticity. Your scalp produces a natural oil called sebum, which moisturizes and protects your hair. Your hair type, porosity (how well it absorbs and retains moisture), and scalp condition determine which ingredients will be most effective. For a deeper dive into hair structure, see this review on hair structure and biology.
Safety First: The Importance of Patch Testing
Even natural ingredients can cause allergic reactions. Before applying any new DIY hair mask to your entire head, it is crucial to perform a patch test. Apply a small amount of the mixture to a discreet area of your skin, like behind your ear or on your inner elbow. Wait 24 hours to check for any signs of redness, itching, or irritation. If a reaction occurs, do not use the mask. This simple step ensures your at-home spa day remains a safe and pleasant experience.
Your Pantry Pharmacy: Core DIY Hair Mask Ingredients and Their Superpowers
Building an effective DIY hair mask starts with understanding your building blocks. Most recipes revolve around a combination of oils, proteins, humectants, and fats.
Oils: The Sealers and Smoothers
Oils are fantastic for sealing in moisture and smoothing the hair cuticle. They add shine and reduce frizz. Some oils, like coconut oil, can penetrate the hair shaft to reduce protein loss.
- Coconut Oil: Excellent for preventing protein loss and adding moisture. Best for medium to thick hair types. A study on hair cosmetics highlights its unique ability to penetrate hair.
- Olive Oil: A great emollient that softens and moisturizes. Suitable for most hair types, especially dry and thick hair.
- Jojoba Oil: Its molecular structure is very similar to our scalp’s natural sebum, making it a wonderful moisturizer that does not weigh hair down. Ideal for fine or oily hair.
Proteins: The Strengtheners
Hair is primarily made of protein (keratin). Protein treatments help patch up gaps in the cuticle, strengthening damaged, weak, or chemically treated hair. Be cautious, as too much protein can make hair brittle.
- Egg: The yolk is rich in fats and vitamins, while the white is packed with protein. Use the whole egg for normal hair, just the whites for oily hair, and just the yolk for dry hair.
- Greek Yogurt: Contains lactic acid to cleanse the scalp and proteins to nourish and strengthen strands.
Humectants: The Moisture Magnets
Humectants are ingredients that attract water from the atmosphere and draw it into the hair shaft, providing deep hydration.
- Honey: A natural humectant and emollient, honey attracts moisture and helps smooth the hair. It also has natural antiseptic properties.
- Aloe Vera Gel: Packed with vitamins and enzymes, aloe vera hydrates the hair and soothes the scalp without leaving a greasy residue.
Emollient-Rich Fats: The Softeners
These creamy ingredients are rich in fatty acids that lubricate the hair shaft, increasing softness, flexibility, and shine.
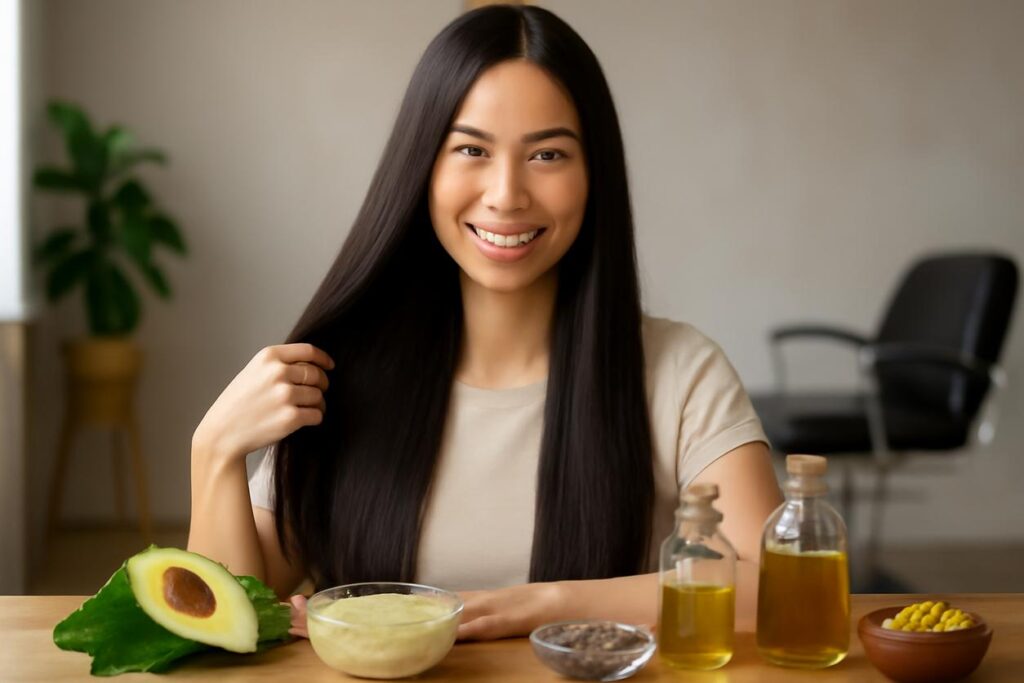
- Avocado: A powerhouse of vitamins, minerals, and fatty acids that provides intense moisture and nourishment.
- Banana: Rich in potassium and natural oils, bananas improve elasticity and prevent split ends.
Choosing Your Base: A Foundation for Every Hair Type
The foundation of your DIY hair mask should cater to your hair’s primary characteristic. This ensures the treatment is effective without causing unwanted side effects like greasy roots or weighed-down strands.
- For Fine Hair: Start with lighter bases like aloe vera gel or Greek yogurt. Use oils like jojoba or almond oil sparingly.
- For Thick or Coarse Hair: Richer bases like avocado, banana, or coconut oil are excellent choices as they provide intense moisture.
- For Curly Hair: Curly hair is often prone to dryness, so focus on hydrating humectants like honey and rich emollients like avocado and olive oil.
- For Color-Treated Hair: Focus on strengthening and moisturizing ingredients. Avoid ingredients that can alter color, like lemon juice in large quantities. A yogurt or avocado base is a safe and effective option.
Five Starter DIY Hair Mask Recipes for Common Concerns
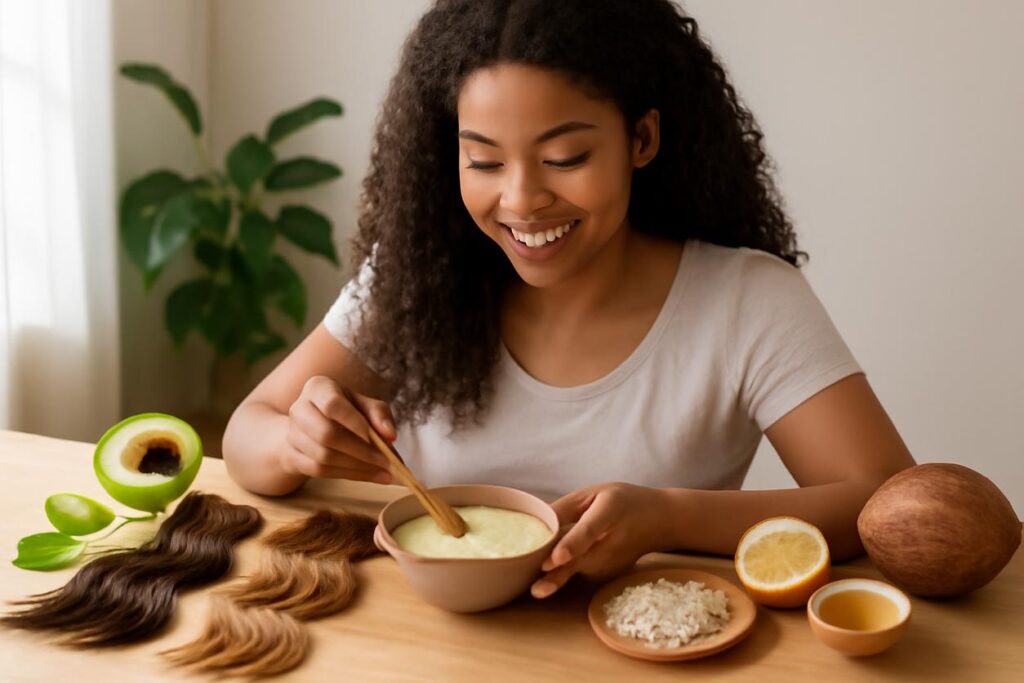
Here are five simple, effective recipes to get you started. Remember to use fresh, ripe ingredients and blend them until smooth to avoid chunks in your hair.
1. The Ultimate Hydration Mask for Thirsty Hair
Best for: Dry, dull, or sun-exposed hair.
- Ingredients: 1/2 ripe avocado, 1 tablespoon honey, 1 tablespoon olive oil.
- Directions: Mash the avocado until completely smooth. Stir in the honey and olive oil until you have a creamy paste.
2. The Glossy Shine-Booster Mask
Best for: All hair types needing a boost of radiance.
- Ingredients: 1/4 cup plain Greek yogurt, 1 tablespoon apple cider vinegar (ACV), 1 tablespoon honey.
- Directions: Whisk all ingredients together until well combined. The ACV helps clarify and seal the cuticle, creating a smooth surface that reflects light.
3. The Strengthening Protein Mask for Damaged Hair
Best for: Weak, brittle, or over-processed hair. Use only once or twice a month.
- Ingredients: 1 egg, 2 tablespoons coconut oil (melted), 1 tablespoon honey.
- Directions: Whisk the egg thoroughly. Slowly drizzle in the melted coconut oil and honey while continuing to whisk to prevent the egg from scrambling.
4. The Soothing Scalp Rescue Mask
Best for: Itchy, flaky, or irritated scalps.
- Ingredients: 2 tablespoons aloe vera gel, 1 tablespoon jojoba oil, 3 drops of tea tree essential oil.
- Directions: Mix the aloe vera gel and jojoba oil. Add the tea tree oil and stir well. Tea tree oil has natural antifungal properties that can help with dandruff.
5. The Frizz-Control Smoothing Mask
Best for: Frizzy, unruly, or humidity-affected hair.
- Ingredients: 1 ripe banana, 2 tablespoons plain yogurt, 1 tablespoon honey.
- Directions: Blend the banana until it is completely pureed (this is key to avoid banana bits!). Mix in the yogurt and honey until smooth.
The Ritual: Step-by-Step Preparation and Application Technique
Getting the most out of your DIY hair mask is all in the application.
- Prepare Your Hair: Start with clean, damp (towel-dried) hair. This allows the ingredients to penetrate more effectively than on dry or dirty hair.
- Section Your Hair: Divide your hair into 4-6 manageable sections. This ensures even distribution from root to tip.
- Apply the Mask: Using your fingers or a brush, apply the mask from the mid-lengths to the ends, which are typically the driest parts. If you are targeting your scalp (like with the Soothing Scalp mask), gently massage it into your roots.
- Let it Penetrate: Pile your hair on top of your head and cover it with a shower cap or a warm towel. The heat helps open the hair cuticles, allowing the mask to penetrate deeper.
- Wait: Leave the mask on for 20-30 minutes. Avoid leaving masks with ingredients like egg or vinegar on for too long.
- Rinse Thoroughly: Rinse the mask out with lukewarm water. Using water that is too hot can cook ingredients like egg and make them difficult to remove. Follow with a cool water rinse to seal the cuticle.
- Shampoo and Condition (If Needed): Depending on the ingredients used, you may need to shampoo lightly to remove all residue, especially with heavier oils. Always follow with your regular conditioner to seal in the benefits.
Perfecting Your Routine: Timing, Frequency, and Layering
Consistency is key. For most hair types, using a DIY hair mask once a week is a great starting point. Overly damaged or dry hair might benefit from twice-weekly treatments initially, while very fine or oily hair may only need a mask every two weeks. Listen to your hair. If it starts to feel weighed down or greasy, scale back. If it still feels dry, increase the frequency or switch to a richer recipe. You can apply your mask before or after shampooing, but applying to clean, damp hair generally yields the best results.
Become a Mix-Master: Customizing Your DIY Hair Mask
The real beauty of a DIY hair mask is its adaptability. Use our recipe table below as a starting point to create your own perfect blend.
| Hair Goal | Base (Choose 1) | Booster (Choose 1-2) | Essential Oil (Optional, 2-3 drops) |
|---|---|---|---|
| Moisture | Avocado, Banana, Yogurt | Honey, Aloe Vera, Olive Oil | Lavender (all types), Ylang Ylang (dry) |
| Strength | Egg, Greek Yogurt | Coconut Oil, Jojoba Oil | Rosemary (growth), Peppermint (circulation) |
| Scalp Health | Aloe Vera Gel, Yogurt | Apple Cider Vinegar, Honey | Tea Tree (dandruff), Peppermint (itchy) |
| Shine | Yogurt, Aloe Vera Gel | Apple Cider Vinegar, Honey | Geranium (shine), Lemon (clarifying) |
Seasonal Adjustments
Your hair’s needs change with the seasons. In winter, you might need a richer, more hydrating mask with avocado or banana to combat indoor heating. In summer, you might prefer a lighter mask with aloe vera to soothe sun exposure and focus on controlling frizz with honey.
Reflecting Diet and Lifestyle Changes
Your hair often reflects your overall health. If you are focusing on improving your diet, your hair’s needs might change. Remember that good hair starts from within, as highlighted in this review on nutrition and hair health. A DIY hair mask is a topical supplement to a healthy lifestyle.
Troubleshooting Common DIY Hair Mask Results
- My hair feels greasy or weighed down. You may have used too much oil, a base that was too heavy for your hair type, or you did not rinse thoroughly enough. Try using less oil next time or add a clarifying ingredient like apple cider vinegar.
- My hair still feels dry. Your hair might need a more potent humectant or a richer oil. Try adding more honey or switching from jojoba oil to olive or avocado oil. Ensure you are leaving the mask on long enough with heat (a warm towel).
- I have bits of food in my hair! This is a common beginner mistake! The key is to blend your ingredients until they are perfectly smooth, especially banana and avocado. Straining the mixture through a fine-mesh sieve can also help.
Pantry Logistics: Storage, Sourcing, and Smart Swaps
Because they are made with fresh ingredients, DIY hair masks should be made right before you use them. They do not contain preservatives and can spoil quickly. Always use fresh, high-quality ingredients for the best results. Organic is a great choice when possible. If you do not have a specific ingredient, feel free to swap it for another from the same category. For example, if you are out of olive oil, almond or grapeseed oil can work. No avocado? Try a banana.
Frequently Asked Questions About DIY Hair Masks
Can I apply a DIY hair mask to dry hair?
You can, but applying it to damp hair is generally more effective. The water on the hair helps the ingredients absorb better and spread more evenly.
How long should I leave a DIY hair mask on?
A good rule of thumb is 20-30 minutes. Protein-heavy masks (with egg) should not be left on for more than 20 minutes to prevent hair from becoming stiff.
Do I need to shampoo after a hair mask?
It depends on the ingredients. If you use heavy oils or butter, a light shampoo may be necessary to remove the residue. For lighter masks with aloe or yogurt, a thorough rinse might be sufficient.
Conclusion: Your Simple Weekly Hair Care Plan
Incorporating a weekly DIY hair mask into your routine is a simple yet powerful act of self-care. It is an affordable, effective, and fun way to achieve the healthy, vibrant hair you have always wanted. Start by choosing one of the starter recipes that matches your primary hair concern. Set aside 30 minutes once a week to mix, apply, and relax. By listening to your hair and adjusting your custom blends, you will be well on your way to mastering the art of natural hair care and unlocking your hair’s true potential.