The Ultimate Guide to a DIY Hair Mask: Recipes and Tips for Healthy Hair
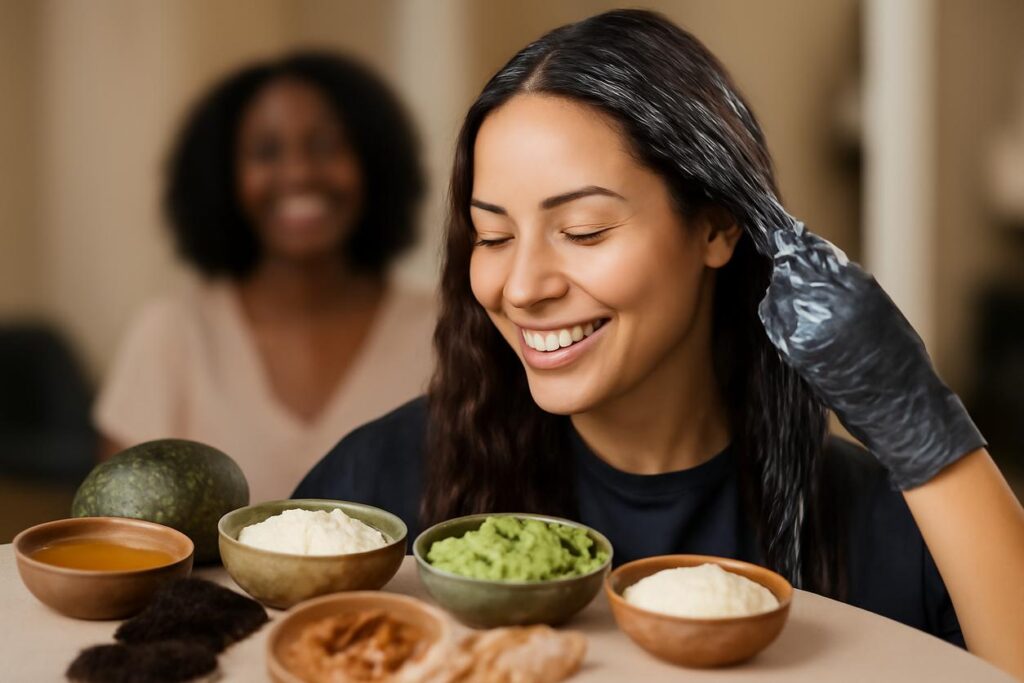
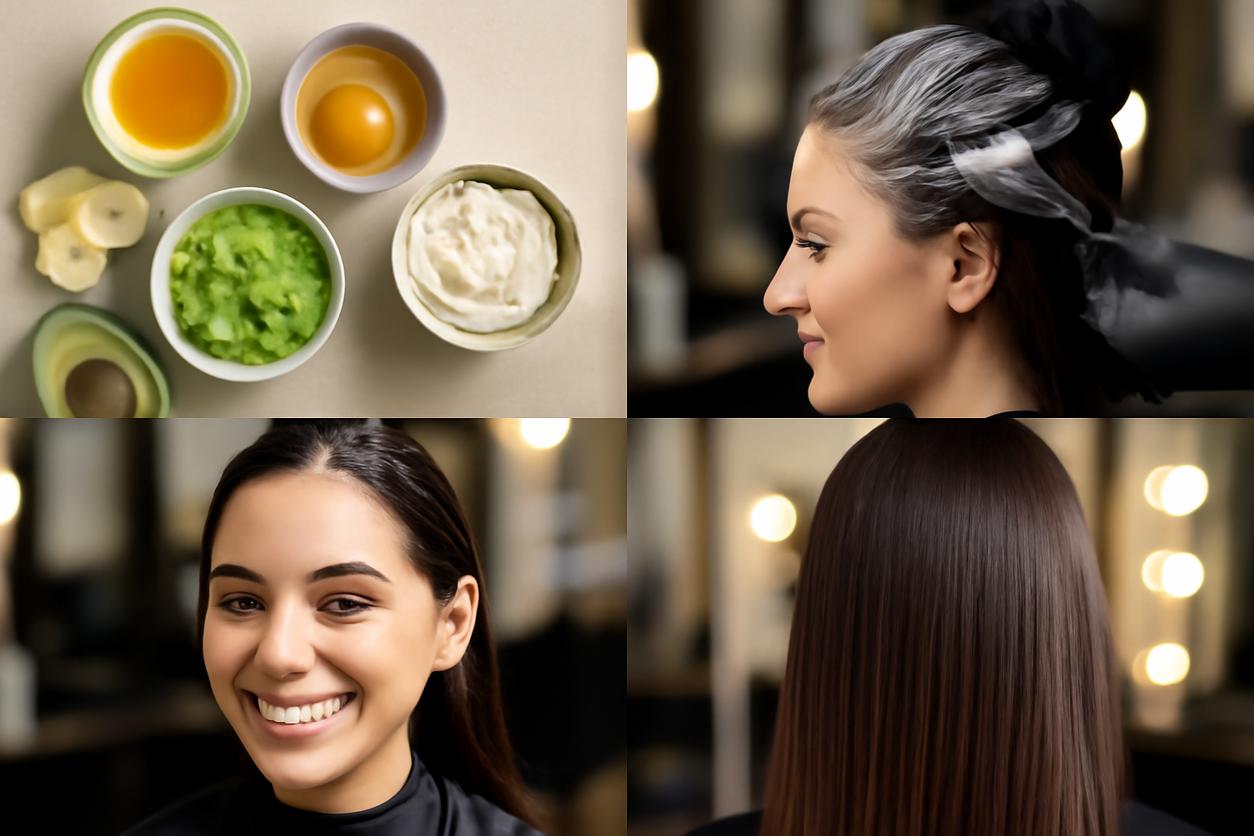
Unlock the secret to luscious, healthy hair without leaving your kitchen. A DIY hair mask is a powerful, cost-effective, and natural way to give your locks the specific nourishment they crave. Forget complicated ingredient lists and expensive salon treatments; the best remedies are often sitting in your pantry. This guide will walk you through everything you need to know, from assessing your hair’s needs to whipping up the perfect homemade hair mask for shine, strength, and hydration.
Table of Contents
- How to Assess Your Hair Needs and Goals
- Kitchen Ingredients to Keep on Hand
- Hydration Mask for Dry Hair
- Repair Mask for Damaged Hair
- Frizz Control and Shine Boost Mask
- Scalp Care Mask and Massage Routine
- How to Apply Masks Effectively and Timing Guide
- Patch Testing, Allergies, and Safety Checklist
- Storing Mixes and Frequency Recommendations
- Troubleshooting Common Results
- FAQ: Quick Answers to Typical Questions
- Further Reading
How to Assess Your Hair Needs and Goals
Before you start mixing, it’s crucial to understand what your hair is asking for. The effectiveness of a DIY hair mask depends entirely on matching the ingredients to your specific hair concerns. Ask yourself these questions to pinpoint your primary goal:
- Is my hair dry or brittle? If it feels rough, snaps easily, and lacks shine, your primary goal is hydration.
- Is my hair limp, mushy, or over-processed? If you regularly use heat styling tools or have chemically treated hair (colored, permed), you likely need repair and protein.
- Is my hair frizzy and dull? If your hair struggles with humidity and lacks a healthy sheen, you should focus on smoothing the cuticle and boosting shine.
- Is my scalp itchy, flaky, or oily? A healthy scalp is the foundation of healthy hair. If you have scalp issues, your focus should be on soothing and balancing.
Once you identify your main goal, you can select the perfect recipe to transform your hair.
Kitchen Ingredients to Keep on Hand
Your kitchen is a treasure trove of hair-loving ingredients. Having a few of these staples ready will make whipping up a DIY hair mask a breeze. Here are some of the best, along with why they work.
Moisture and Hydration
- Avocado: Packed with biotin and natural oils like oleic acid, which penetrate the hair shaft to moisturize deeply rather than just coating it.
- Honey: A natural humectant, meaning it attracts and locks moisture into your hair strands. Its antibacterial properties are also great for scalp health.
- Banana: Rich in silica, a mineral that helps synthesize collagen and can make hair stronger and thicker. Its moisture content is fantastic for softening hair.
- Yogurt: The lactic acid in yogurt helps to gently cleanse the scalp and hair, while the fat content provides moisture.
- Aloe Vera Gel: Contains proteolytic enzymes which repair dead skin cells on the scalp. It also acts as a great conditioner, leaving your hair smooth and shiny.
Strength and Repair
- Egg: The yolk is rich in fats and vitamins for moisturizing, while the white is packed with protein to help rebuild the keratin gaps in damaged hair strands.
- Greek Yogurt: Offers a great balance of protein for strength and probiotics for a healthy scalp environment.
Shine and Sealing
- Coconut Oil: Its lauric acid has a low molecular weight, allowing it to penetrate the hair shaft and reduce protein loss. It’s excellent for sealing in moisture.
- Olive Oil: A fantastic emollient that softens hair and imparts a beautiful shine. It contains oleic acid, palmitic acid, and squalene, all known for their softening qualities.
- Apple Cider Vinegar (ACV): An ACV rinse (heavily diluted) can help seal the hair cuticle, which reduces frizz and increases shine. Use sparingly as it can be drying if overused.
Hydration Mask for Dry Hair (Recipe and Steps)
This mask is a drink of water for thirsty, brittle hair. It combines deep moisturizers to leave your hair feeling soft, manageable, and revitalized.
The Ultimate Moisture Bomb Mask
- Ingredients: 1/2 ripe avocado, 1 tablespoon of honey, 1 tablespoon of olive oil.
- The Science: Avocado’s fatty acids deeply penetrate the hair, honey draws in moisture, and olive oil seals it all in for lasting softness.
Instructions:
- Mash the avocado in a bowl until it is completely smooth and free of lumps.
- Stir in the honey and olive oil until you have a creamy, consistent paste.
- Apply to clean, damp hair, focusing on the mid-lengths and ends.
- Leave on for 20-30 minutes before rinsing thoroughly with lukewarm water. Follow with your regular conditioner if needed.
Repair Mask for Chemically or Heat-Damaged Hair (Recipe and Steps)
If your hair has been through a lot, this protein-rich mask can help temporarily patch up damage and restore a sense of strength and resilience.
The Protein Power-Up Mask
- Ingredients: 1 egg, 2 tablespoons of plain Greek yogurt, 1 tablespoon of coconut oil (melted).
- The Science: The protein in the egg and yogurt helps fill in the weakened, porous spots along the hair cuticle, while coconut oil reduces further protein loss.
Instructions:
- Whisk the egg in a bowl until frothy.
- Mix in the Greek yogurt and melted coconut oil until well combined.
- Apply the mixture to damp hair from root to tip.
- Let it sit for 20 minutes. Crucially, rinse with cool or lukewarm water—hot water can cook the egg in your hair!
- Shampoo and condition as usual.
Frizz Control and Shine Boost Mask (Recipe and Steps)
Tame flyaways and give your hair a mirror-like shine with this smoothing, nutrient-rich treatment.
The Sleek and Shiny Finisher
- Ingredients: 1 ripe banana, 2 tablespoons of plain yogurt, 1 teaspoon of honey.
- The Science: Banana’s high silica content helps smooth the hair’s outer layer, while yogurt’s lactic acid gently clarifies and adds shine.
Instructions:
- Blend the banana until it is completely pureed. This step is vital to avoid banana chunks in your hair.
- Stir the yogurt and honey into the banana puree until you have a smooth mixture.
- Apply to damp hair and let it sit for 30 minutes under a shower cap.
- Rinse thoroughly, then shampoo and condition.
Scalp Care Mask and Massage Routine
Healthy hair starts with a healthy scalp. This mask soothes irritation, tackles buildup, and stimulates circulation for better growth.
The Soothing Scalp Reset
- Ingredients: 1/4 cup of cool green tea (brewed and cooled), 1 tablespoon of aloe vera gel, 2 drops of rosemary essential oil.
- The Science: Green tea’s antioxidants soothe inflammation, rosemary oil stimulates circulation to the follicles, and aloe vera calms irritation.
Instructions and Massage Routine:
- Mix the cool green tea, aloe vera gel, and rosemary oil in a small bowl or applicator bottle.
- Apply the liquid mixture directly to your scalp, parting your hair in sections to ensure even coverage.
- Once applied, use the pads of your fingers (not your nails) to gently massage your scalp in small, circular motions for 3-5 minutes. This helps exfoliate and boost blood flow.
- Leave the mask on for 20 minutes before rinsing and washing your hair as normal.
How to Apply Masks Effectively and Timing Guide
Getting the most out of your DIY hair mask comes down to proper application. Follow these simple steps for the best results.
Preparation
Always start with clean, towel-dried hair. If your hair is too wet, the mask will drip off and be diluted. If it’s dirty, a layer of oil and product buildup can prevent the nutrients from penetrating.
Application
Divide your hair into 4-6 sections. Apply the mask to one section at a time, ensuring every strand is coated. For most masks (except scalp-focused ones), concentrate the product on the mid-lengths and ends, as this is the oldest and typically most damaged part of your hair.
Timing and Heat
Most homemade hair masks work best when left on for 20-30 minutes. To boost a mask’s effectiveness, cover your hair with a shower cap or a warm towel. This traps heat from your scalp, which helps open the hair cuticles and allows the ingredients to penetrate more deeply.
Patch Testing, Allergies, and Safety Checklist
Even natural ingredients can cause reactions. Safety first!
- Perform a Patch Test: Before applying a new mask all over your hair and scalp, test a small amount of the mixture on your inner arm or behind your ear. Wait 24 hours to check for any signs of redness, itching, or irritation.
- Be Aware of Allergies: If you have food allergies (like to eggs, dairy, or nuts), do not use those ingredients in your hair mask.
- Use Fresh Ingredients: Always make your DIY hair mask fresh for each use. Food-based ingredients can spoil quickly and harbor bacteria.
Storing Mixes and Frequency Recommendations
Because these masks are made from fresh, preservative-free ingredients, they are best used immediately.
- Storage: It is not recommended to store leftover fresh hair masks. Discard any unused portion. The ingredients can spoil, grow bacteria, and lose their potency.
- Frequency: How often you use a mask depends on your hair’s condition. For a transformative hair strategy in 2025 and beyond, consistency is key.
- Very Dry or Damaged Hair: Once per week.
- Normal to Combination Hair: Once every two weeks.
- Fine or Oily Hair: Once or twice a month, focusing primarily on the ends.
Troubleshooting Common Results
Didn’t get the result you were hoping for? Here’s a quick guide to what might have happened and how to fix it next time.
| Problem | Possible Cause | Solution for Next Time |
|---|---|---|
| My hair feels greasy or weighed down. | Too much oil was used, or the mask wasn’t rinsed out completely. | Reduce the amount of oil in the recipe. Ensure you shampoo thoroughly (maybe twice) after rinsing. |
| My hair feels stiff or brittle. | This can be a sign of “protein overload,” especially with egg-based masks on low-porosity hair. | Alternate your protein mask with a hydrating, protein-free mask. Always follow a protein treatment with a moisturizing conditioner. |
| I don’t see any difference. | Results take time, or the mask might not be the right fit for your hair type. | Use the mask consistently for at least a month. If you still see no change, reassess your hair needs and try a different recipe. |
FAQ: Quick Answers to Typical Questions
Can I use a DIY hair mask on color-treated hair?
Yes! In fact, a hydrating or repair mask can be very beneficial for color-treated hair. However, avoid ingredients with high acidity like lemon juice or large amounts of ACV, as they can potentially lighten or strip color over time.
Can I leave a DIY hair mask on overnight?
It’s generally not recommended. Leaving a wet, food-based mixture on your scalp for that long can create a breeding ground for bacteria or fungus and may lead to scalp irritation or a condition called hygral fatigue (damage from excessive moisture swelling the hair shaft).
What is the best DIY hair mask for hair growth?
While no mask can magically make hair grow faster, a scalp-focused mask can create the ideal environment for healthy growth. The “Soothing Scalp Reset” recipe with rosemary oil is a great choice, as rosemary has been studied for its ability to stimulate circulation to the scalp. However, remember that great hair also relies on great hair nutrition from the inside out.
Further Reading
Creating your own DIY hair mask is a fantastic and empowering step in your hair care journey. It allows you to connect with natural ingredients and give your hair exactly what it needs, when it needs it. By understanding your hair type and being consistent, you can achieve strong, shiny, and healthy hair right from your own kitchen. For those with textured hair looking for more specialized advice, be sure to explore our top curly hair tips for more ways to care for your beautiful curls and coils.


