The Ultimate Guide to a DIY Hair Mask: Recipes for Every Hair Type
Unlock the secret to healthier, shinier hair right from your own kitchen. This comprehensive guide will walk you through everything you need to know about creating an effective DIY hair mask tailored to your specific needs. Forget expensive treatments; the power to transform your hair lies in simple, natural ingredients. From hydrating dry strands to soothing an irritated scalp, get ready to mix up your perfect at-home hair solution.
Safety First: The Golden Rules of DIY Hair Masks
Before you start mixing, safety is paramount. Natural does not always mean allergy-free. Following these simple rules ensures your DIY hair mask experience is positive and beneficial.
The Patch Test: Your Non-Negotiable First Step
Always perform a patch test 24-48 hours before applying a new mixture to your entire head. Apply a small amount of the mask to a discreet area of skin, like behind your ear or on your inner elbow. If you experience any redness, itching, or irritation, do not use the mask.
Ingredient Quality and Freshness
Use fresh, high-quality ingredients for your homemade hair mask. Expired oils or overripe produce can harbor bacteria or lose their potency. Think of it as feeding your hair the best nutrients possible. For more on how nutrients affect your body, including your hair, check out this guide on hair nutrition.
What to Avoid: Kitchen Ingredients That Harm Hair
While many kitchen staples are hair-friendly, some can cause damage. Avoid using ingredients with a very high or low pH, such as pure lemon juice or baking soda, directly on your hair without significant dilution. These can strip your hair’s natural oils and disrupt your scalp’s delicate balance. Always consult reliable sources for scalp safety guidance when in doubt.
Your DIY Hair Mask Pantry: Understanding Key Ingredients
The magic of a great DIY hair mask lies in its ingredients. Understanding what each component does will empower you to customize recipes for your unique hair goals.
- Moisturizers (Oils and Butters): Ingredients like coconut oil, olive oil, shea butter, and avocado are rich in fatty acids. They penetrate the hair shaft to provide deep hydration, reduce frizz, and add shine. Research shows that certain oils, like coconut oil, can effectively reduce protein loss from hair. More information can be found in this collection of coconut oil research.
- Humectants (Hydrators): Honey, agave, and aloe vera are natural humectants. This means they attract and lock moisture into your hair strands, making them perfect for combating dryness and improving elasticity.
- Proteins (Strengtheners): Egg, Greek yogurt, and banana provide a protein boost to repair and strengthen the hair cuticle. This is especially beneficial for hair that is brittle, damaged, or chemically treated.
- Clarifiers and Soothers: Apple cider vinegar and bentonite clay can help remove product buildup and excess oil. Ingredients like oatmeal and green tea have anti-inflammatory properties that can soothe an irritated scalp.
Match the Mask to Your Hair: A Simple Guide
Not all hair is created equal. Identifying your hair type is the first step toward creating a homemade hair mask that delivers real results.
| Hair Type | Common Issues | Key Ingredients to Look For |
|---|---|---|
| Dry or Damaged Hair | Frizz, dullness, split ends | Avocado, banana, olive oil, honey, shea butter |
| Weak or Brittle Hair | Breakage, lack of elasticity | Egg, Greek yogurt, coconut oil, castor oil |
| Oily or Buildup-Prone Hair | Greasy roots, flat appearance | Bentonite clay, apple cider vinegar, strawberry |
| Sensitive or Itchy Scalp | Irritation, dandruff, redness | Aloe vera, oatmeal, green tea, peppermint oil (diluted) |
The Ultimate Guide to Preparation and Application
Creating and applying your mask correctly is just as important as the ingredients you choose. Follow these steps for a mess-free, effective treatment.
Step 1: Gather Your Tools and Ingredients
You will need a non-metallic bowl (metal can react with some ingredients like clay), a mixing spoon or whisk, a shower cap or plastic wrap, and an old towel to protect your clothing.
Step 2: Mixing Your Mask to the Perfect Consistency
Combine your ingredients in the bowl. Whisk or blend them until you achieve a smooth, lump-free consistency, similar to a commercial conditioner. This ensures even application and makes the mask easier to rinse out.
Step 3: Application for Maximum Benefit
For most masks, it is best to apply them to clean, damp hair. This allows the ingredients to penetrate the hair cuticle more effectively.
- Section your hair to ensure every strand is covered.
- Start applying the mask from the ends, working your way up to the roots. For clarifying or scalp-focused masks, you can start at the scalp.
- Once your hair is fully saturated, gently comb it through with your fingers or a wide-tooth comb.
- Pile your hair on top of your head and cover it with a shower cap or plastic wrap. The heat trapped inside will help the ingredients penetrate deeper.
DIY Hair Mask Recipes for Every Need
Here are four simple, effective recipes to get you started. Feel free to adjust and experiment based on your hair’s needs!
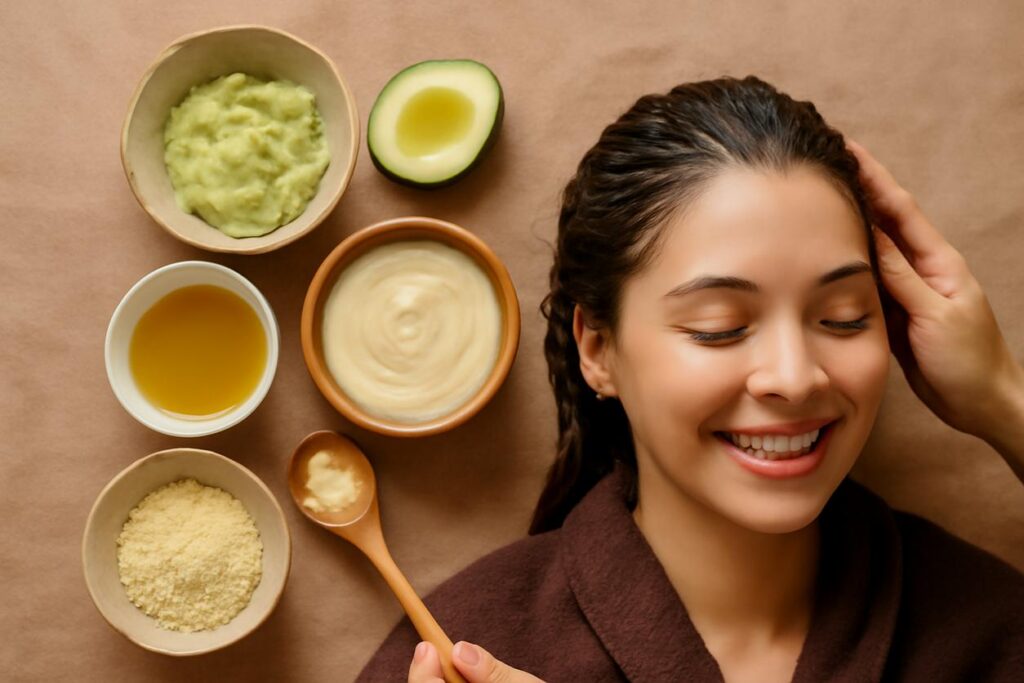
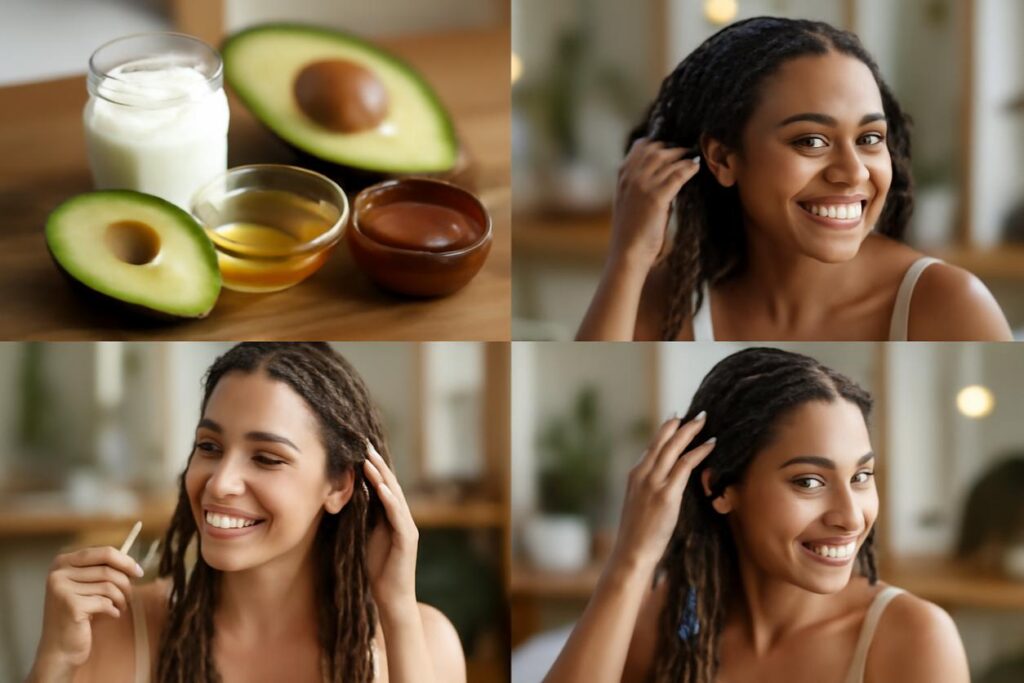
The Ultimate Hydrating Mask for Dry, Thirsty Hair
This mask is a moisture bomb for parched hair, leaving it soft and shiny.
- Ingredients: 1/2 ripe avocado, 1 tablespoon olive oil, 1 tablespoon honey.
- Instructions: Mash the avocado until completely smooth. Stir in the olive oil and honey until well combined. Apply to damp hair, leave on for 20-30 minutes, then rinse thoroughly.
- Variations: Swap olive oil for almond or jojoba oil. For a vegan option, replace honey with maple syrup or agave nectar.
A Strengthening Mask for Weak or Brittle Hair
Boost your hair’s resilience and fight breakage with this protein-packed treatment.
- Ingredients: 1 egg, 2 tablespoons plain Greek yogurt, 1 tablespoon coconut oil (melted).
- Instructions: Whisk the egg in a bowl, then stir in the yogurt and melted coconut oil. Apply to hair from root to tip. Leave on for 20 minutes. Important: Rinse with cool or lukewarm water to avoid “cooking” the egg in your hair.
- Alternatives: For a vegan protein boost, use 1/2 mashed banana and 1 tablespoon of olive oil instead of the egg and yogurt.
A Soothing Mask for Sensitive or Itchy Scalps
Calm irritation and gently moisturize your scalp with this gentle, anti-inflammatory mask.
- Ingredients: 2 tablespoons pure aloe vera gel, 1 tablespoon finely ground oatmeal (colloidal oatmeal works best), 1-2 drops of peppermint oil.
- Instructions: Mix all ingredients until they form a paste. Focus the application on your scalp, gently massaging it in. Leave on for 15-20 minutes before rinsing.
- Precautions: Always patch-test, especially with essential oils. The benefits of aloe are well-documented; you can explore more via this aloe vera research.
A Clarifying Mask for Oily Hair and Buildup
This mask acts like a magnet, drawing out impurities, excess oil, and product residue without stripping your hair.
- Ingredients: 2 tablespoons bentonite clay, 1 tablespoon apple cider vinegar (ACV), 2-3 tablespoons of water.
- Instructions: In a non-metallic bowl, combine the clay and ACV. It will fizz. Slowly add water and mix until you have a smooth, yogurt-like paste. Apply to your scalp and hair, avoiding the very ends if they are dry.
- Timing: Do not let this mask dry completely. Leave it on for 10-15 minutes, then rinse thoroughly.
Time-Saving Treatments: Quick and Overnight Options
No time for a full 30-minute treatment? No problem. A DIY hair mask can fit any schedule.
The 10-Minute Hair Boost
For a quick pick-me-up, mix 2 tablespoons of aloe vera gel with 1 tablespoon of a lightweight oil like argan or jojoba oil. Apply to damp hair, leave on for 10 minutes while you’re in the shower, and rinse.
Deep Conditioning: The Overnight DIY Hair Mask
For an intense deep conditioning treatment, you can apply a simple oil-based mask before bed. Warm-up 2-3 tablespoons of coconut or olive oil and apply it to your ends. Braid your hair, cover it with a silk scarf or shower cap to protect your pillow, and shampoo it out in the morning.
Creating Your Hair Care Routine
Consistency is key to seeing lasting results from your homemade hair mask treatments.
How Often Should You Use a DIY Hair Mask?
The ideal frequency depends on your hair type and the type of mask you are using.
- Hydrating and Soothing Masks: Once a week is generally sufficient.
- Strengthening (Protein) Masks: Use every 2-4 weeks. Overloading on protein can make hair stiff and brittle.
- Clarifying Masks: Use once or twice a month, or as needed to remove buildup.
Tracking Your Results for Better Hair in 2025
Keep a simple journal to track which DIY hair mask recipes you use and how your hair responds. Note changes in shine, softness, and manageability. This will help you refine your favorite recipes and build the perfect hair care strategy for 2025 and beyond.
The Aftercare Playbook: Rinsing and Styling
What you do after your mask is just as important as the treatment itself.
Rinsing Techniques to Avoid Residue
Rinse your hair with lukewarm water until the water runs clear. For oil-heavy masks, you may need to shampoo twice. A final rinse with cool water can help seal the hair cuticle, boosting shine.
Post-Mask Styling Tips
Your hair will be in a prime state after a mask, so be gentle. Use a microfiber towel to gently squeeze out excess water. Apply a leave-in conditioner if needed and let your hair air-dry or use a heat protectant before styling.
Common DIY Hair Mask Mistakes (and How to Fix Them)
- Using the Wrong Ingredients: Applying a heavy oil mask to fine, oily hair can weigh it down. Stick to recipes designed for your hair type.
- Applying to Dirty Hair: A layer of dirt and product can prevent the mask’s nutrients from penetrating. Apply your mask to clean, damp hair for best results.
- Leaving It On Too Long: More is not always better. Clay masks can become overly drying, and protein masks can cause stiffness if left on for too long. Follow the recommended times.
- Not Rinsing Properly: Leftover residue can make hair feel greasy or stiff. Be patient and rinse thoroughly.
Frequently Asked Questions
Can I store a leftover DIY hair mask?
Because these masks are made with fresh ingredients and no preservatives, it is best to make a new batch for each use. If you have leftovers, you can store them in an airtight container in the refrigerator for up to 24 hours.
Why does my hair feel greasy after a mask?
This usually happens for two reasons: the mask was too heavy for your hair type, or it was not rinsed out completely. Try using less oil next time or using a clarifying shampoo to rinse.
Are these masks safe for color-treated hair?
Most natural ingredients are safe for color-treated hair. However, clarifying ingredients like apple cider vinegar or lemon juice can potentially fade color over time. When in doubt, perform a strand test on a small, hidden section of hair first.
References and Further Reading
For more information on the science behind hair care and ingredient safety, please explore these trusted resources: