Table of Contents
- Introduction: Why Make a DIY Hair Mask?
- How Hair Masks Help: The Science in Simple Terms
- How to Assess Your Hair Type and Porosity at Home
- Core Ingredients Explained and Ingredient Swaps
- Quick DIY Hair Mask Recipes for Dry and Damaged Hair
- Lightweight DIY Hair Mask Recipes for Oily and Fine Hair
- Hydrating DIY Hair Mask Recipes for Curly and Coarse Hair
- Step-by-Step Mixing and Application Guide
- Allergy Patch Test and Safety Precautions
- How Often to Use Masks and Building a Routine
- Storing Homemade Masks and Shelf Life Guidance
- Troubleshooting: Common Problems and Fixes
- Printable Recipe Card and Recipes Summary
- Frequently Asked Questions
- References and Further Reading
Introduction: Why Make a DIY Hair Mask?
Are you tired of staring at endless shelves of hair products with complicated ingredient lists and high price tags? You’re not alone. Welcome to the world of the DIY hair mask, a simple, effective, and budget-friendly way to give your hair the specific nourishment it craves. Creating your own treatments puts you in complete control, allowing you to select fresh, natural ingredients tailored precisely to your hair’s needs.
Whether you’re battling dryness, fighting frizz, or simply want to boost your natural shine, a homemade hair mask is a perfect addition to your haircare routine. It’s a chance to understand what your hair truly loves, turning your kitchen into a personal hair spa. This guide will walk you through everything you need to know to become a DIY hair mask pro, from understanding your hair type to whipping up the perfect recipe.
How Hair Masks Help: The Science in Simple Terms
To understand why a DIY hair mask is so effective, let’s briefly look at the structure of a hair strand. Each strand has an outer layer called the cuticle, which looks like overlapping shingles on a roof. When hair is healthy and moisturized, these cuticles lie flat, giving hair a smooth, shiny appearance. When hair is damaged or dry, the cuticles lift, leading to frizz, tangles, and dullness.
A hair mask works by using ingredients with small enough molecules to penetrate these raised cuticles and deliver potent nutrients directly to the hair shaft. These ingredients typically provide:
- Hydration: Water-based ingredients like aloe vera or yogurt restore moisture.
- Nourishment: Emollients like oils, butters, and avocado soften the hair and help the cuticles lie flat.
- Strength: Proteins from ingredients like eggs or yogurt can temporarily fill in gaps in the hair’s structure, increasing its resilience.
By letting these ingredients sit on your hair for an extended period (usually 15-30 minutes), you give them time to work their magic, resulting in softer, stronger, and more manageable locks.
How to Assess Your Hair Type and Porosity at Home
Before you start mixing, the most important step is to understand your hair’s personality. Specifically, you need to know its porosity, which is a measure of how well your hair can absorb and retain moisture. Knowing this will help you choose the right ingredients for your DIY hair mask.
The Float Test: A Simple Porosity Check
This is the easiest way to get a general idea of your hair’s porosity.
- Take a clean, product-free strand of your hair (from your brush is fine).
- Drop it into a glass of room-temperature water.
- Watch what it does for 2-3 minutes.
- Low Porosity: If the strand floats at the top, your hair has low porosity. The cuticles are tightly packed, making it hard for moisture to get in. You’ll need lightweight ingredients that won’t just sit on top of the hair.
- Medium Porosity: If the strand suspends in the middle of the glass, you have medium or “normal” porosity. This hair type absorbs and retains moisture well.
- High Porosity: If the strand sinks quickly to the bottom, your hair has high porosity. The cuticles are raised, so while it absorbs moisture easily, it also loses it just as fast. You’ll need richer, sealing ingredients to lock moisture in.
Core Ingredients Explained and Ingredient Swaps
Your kitchen is full of hair-loving ingredients. Here’s a breakdown of the core components for a great DIY hair mask and what you can swap them with.
| Ingredient Type | Examples | Purpose | Best For | Ingredient Swaps |
|---|---|---|---|---|
| Humectants (Draw moisture in) | Honey, Aloe Vera Gel, Glycerin | Hydrates the hair by attracting water molecules. | All hair types, especially dry and dehydrated. | Agave Nectar, Maple Syrup (use sparingly). |
| Emollients (Soften and smooth) | Avocado, Banana, Olive Oil, Coconut Oil | Soften, add slip, and help the hair cuticles lie flat. | Dry, coarse, and high porosity hair. | Mayonnaise, Shea Butter, Argan Oil, Jojoba Oil. |
| Proteins (Strengthen) | Greek Yogurt, Egg, Gelatin | Temporarily patch and strengthen the hair shaft. | Damaged, fine, and high porosity hair. Use with caution on low porosity hair. | Rice Water, Coconut Milk. |
| Clarifiers (Cleanse) | Apple Cider Vinegar, Lemon Juice, Bentonite Clay | Remove product buildup and balance scalp pH. | Oily, fine, and low porosity hair. | Witch Hazel, Green Tea. |
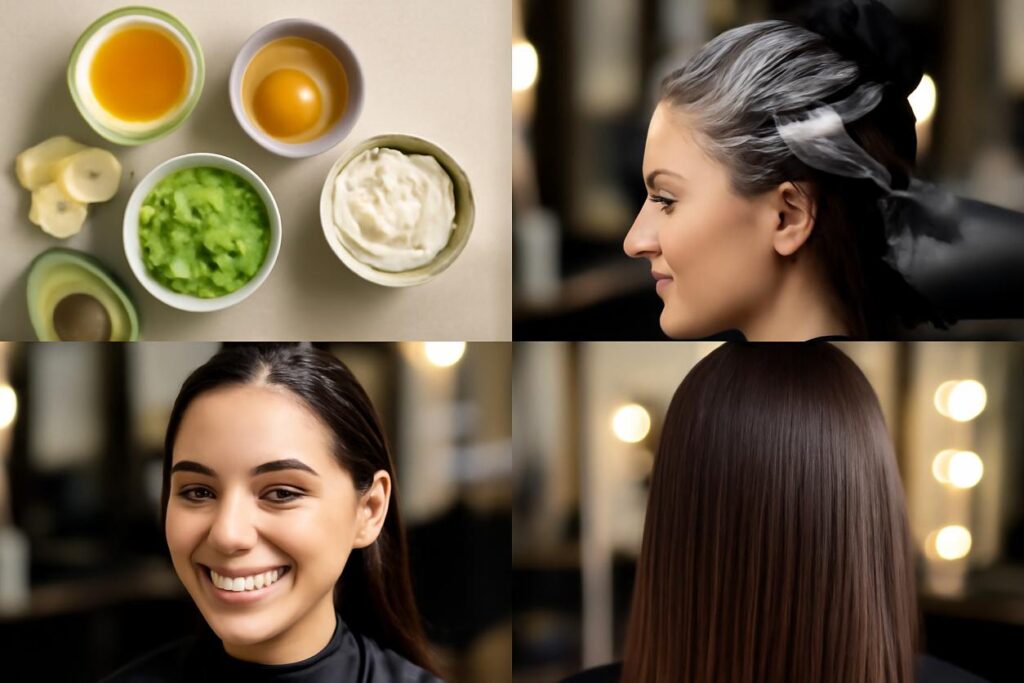
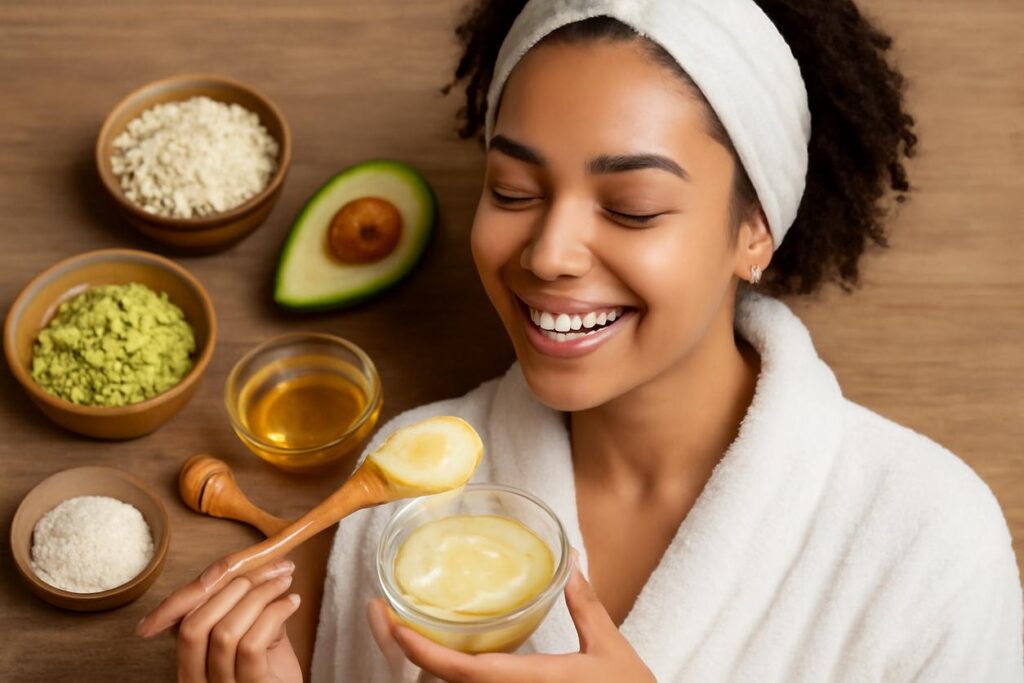
Quick DIY Hair Mask Recipes for Dry and Damaged Hair
If your hair is crying out for moisture, these rich and nourishing masks are for you. They are perfect for high porosity or chemically treated hair.
Avocado and Olive Oil Rescue Mask
This mask is a powerhouse of fatty acids and vitamins that deeply moisturize and add shine.
- Ingredients: 1/2 ripe avocado, 2 tablespoons olive oil, 1 tablespoon honey.
- Instructions: Mash the avocado until completely smooth. Stir in the olive oil and honey until you have a creamy paste. Apply to hair and leave for 20-30 minutes before rinsing.
Banana and Honey Hydration Bomb
Bananas are rich in potassium and natural oils that soften hair and improve elasticity, helping to prevent split ends.
- Ingredients: 1 ripe banana, 1 tablespoon honey.
- Instructions: Blend the banana until it is a perfect puree with no chunks (this is key for easy rinsing!). Mix in the honey. Apply to hair, focusing on the ends, and let it sit for 20 minutes.
Lightweight DIY Hair Mask Recipes for Oily and Fine Hair
For hair that gets weighed down easily, the goal is to clarify the scalp and provide light hydration without adding grease. These recipes are ideal for low porosity hair.
Yogurt and Lemon Balancing Treatment
Yogurt’s lactic acid gently cleanses the scalp, while lemon helps control oil production.
- Ingredients: 3 tablespoons plain Greek yogurt, 1 teaspoon lemon juice.
- Instructions: Mix the yogurt and lemon juice together. Apply primarily to your scalp and roots, lightly coating the lengths. Leave on for 15 minutes and rinse thoroughly with cool water.
Aloe Vera and Tea Tree Clarifying Mask
Aloe vera provides weightless moisture, and tea tree oil has natural properties to help clarify the scalp.
- Ingredients: 3 tablespoons pure aloe vera gel, 2-3 drops of tea tree essential oil.
- Instructions: Combine the ingredients and apply to the scalp and hair. Let it work for 20 minutes before washing out. This is a great pre-shampoo treatment.
Hydrating DIY Hair Mask Recipes for Curly and Coarse Hair
Curly and coarse hair textures often need intense moisture and ingredients that provide “slip” to help with detangling.
Shea Butter and Coconut Milk Deep Conditioner
This incredibly rich DIY hair mask will leave curls soft, defined, and deeply moisturized.
- Ingredients: 2 tablespoons shea butter (melted), 3 tablespoons full-fat coconut milk, 1 tablespoon argan oil.
- Instructions: Gently melt the shea butter. Whisk in the coconut milk and argan oil until the mixture is smooth. Apply to damp hair in sections, ensuring every strand is coated. Leave for 30 minutes before rinsing.
Honey and Aloe Vera Curl Quencher
A simple yet effective mask that draws in moisture and leaves curls feeling bouncy and hydrated.
- Ingredients: 3 tablespoons aloe vera gel, 2 tablespoons honey.
- Instructions: Mix until well combined. The mixture will be a bit runny. Apply to wet hair to help it spread evenly. Leave on for 20-30 minutes.
Step-by-Step Mixing and Application Guide
Getting the most out of your DIY hair mask is all in the technique. Follow these steps for a perfect application every time.
- Prepare: Gather your ingredients, a non-metallic bowl, and a whisk or fork. For the best results, start with clean, damp hair. Towel-dry your hair so it’s not dripping wet.
- Mix: Combine your ingredients in the bowl. For ingredients like avocado or banana, using a blender is highly recommended to create a completely smooth paste. Chunks are your enemy—they are very difficult to rinse out!
- Section and Apply: Divide your hair into 4-6 manageable sections. Apply the mask to one section at a time, working it in from the ends up to the roots. If you have an oily scalp, concentrate the mask on the mid-lengths and ends.
- Wait and Heat: Once your hair is fully saturated, pile it on top of your head and cover it with a shower cap or plastic wrap. This traps heat from your scalp, which helps the ingredients penetrate more deeply. You can also wrap a warm towel around the cap for an enhanced effect. Let the mask sit for 15-30 minutes.
- Rinse: Rinse the mask out thoroughly with lukewarm water. Follow up with your regular conditioner to seal the hair cuticle, if needed.
Allergy Patch Test and Safety Precautions
Even natural ingredients can cause allergic reactions. Safety should always be your top priority when creating any homemade cosmetic, including a DIY hair mask.
How to Perform a Patch Test
Before applying a new mixture all over your head, always perform a patch test.
- Apply a small amount of the mask to a discreet area of skin, like your inner elbow or behind your ear.
- Leave it on for 30 minutes, or as long as you would leave the mask on your hair.
- Rinse it off and wait for 24 hours.
- If you experience any redness, itching, or irritation, do not use the mask on your scalp or hair.
General Safety Checklist
- Use Fresh Ingredients: Never use food ingredients that are spoiled or past their prime.
- Avoid Known Allergens: If you have a food allergy, do not put that ingredient on your skin or hair.
- Be Cautious with Essential Oils: Always dilute essential oils in a carrier oil (like olive or jojoba) and use them sparingly. Never apply them directly.
- Keep Out of Eyes: If the mask gets into your eyes, rinse immediately with cool water.
How Often to Use a DIY Hair Mask and Building a Routine
Consistency is key to seeing results. For most hair types, using a DIY hair mask once a week is a great starting point. However, you should listen to your hair and adjust as needed.
- Very Dry or Damaged Hair: You might benefit from using a mask twice a week initially.
- Oily or Fine Hair: Once every two weeks might be sufficient to avoid weighing your hair down.
To make it a habit, integrate it into your weekly routine. Designate a specific day, like a Sunday evening, as your “self-care and hair mask” time. Making this a core part of your 2025 hair care strategy will yield the best long-term results.
Storing Homemade Masks and Shelf Life Guidance
Because your DIY hair mask is made from fresh, preservative-free ingredients, it has a very short shelf life. The golden rule is: make it fresh, and use it immediately.
If you make slightly too much, you can store the leftovers in an airtight container in the refrigerator for a maximum of 24-48 hours. However, its potency and freshness will decline rapidly. Never leave a homemade mask at room temperature. If it changes color, develops a strange smell, or you see any signs of mold, discard it immediately.
Troubleshooting: Common Problems and Fixes
Encountered a small hiccup with your DIY hair mask? Don’t worry. Here are some common issues and how to solve them.
| Problem | Likely Cause | Solution |
|---|---|---|
| My hair feels greasy or weighed down. | The mask was too heavy, or you didn’t rinse it out fully. | Use lighter oils (like jojoba instead of coconut), focus the mask on your ends, and rinse with lukewarm water until your hair feels clean. |
| The mask was lumpy and hard to wash out. | Ingredients like banana or avocado weren’t blended enough. | Use a blender to ensure a completely smooth, creamy consistency before application. Mixing a teaspoon of conditioner into the mask can also improve slip. |
| I don’t see any difference in my hair. | The ingredients may not suit your porosity, or you haven’t been consistent. | Re-evaluate your hair porosity and try a different recipe. Use your chosen mask consistently once a week for at least a month to see noticeable results. |
Printable Recipe Card and Recipes Summary
Here is a summary of our top recipes that you can copy and paste to save for later.
—
My DIY Hair Mask Recipes
1. For Dry/Damaged Hair: Avocado Rescue Mask
- You’ll Need: 1/2 ripe avocado, 2 tbsp olive oil, 1 tbsp honey.
- Method: Mash avocado until perfectly smooth. Mix in oil and honey. Apply to hair for 20-30 mins, then rinse.
2. For Oily/Fine Hair: Yogurt Balancing Treatment
- You’ll Need: 3 tbsp plain Greek yogurt, 1 tsp lemon juice.
- Method: Mix ingredients. Apply to scalp and roots for 15 mins, then rinse with cool water.
3. For Curly/Coarse Hair: Shea Butter Deep Conditioner
- You’ll Need: 2 tbsp shea butter (melted), 3 tbsp coconut milk, 1 tbsp argan oil.
- Method: Whisk all ingredients together until smooth. Saturate hair and leave for 30 mins, then rinse.
—
Frequently Asked Questions
Can I sleep in a DIY hair mask?
It’s generally not recommended to sleep in a mask made with fresh food ingredients like egg or yogurt, as they can spoil and harbor bacteria. For oil-based masks, it can be beneficial, but be sure to protect your pillowcase. Stick to the recommended 15-30 minute time frame for most recipes.
Do I apply a DIY hair mask to wet or dry hair?
Applying to clean, damp (towel-dried) hair is usually best. Damp hair is more porous, allowing the mask to absorb better. However, applying oil-based masks to dry hair can be a great pre-shampoo treatment, as the oils can help protect your hair from being stripped during washing.
Can I use a blender to mix my DIY hair mask?
Absolutely! Using a blender is the best way to ensure your mask is perfectly smooth and free of chunks, which makes both application and rinsing much easier.
References and Further Reading
For those interested in the science behind hair care and cosmetic safety, these resources provide a wealth of information from trusted organizations.
- Explore scientific studies on natural ingredients and hair health at the National Center for Biotechnology Information (NCBI).
- Learn about the principles of cosmetic safety and regulation from the European Commission’s guidance on cosmetics.
- For a broad overview of health, including factors that affect hair, visit the World Health Organization (WHO).