Why Choose a Homemade Hair Mask?
Welcome to the wonderful world of at-home hair care! If you’re tired of scanning ingredient lists and wondering what you’re really putting on your hair, a DIY hair mask might be your perfect solution. Creating your own treatments gives you complete control over the ingredients, allowing you to tailor a mask perfectly to your hair’s unique needs. It’s cost-effective, reduces packaging waste, and connects you to the simple, nourishing power of natural ingredients you likely already have in your kitchen.
Beyond the benefits of customization and affordability, making a homemade hair mask is a relaxing self-care ritual. It’s a chance to slow down, get creative, and give your hair the specific attention it deserves without any harsh chemicals, silicones, or sulfates. This guide will walk you through everything you need to know to become a DIY hair mask pro.
Safety First: Patch Tests and Allergy Checks
Before you dive into mixing, let’s talk safety. Just because an ingredient is natural doesn’t mean it can’t cause a reaction. Common allergens like nuts, dairy, or even certain fruits can cause skin irritation or an allergic reaction when applied topically.
How to Perform a Patch Test
A patch test is essential before applying any new DIY hair mask to your entire head and scalp. Here’s how to do it:
- Mix a tiny amount of your completed mask.
- Apply a dab to a discreet area of skin, like behind your ear or on your inner elbow.
- Leave it on for the recommended mask time (e.g., 20-30 minutes), or if you have sensitive skin, monitor for 24 hours.
- Rinse it off. If you experience any redness, itching, burning, or irritation, do not use the mask. Your skin is telling you that one or more ingredients are not right for you.
Know Your Hair: Porosity, Texture, and Goals
The most effective DIY hair mask is one that’s designed for your hair. Understanding three key aspects—porosity, texture, and your personal hair goals—is the secret to success.
Understanding Hair Porosity
Hair porosity refers to your hair’s ability to absorb and retain moisture. It’s arguably the most important factor in choosing your ingredients.
- Low Porosity: The hair cuticle is tightly packed and flat. Hair takes a long time to get wet and a long time to dry. It’s prone to product buildup because products tend to sit on top rather than absorb. This type needs lightweight moisturizers like aloe vera or glycerin that can penetrate without weighing it down.
- Medium (Normal) Porosity: The cuticle is looser, allowing moisture to penetrate easily and be retained well. This hair type is the most forgiving and benefits from a balance of moisture and protein.
- High Porosity: The cuticle is raised, with gaps that let moisture in quickly but also let it escape just as fast. Hair gets wet easily but can feel dry and frizzy. It often results from damage (heat, chemical treatments) or can be genetic. This type craves sealing oils and richer butters to lock in moisture and reparative proteins to fill the gaps.
Quick Porosity Test: Take a clean, product-free strand of hair and drop it into a glass of water. If it floats, you likely have low porosity. If it sinks slowly, you have medium porosity. If it sinks quickly, you have high porosity.
Considering Texture and Goals
Is your hair fine, medium, or coarse? Is it straight, wavy, curly, or coily? Fine hair gets weighed down easily, so it needs lighter ingredients. Coarse or coily hair often craves richer, heavier butters and oils. Finally, what is your goal? Are you aiming for deep hydration, damage repair and strength, or a soothed and clarified scalp? Defining your goal will help you choose the right recipe.
Pantry Powerhouse: What Common Ingredients Do
Your kitchen is a treasure trove of hair-loving ingredients. Here’s a quick guide to what some common pantry staples can do for your hair in a DIY hair mask.
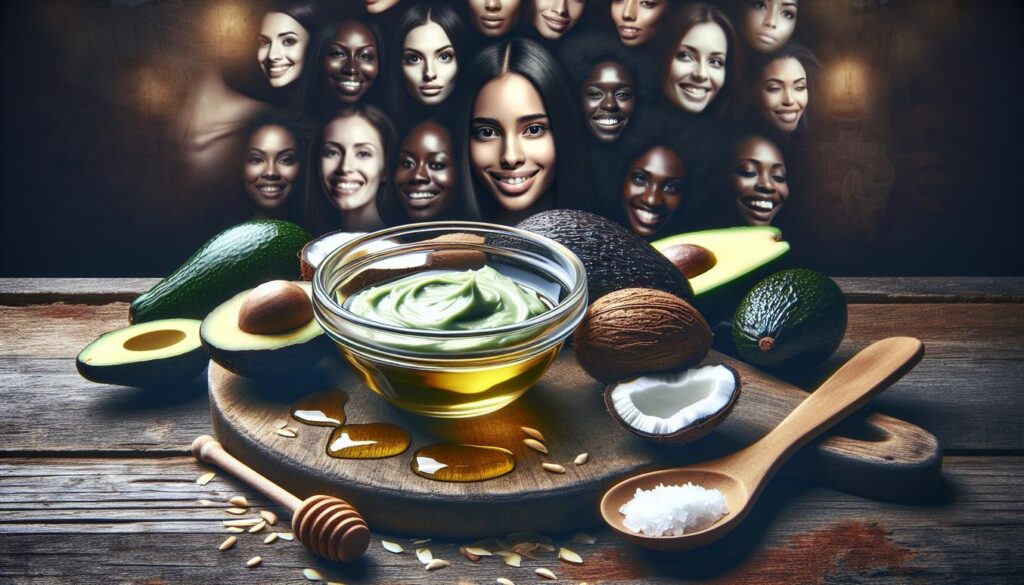
- Avocado: A moisturizing superstar packed with fatty acids, vitamins A, D, and E. Excellent for dry, dehydrated, and high-porosity hair.
- Banana: Rich in potassium, silica, and natural oils. Bananas help improve elasticity, prevent split ends, and soften hair. Great for adding moisture and shine.
- Yogurt/Kefir: Contains lactic acid for gentle cleansing and protein for strengthening. The probiotics can also help with scalp health. Fantastic for adding strength and softness.
- Egg: The yolk is rich in fats and vitamins for moisturizing, while the white is packed with protein for strengthening. Use the whole egg for balance, just the yolk for moisture, or just the white for a protein boost.
- Honey/Agave Nectar: These are natural humectants, meaning they draw moisture from the air into your hair. They add shine and help to soften strands.
- Oils (Olive, Coconut, Argan): Different oils have different properties. Coconut oil can penetrate the hair shaft to prevent protein loss. Olive oil is a great emollient for softness. Argan oil is lighter and rich in vitamin E.
- Aloe Vera Gel: A lightweight hydrator packed with vitamins and enzymes. Soothes the scalp, reduces dandruff, and moisturizes without weighing hair down. Perfect for low-porosity and oily hair types.
- Apple Cider Vinegar (ACV): Helps to clarify the hair and scalp, removing product buildup. It also seals the hair cuticle, which increases shine and reduces frizz. Always dilute it!
Recipes by Goal: Hydration, Strength, and Scalp Care
Before we get to full-fledged formulas, here are some simple ingredient pairings based on your primary hair goal. Think of these as foundational concepts for your DIY hair mask creations.
- For Intense Hydration: Combine a rich fat (avocado, banana) with a humectant (honey, agave). This is ideal for dry, brittle, or high-porosity hair.
- For Strengthening and Repair: Pair a protein source (yogurt, egg) with a penetrating oil (coconut oil). This works wonders for damaged, color-treated, or fine hair that needs structure.
– For Scalp Soothing and Clarifying: Mix a soothing ingredient (aloe vera, oatmeal) with an anti-inflammatory or clarifying agent (green tea, diluted ACV). This is perfect for itchy, flaky, or oily scalps.
Three Full DIY Hair Mask Formulas with Swaps
Ready to get mixing? Here are three complete, porosity-aware recipes. For best results, blend all ingredients until completely smooth to avoid leaving chunks in your hair. The strategies for 2025 and beyond in at-home hair care focus on this kind of deep customization and ingredient awareness.
| Mask Goal | Base Recipe | Allergy/Preference Swaps |
|---|---|---|
| Ultimate Hydration Mask (for Medium to High Porosity) |
|
|
| Strengthening Protein Mask (for All Porosities) |
|
|
| Soothing Scalp Detox Mask (for Oily or Irritated Scalps) |
|
– Vegan? Swap honey for agave nectar. – Sensitive to Tea Tree? Use a few drops of peppermint or rosemary oil instead, or omit essential oils completely. |
Application Technique: How to Layer and Distribute
How you apply your homemade hair mask is just as important as what’s in it. Follow these steps for a mess-free, effective application.
- Start with Damp, Towel-Dried Hair: Your hair should be clean (or at least free of heavy styling products) and slightly damp. This helps the ingredients absorb more effectively.
- Section Your Hair: Divide your hair into 4-6 manageable sections. This ensures you coat every strand evenly.
- Apply from Ends to Roots: Focus the majority of the product on the ends of your hair, which are usually the oldest and driest part. Work your way up toward the roots. If you have an oily scalp, apply the mask from the mid-lengths down, avoiding the scalp area entirely (unless it’s a scalp-focused mask).
- Comb Through Gently: Use a wide-tooth comb or your fingers to gently distribute the mask through each section. This ensures even coverage.
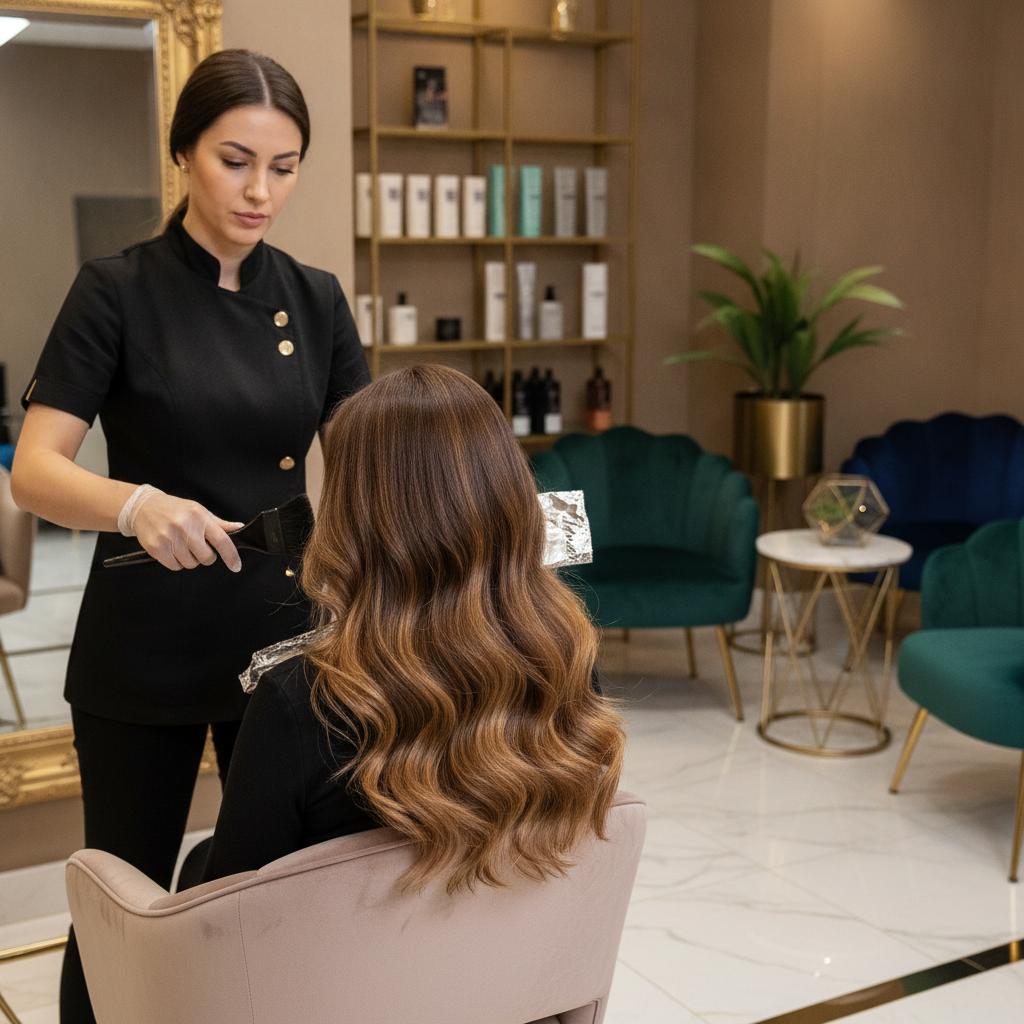
- Cover Up: Pile your hair on top of your head and cover it with a shower cap or plastic wrap. This traps heat from your scalp, which helps open the hair cuticle and allows the mask to penetrate more deeply.
Timing and Frequency for Different Hair Types
Not all hair needs the same treatment time. Over-moisturizing or over-proteinating your hair can lead to issues, so follow these guidelines.
- General Rule: Most masks should be left on for 20-30 minutes.
- Low Porosity Hair: You may benefit from adding gentle heat (like a warm towel wrapped around your shower cap) to help the ingredients penetrate. Keep the mask on for 15-20 minutes. Use a moisturizing mask bi-weekly and a protein mask monthly at most.
- High Porosity/Damaged Hair: Your hair will soak up the mask quickly. You can leave it on for up to 30-45 minutes. You can use a hydrating DIY hair mask weekly and a protein mask every 1-2 weeks depending on your hair’s needs.
- Frequency: For most hair types, using a DIY hair mask once a week or every two weeks is plenty to see results without causing buildup.
Rinse Methods and Post-Mask Care
Rinsing properly is key to avoiding greasy or weighed-down hair after your treatment.
How to Rinse Effectively
Use lukewarm or cool water to rinse the mask out. Hot water can strip moisture and cause frizz by opening the hair cuticle, while cool water helps to seal the cuticle, locking in the benefits of your mask and boosting shine. Rinse thoroughly until your hair feels clean and there is no slippery residue left. For protein-based masks (with egg or yogurt), it is crucial to use cool water to avoid “cooking” the ingredients in your hair.
Post-Mask Routine
After rinsing, you typically do not need to use a conditioner, as the mask has provided that deep conditioning step. You can follow up with your usual leave-in conditioner and styling products. Let your hair air dry or use a diffuser on low heat to see the full, glorious results of your homemade hair mask.
Storage, Shelf Life, and Freshness Signals
Since your DIY hair mask is made from fresh, preservative-free food ingredients, it has a very short shelf life. It is best to make only enough for a single use.
If you do have leftovers, you can store them in an airtight container in the refrigerator for a maximum of 24-48 hours. Never use a mask that has been left at room temperature for more than a couple of hours.
Freshness Signals: Trust your senses. If the mask looks discolored, has a sour or “off” smell, or shows any signs of separation or mold, discard it immediately. When in doubt, throw it out.
Troubleshooting Unwanted Results
Sometimes, your first attempt at a DIY hair mask might not go as planned. Don’t worry! Here’s how to fix common issues.
- Hair Feels Greasy or Weighed Down: You may have used ingredients that were too heavy for your hair type (like coconut oil on fine hair), used too much product, or didn’t rinse thoroughly enough. Next time, try a lighter oil, use less, or do a final rinse with diluted apple cider vinegar.
- Hair Feels Stiff or Brittle: This is a sign of “protein overload.” You may have used a protein-heavy mask when your hair really needed moisture. To fix it, use a moisturizing mask next time and focus on balancing protein and moisture in your routine.
- No Noticeable Difference: Your hair might be low porosity and struggled to absorb the mask. Try applying it to slightly warmer, damp hair and using a shower cap with a warm towel to create a steamy environment.
Dietary and Lifestyle Tips to Boost Results
A great DIY hair mask works from the outside in, but healthy hair truly starts from the inside out. To support your hair goals, consider these tips:
- Stay Hydrated: Drinking plenty of water is essential for healthy skin, scalp, and hair.
- Eat a Balanced Diet: Ensure you’re getting enough protein (from sources like eggs, lean meats, legumes), healthy fats (avocado, nuts, seeds), and vitamins like Biotin, Iron, and Vitamin C.
- Gentle Handling: Reduce breakage by using a microfiber towel, sleeping on a silk or satin pillowcase, and avoiding tight hairstyles.
- Minimize Heat Styling: Give your hair a break from high heat tools whenever possible.
When to Seek Professional Advice
A DIY hair mask can solve many common hair woes, but it isn’t a cure-all. You should consult a dermatologist or a certified trichologist if you experience:
- Sudden or significant hair loss.
- Persistent scalp issues like severe dandruff, psoriasis, or painful inflammation.
- Hair that doesn’t respond to any treatments and continues to be extremely brittle or damaged.
For expert advice on hair types and routines, resources like the blog at Rich Hair UK can provide additional professional insights and guidance.
Printable Recipe Card and Quick Checklist
Ready to start? Here’s a simple format you can jot down on a notecard to keep in your kitchen for your favorite homemade hair mask recipe.
My Go-To DIY Hair Mask
- Goal: (e.g., Hydration, Strength)
- Base Ingredients: (e.g., 1/2 Avocado, 1/2 cup Yogurt)
- Liquid/Oil: (e.g., 2 tbsp Olive Oil)
- Additive: (e.g., 1 tbsp Honey)
- Mixing Instructions: Blend until smooth.
- Application Time: 20-30 minutes.
Pre-Mask Checklist:
- [ ] Did I do a patch test?
- [ ] Is my hair damp and detangled?
- [ ] Do I have my sections clips, shower cap, and an old t-shirt ready?
- [ ] Are my ingredients fresh?
With this guide, you have all the tools you need to create the perfect, customized DIY hair mask for luscious, healthy locks. Happy mixing!