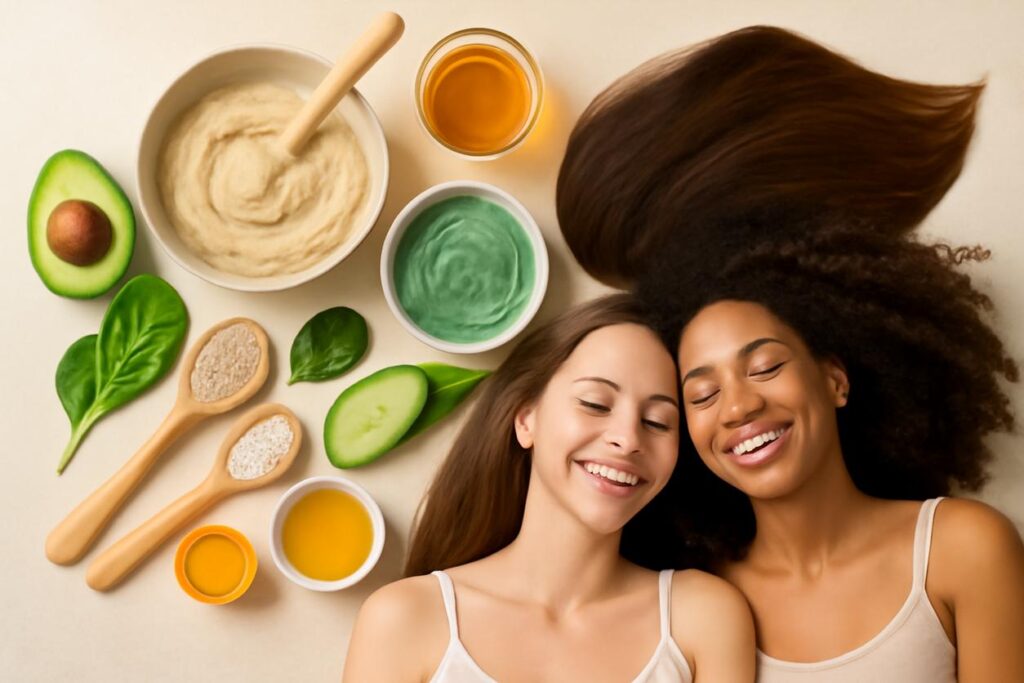
Welcome to the ultimate guide to creating your perfect DIY hair mask right from your kitchen. Forget expensive store-bought treatments with long, confusing ingredient lists. With a few simple, natural items, you can whip up a powerful and personalized treatment that targets your specific hair needs, from dryness and frizz to oily roots and lack of volume. This guide will walk you through everything you need to know, from understanding your hair type to mastering five essential recipes.
Benefits of Crafting a Hair Mask at Home
Choosing to create a homemade hair treatment is more than just a fun weekend project. A DIY hair mask offers a range of benefits that commercial products often can’t match.
- Total Ingredient Control: You know exactly what’s going on your hair and scalp. This means no hidden silicones, parabens, or harsh sulfates. It’s pure, natural goodness tailored by you.
- Cost-Effective Beauty: High-quality hair care can be expensive. By using ingredients you likely already have in your pantry, you can achieve salon-worthy results for a fraction of the price.
- Fresh and Potent: Commercial products are designed for a long shelf life, which can dilute the potency of active ingredients. A fresh DIY hair mask delivers the maximum nutritional benefit directly to your hair strands.
- Perfectly Customizable: Your hair is unique. Whether it’s dry, oily, fine, curly, or color-treated, you can adjust your recipe to provide precisely what it needs at any given moment.
First, Assess Your Hair’s Condition
Before you start mixing, the most crucial step is to understand what your hair is asking for. A successful DIY hair mask starts with an accurate diagnosis of your hair’s needs.
Is Your Hair Dry or Damaged?
Dry hair often feels rough, looks dull, and is prone to frizz and split ends. It lacks moisture and natural oils. Your goal is to deeply hydrate and seal the hair cuticle. Look for ingredients rich in healthy fats and vitamins, like avocado, olive oil, and banana.
Is Your Scalp Oily?
An oily scalp can make hair look limp and feel greasy, sometimes just hours after washing. The key is to balance oil production without stripping the scalp. A clarifying DIY hair mask using ingredients like clay, apple cider vinegar, or citrus can absorb excess sebum and restore balance.
Is Your Hair Fine or Prone to Buildup?
Fine hair can be easily weighed down by heavy oils and butters. You need a lightweight mask that adds volume and strength without causing buildup. Ingredients like yogurt, aloe vera, and egg whites are excellent choices.
Do You Have Curly or Coily Hair?
Curly hair is naturally drier than straight hair because the scalp’s natural oils have a harder time traveling down the coiled strands. Your focus should be on intense moisture, definition, and frizz control. Humectants like honey and flaxseed gel are fantastic for this hair type.
Is Your Hair Color-Treated?
Color-treated hair requires gentle care to prevent fading and repair damage from chemical processing. A nourishing DIY hair mask should focus on strengthening the hair shaft and locking in moisture and color. Ingredients like oat milk and honey provide gentle protein and hydration.
Key Natural Ingredients and Their Science
Your kitchen is a treasure trove of hair-loving ingredients. Understanding what each one does will empower you to create the perfect DIY hair mask every time.
| Ingredient | Primary Benefit | Best For |
|---|---|---|
| Avocado | Deep moisturization and nourishment due to its high content of fatty acids, vitamins A, D, and E. | Dry, damaged, or frizzy hair. |
| Banana | Improves elasticity and shine thanks to its high potassium and silica content. | Curly, brittle, or weak hair. |
| Yogurt | Strengthens and gently exfoliates the scalp with lactic acid and proteins. | Fine, oily, or dull hair. |
| Honey | A natural humectant, it attracts and seals moisture into the hair. Also has antibacterial properties. | All hair types, especially dry or color-treated. |
| Olive Oil | Penetrates the hair shaft to provide intense moisture and adds shine. Rich in oleic acid. | Thick, coarse, or very dry hair. |
| Egg | The yolk is rich in fats for conditioning, while the white is packed with protein for strengthening. | Normal, fine, or oily hair (use whites for oily, whole egg for normal). |
| Aloe Vera Gel | Soothes the scalp and provides lightweight hydration. Contains enzymes that promote healthy hair growth. | Oily scalp, fine hair, or irritated scalp. |
Oils, Proteins, Humectants: How They Act
The magic of a great DIY hair mask lies in balancing three key components: oils, proteins, and humectants. Each plays a distinct role in restoring your hair’s health.
Oils (Emollients)
Oils act as emollients, which means they seal the hair cuticle to lock in moisture, reduce frizz, and add shine. They are the key to combating dryness. Different oils have different properties; for example, a study on coconut oil showed its ability to penetrate the hair shaft due to its unique fatty acid structure. Examples include coconut oil, olive oil, and jojoba oil.
Proteins
Hair is primarily made of a protein called keratin. Chemical treatments, heat styling, and environmental stress can break down this protein, leading to weak, brittle strands. Protein-rich ingredients fill in the gaps along the hair shaft, temporarily repairing and strengthening it. If you’re interested in learning more, you can find great information on protein treatments for hair. Common sources in a DIY hair mask include egg, Greek yogurt, and gelatin.
Humectants
Humectants are ingredients that pull moisture from the air and draw it into the hair shaft. This provides deep, lasting hydration that makes hair feel soft and look plump. They are especially beneficial for curly and dehydrated hair. Great natural humectants include honey, aloe vera gel, and flaxseed gel.
Substitutions and Pantry-Friendly Swaps
Don’t have a specific ingredient? No problem. The beauty of a DIY hair mask is its flexibility. Here are some easy swaps you can make with common pantry items.
| If you don’t have… | You can use… | Keep in mind… |
|---|---|---|
| Avocado | Banana | Both provide moisture and vitamins, but banana is lighter. Ensure it’s very ripe and blended well. |
| Greek Yogurt | Mayonnaise or Sour Cream | These are heavier and richer, so they’re best for very dry hair. Use sparingly on fine hair. |
| Olive Oil | Coconut Oil or Almond Oil | Coconut oil is great for deep penetration, while almond oil is lighter and great for fine hair. |
| Honey | Maple Syrup or Agave Nectar | These alternatives also act as humectants to draw in moisture. |
Five Customizable DIY Hair Mask Recipes for 2025
Here are five effective, easy-to-make recipes. Our 2025 approach focuses on simplicity and potent, fresh ingredients. Remember to blend all mixtures until completely smooth to avoid leaving chunks in your hair!
For Dry Hair: The Ultimate Hydration Avocado and Olive Oil Mask
- Ingredients: 1/2 ripe avocado, 2 tablespoons olive oil, 1 tablespoon honey.
- Instructions: Mash the avocado until it’s completely smooth. Stir in the olive oil and honey until you have a creamy paste.
- Science Note: This mask is a moisture powerhouse. The avocado’s fatty acids and vitamins deeply nourish, while the olive oil seals the cuticle and the honey draws in extra hydration.
For Oily Scalps: The Balancing Clay and Citrus Mask
- Ingredients: 2 tablespoons bentonite or kaolin clay, 1 tablespoon apple cider vinegar, 1 teaspoon lemon juice, and enough water to form a paste.
- Instructions: In a non-metal bowl, mix the clay, vinegar, and lemon juice. Slowly add water while stirring until you achieve a smooth, yogurt-like consistency.
- Science Note: The clay works to absorb excess oil and impurities from the scalp, while the acidic nature of the vinegar and lemon juice helps to clarify buildup and balance the scalp’s pH.
For Color-Treated Hair: The Protective Oat and Honey Mask
- Ingredients: 1/2 cup oat milk (or 1/4 cup finely ground oats mixed with 1/4 cup water), 2 tablespoons honey.
- Instructions: If using ground oats, mix with water to form a paste. Otherwise, simply combine the oat milk and honey. Mix well.
- Science Note: Oats contain proteins and lipids that gently strengthen and moisturize processed hair without stripping color. Honey adds a dose of moisture and shine. This is a very gentle DIY hair mask.
For Curly Hair: The Defining Banana and Flaxseed Gel Mask
- Ingredients: 1 ripe banana, 2 tablespoons flaxseed gel (homemade or store-bought), 1 tablespoon almond oil.
- Instructions: Blend the banana until it is completely liquified. Stir in the flaxseed gel and almond oil until fully incorporated.
- Science Note: Banana provides elasticity and moisture, while flaxseed gel offers incredible slip, definition, and a light hold. The almond oil seals it all in without weighing down curls.
For Fine Hair: The Lightweight Yogurt and Aloe Vera Mask
- Ingredients: 3 tablespoons plain Greek yogurt, 2 tablespoons aloe vera gel.
- Instructions: Whisk the yogurt and aloe vera gel together until you have a smooth, consistent mixture.
- Science Note: This is the perfect protein-moisture balance for fine hair. The yogurt’s protein adds strength and volume, while the aloe vera provides hydration without any greasy residue, leaving hair bouncy and light.
How to Apply Your DIY Hair Mask and Timing Guide
Applying your homemade hair mask correctly is key to getting the best results.
- Prep Your Hair: It’s best to apply a DIY hair mask to clean, damp hair. A gentle shampooing beforehand will remove any product buildup, allowing the mask to penetrate effectively. Towel-dry your hair until it’s damp, not dripping.
- Section and Apply: Divide your hair into 4-6 sections. Using your fingers or a brush, apply the mask from roots to ends, making sure every strand is saturated. Pay extra attention to the ends, which are usually the driest part.
- Let It Sit: Pile your hair on top of your head and cover it with a shower cap or plastic wrap. This traps heat, which helps the ingredients penetrate more deeply. Leave the mask on for 20-30 minutes.
- Rinse Thoroughly: Rinse the mask out with lukewarm water. Be patient and make sure all of the mixture is gone to avoid residue. For thicker masks, you may need to follow up with a light conditioner to help rinse it all out.
Safety, Patch Testing, and Storage Tips
Even natural ingredients can cause reactions. Safety should always come first.
Always Patch Test First
Before applying a new DIY hair mask all over your hair and scalp, perform a patch test. Apply a small amount of the mixture to an inconspicuous area, like behind your ear or on your inner elbow. Wait 24 hours to check for any signs of irritation, such as redness or itching.
Fresh is Best: Storage Advice
Because your DIY hair mask contains fresh food ingredients without preservatives, it is highly perishable. It is best to make only enough for one use. If you do have leftovers, store them in an airtight container in the refrigerator for no more than 1-2 days.
Troubleshooting Common DIY Hair Mask Issues
Sometimes your DIY creations don’t turn out perfectly. Here’s how to fix common problems.
My Hair Feels Greasy.
This usually means you used too much oil for your hair type, or you didn’t rinse thoroughly enough. Next time, reduce the amount of oil or try a lighter one (like jojoba or almond oil). When rinsing, use lukewarm water and consider a very light second shampoo on the roots if necessary.
I Don’t See Any Difference.
Consistency is key. You may not see dramatic results after just one treatment. Aim to use a DIY hair mask once a week. Also, ensure the ingredients you chose are right for your hair type. Dry hair won’t benefit much from a clarifying mask, and vice versa.
The Mask is Too Chunky/Drippy.
Texture matters! If your mask is chunky (especially with banana or avocado), it means you need to blend it more thoroughly. Use a blender or food processor for the smoothest consistency. If it’s too drippy, try adding a thickener like a teaspoon of cornstarch or an extra tablespoon of yogurt or clay.
Further Reading and Ingredient Sourcing
Healthy hair starts from within. While a DIY hair mask provides external nourishment, a balanced diet is crucial for hair growth and strength. For those interested in the science, this hair nutrition research provides an in-depth look at the role of vitamins and minerals in hair health.
For the best ingredients, look no further than your local grocery store, farmer’s market, or health food shop. Opt for organic and unprocessed ingredients whenever possible to maximize the nutritional value of your homemade hair mask.
Embracing the world of DIY hair care is a rewarding journey. By understanding your hair and the power of natural ingredients, you can create a personalized DIY hair mask that leaves your locks healthier, shinier, and more vibrant than ever before.