“`html
Table of Contents
- A Quick Primer on DIY Hair Masks
- How Kitchen Ingredients Affect Your Hair
- Choosing a DIY Hair Mask by Hair Type
- Your DIY Hair Mask Pantry: Essentials and Substitutions
- Seven Targeted DIY Hair Mask Recipes
- The Perfect Application: A Step-by-Step Guide
- Safety First: Patch Testing and Allergy Precautions
- Finding Your Rhythm: How Often to Use a DIY Hair Mask
- Troubleshooting Common DIY Hair Mask Issues
- Tools and Extras to Elevate Your Experience
- Frequently Asked Questions
- Sources and Further Reading
A Quick Primer on DIY Hair Masks
Welcome to the world of homemade hair care! A DIY hair mask is a nourishing treatment you create at home using natural ingredients from your kitchen or garden. Think of it as a super-concentrated conditioner that delivers vitamins, minerals, and moisture directly to your hair shafts and scalp. Unlike many store-bought options that can contain complex chemicals and preservatives, a DIY hair mask gives you complete control over what you put on your hair. This guide will walk you through everything you need to know to create the perfect treatment for your unique hair needs.
Why Choose a DIY Hair Mask?
- Total Ingredient Control: You know exactly what’s in your mask. This is perfect for those with sensitive skin, allergies, or who simply prefer a natural approach to beauty.
- Cost-Effective: High-quality hair treatments can be expensive. A homemade hair mask often uses ingredients you already have, making it a budget-friendly way to pamper yourself.
- Fresh and Potent: You are using fresh ingredients at their peak potency, without the need for preservatives to extend shelf life. This means your hair gets the maximum benefit.
- Customizable: Your hair’s needs can change with the seasons or due to styling. You can easily adjust your DIY hair mask recipe to target specific issues like dryness, frizz, or an oily scalp as they arise.
How Botanical and Kitchen Ingredients Affect Hair
Understanding what each ingredient does is the key to creating an effective DIY hair mask. Hair care ingredients generally fall into a few key categories based on their function.
Moisture and Hydration (Humectants)
Humectants are ingredients that attract and bind water from the air, drawing moisture into the hair shaft. This is essential for preventing dryness and brittleness.
- Honey: A natural humectant and emollient, honey attracts moisture and helps smooth the hair cuticle. It also has antibacterial properties beneficial for the scalp.
- Aloe Vera Gel: Packed with vitamins, enzymes, and fatty acids, aloe vera is incredibly hydrating and soothing for both hair and scalp.
- Glycerin: A powerful humectant, a small amount of vegetable glycerin can significantly boost a mask’s moisturizing power.
Smoothing and Sealing (Emollients)
Emollients work by filling in the gaps in the hair cuticle, creating a smooth surface that seals in moisture, reduces frizz, and adds shine.
- Avocado: Rich in oleic acid and monounsaturated fats, avocado oil is one of the few oils that can penetrate the hair shaft to moisturize it from within.
- Olive, Coconut, and Argan Oils: These oils coat the hair shaft to lock in moisture, prevent protein loss, and add a beautiful sheen. Coconut oil is particularly good at penetrating the hair.
- Shea and Cocoa Butter: These rich butters are excellent for sealing and protecting very dry, coarse, or curly hair types.
Strength and Repair (Proteins)
Hair is primarily made of a protein called keratin. Protein treatments help patch weak spots along the hair shaft, temporarily strengthening it and reducing breakage.
- Egg: The yolk is rich in fats and vitamins for moisturizing, while the white is packed with protein for strengthening. A whole egg offers a balanced treatment.
- Greek Yogurt: Contains lactic acid to cleanse the scalp and proteins to nourish and strengthen strands.
Choosing a DIY Hair Mask by Hair Type
The best DIY hair mask is one tailored to your specific hair and scalp needs. Mismatching ingredients to your hair type can lead to undesirable results, like weighing down fine hair or not providing enough moisture for coarse hair. Use this table as a starting point.
| Hair Concern | Recommended Ingredients | Ingredients to Use with Caution |
|---|---|---|
| Dry or Damaged Hair | Avocado, banana, honey, olive oil, shea butter, egg yolk. | Too much protein (can cause stiffness), lemon juice (can be drying). |
| Oily or Fine Hair | Egg white, clay (like bentonite), aloe vera, apple cider vinegar, strawberry. | Heavy oils like coconut or olive oil (use sparingly and on ends only). |
| Frizzy or Curly Hair | Avocado, banana, yogurt, argan oil, aloe vera, honey. | Over-cleansing ingredients that can strip natural oils. |
| Itchy or Flaky Scalp | Oatmeal, green tea, peppermint oil (a few drops only), yogurt, aloe vera. | Harsh acids like pure lemon juice; ingredients you might be allergic to. |
Your DIY Hair Mask Pantry: Essentials and Substitutions
Having a few key items on hand makes whipping up a homemade hair mask quick and easy. Here are some staples for your natural hair care pantry.
Core Ingredients
- A Base Oil: Extra virgin olive oil or fractionated coconut oil.
- A Humectant: Raw honey or pure aloe vera gel.
- A Creamy Binder: A ripe avocado, banana, or plain full-fat Greek yogurt.
- A Protein Source: An egg.
- A Rinse/Clarifier: Apple Cider Vinegar (ACV).
Safe and Simple Substitutions
- No Avocado? Use a ripe banana or a half-cup of full-fat yogurt or coconut cream.
- No Olive Oil? Swap for melted coconut oil, almond oil, or argan oil.
- No Honey? Use maple syrup or agave nectar for their humectant properties.
- Vegan Egg Replacement? For a protein boost, try a tablespoon of gelatin powder dissolved in warm water or blended silken tofu.
Seven Targeted DIY Hair Mask Recipes
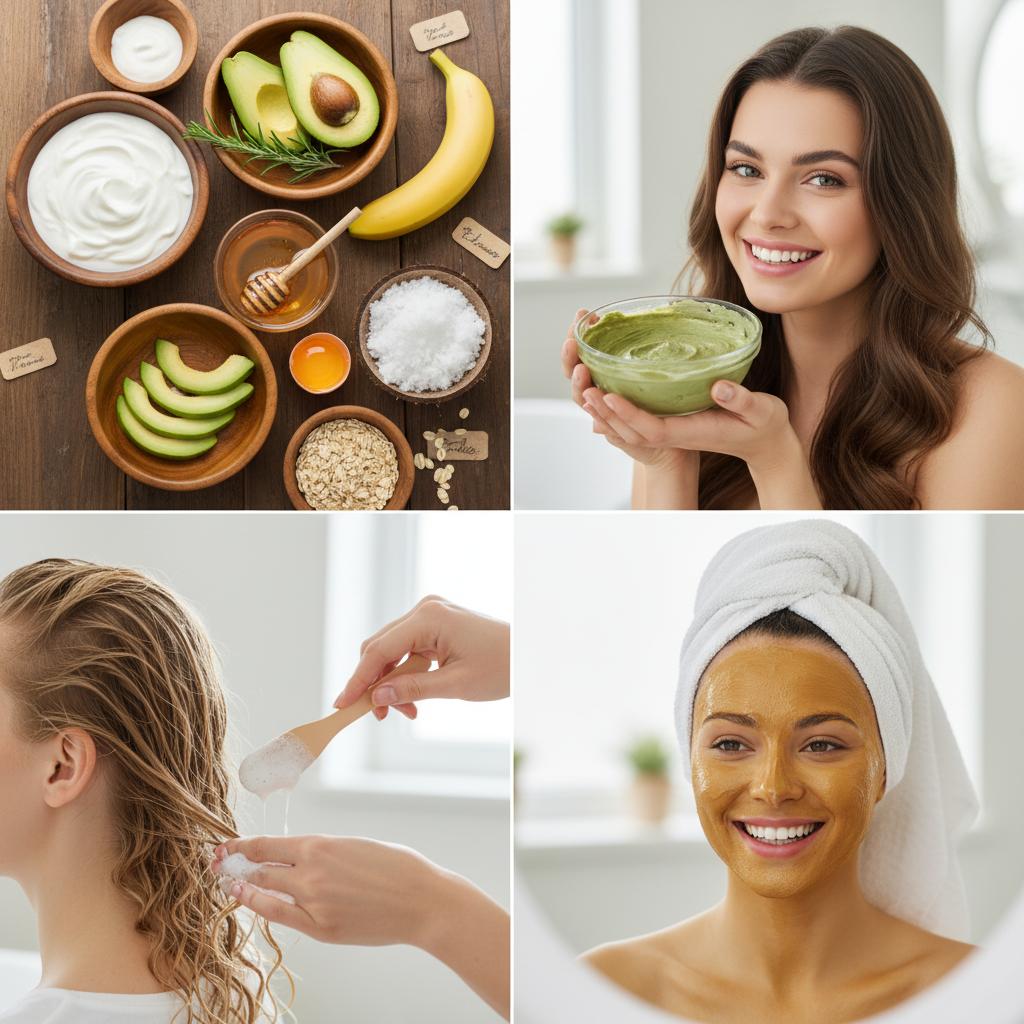
Ready to get started? Here are seven simple, effective recipes. For best results, blend all ingredients until completely smooth to avoid leaving chunks in your hair.
1. The Ultimate Hydration Mask
Best for: Dry, dull, or thirsty hair.
This DIY hair mask is a moisture bomb for parched strands.
- 1/2 ripe avocado
- 1 tablespoon olive oil
- 1 tablespoon honey
Instructions: Mash the avocado until it’s completely lump-free, then stir in the olive oil and honey until you have a smooth, creamy paste. Apply to damp hair, focusing on the ends.
2. The Damage Repair Mask
Best for: Over-processed, brittle, or weak hair.
- 1 whole egg
- 2 tablespoons plain Greek yogurt
- 1 tablespoon coconut oil, melted
Instructions: Whisk the egg thoroughly first, then blend in the yogurt and melted coconut oil. Applying a protein-based homemade hair mask like this can help fortify weakened strands.
3. The Brilliant Shine Mask
Best for: All hair types needing a shine boost.
- 2 tablespoons aloe vera gel
- 1 tablespoon apple cider vinegar (ACV)
- 1 teaspoon honey
Instructions: Mix all ingredients together. The ACV helps to clarify and seal the hair cuticle, creating a smooth surface that reflects light beautifully.
4. The Lightweight Volume Mask
Best for: Fine or flat hair that gets weighed down easily.
- 1 egg white
- 2 tablespoons lemon juice
Instructions: Whisk the egg white until frothy, then gently fold in the lemon juice. This mask helps remove excess oil and buildup at the roots that can weigh hair down.
5. The Frizz Control Smoothie
Best for: Unruly, frizzy, or curly hair.
- 1/2 ripe banana
- 2 tablespoons yogurt
- 1 tablespoon honey
Instructions: Blend the banana until it is a complete puree (this is important for easy rinsing!). Mix in the yogurt and honey. This mask smooths the cuticle and provides the moisture curly hair craves.
6. The Soothing Scalp Treatment
Best for: An itchy, irritated, or dry scalp.
- 1/4 cup finely ground oatmeal (colloidal)
- 1/2 cup warm brewed green tea
- 1 tablespoon honey
Instructions: Mix the ground oatmeal with the warm green tea and let it sit for a few minutes to form a paste. Stir in the honey. Gently massage this comforting mask directly onto your scalp.
7. The Strengthening Protein Boost
Best for: Limp, weak, or high-porosity hair needing structure.
- 1 tablespoon unflavored gelatin powder
- 1/2 cup warm water
- 1 teaspoon apple cider vinegar
Instructions: Dissolve the gelatin in the warm water, stirring until there are no clumps. Let it cool slightly, then stir in the ACV. Apply this powerful DIY hair mask quickly before it sets. Use this mask no more than once a month to avoid protein overload.
The Perfect Application: A Step-by-Step Guide
How you apply your DIY hair mask matters almost as much as what’s in it. Follow these steps for mess-free, effective application in 2025 and beyond.
- Start with Clean, Damp Hair: Shampoo your hair first to remove any product buildup, allowing the mask’s ingredients to penetrate effectively. Gently towel-dry until it’s damp, not dripping wet.
- Protect Your Clothes: Drape an old towel over your shoulders or wear an old t-shirt.
- Section Your Hair: Divide your hair into 4-6 manageable sections. This ensures you get even coverage.
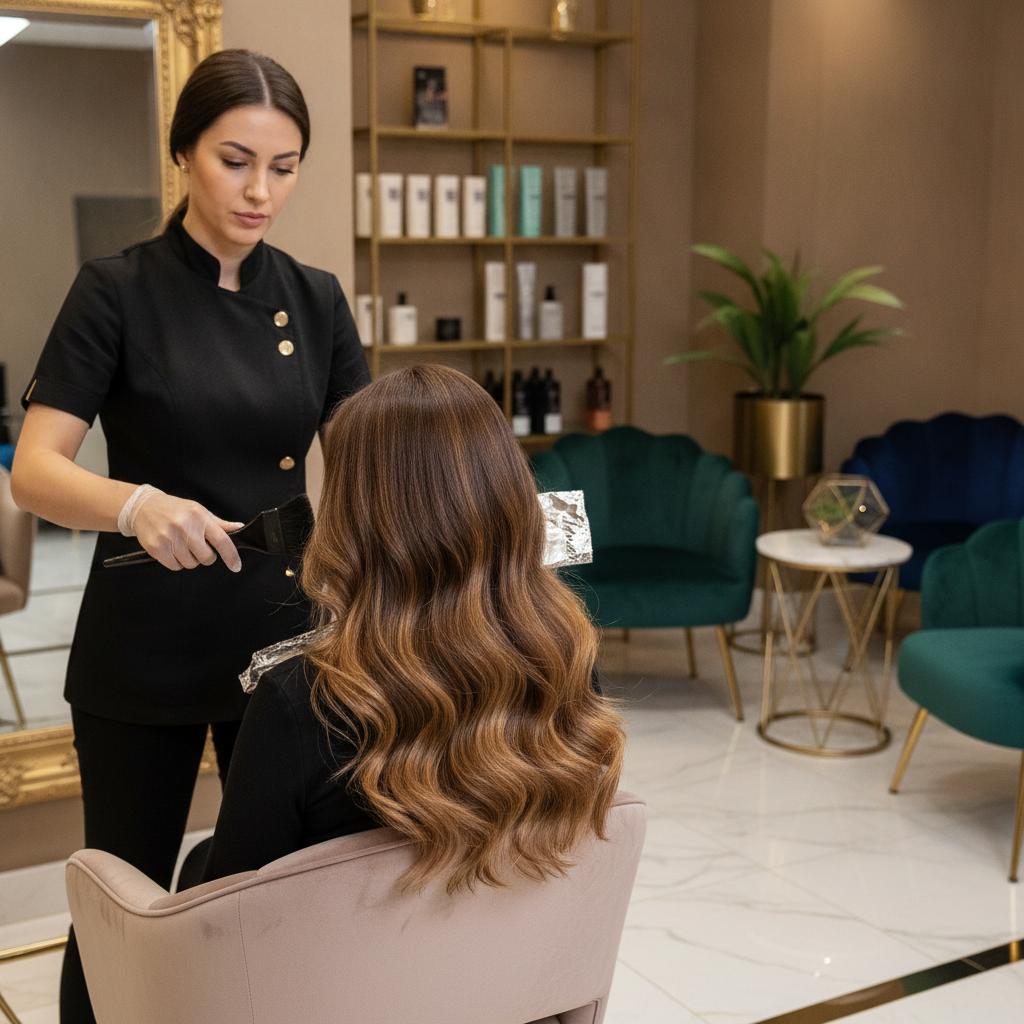
- Apply the Mask: Using your fingers or a clean application brush, work the mask through each section. Start about mid-way down your hair and concentrate on the ends, which are usually the most damaged. Apply to the scalp only if the mask is intended for it (like the soothing scalp treatment).
- Wrap it Up: Pile your hair on top of your head and cover it with a shower cap or plastic wrap. This traps heat from your scalp, which helps the ingredients penetrate more deeply.
- Wait it Out: Leave the mask on for 20-30 minutes. This is the sweet spot for most ingredients to work their magic without causing any issues.
- Rinse Thoroughly: Rinse the mask out with lukewarm water. Be patient and rinse until your hair feels completely clean. You may want to follow with a light conditioner to seal the cuticle, but it’s often not necessary.
Safety First: Patch Testing and Allergy Precautions
Just because an ingredient is natural doesn’t mean it’s safe for everyone. Allergic reactions are possible, which is why a patch test is a non-negotiable first step before applying any new DIY hair mask all over your head.
How to Perform a Patch Test
- Prepare a tiny amount of the finished mask.
- Apply a small dab to a discreet area of skin, like your inner elbow or behind your ear.
- Wait 24 hours.
- If you experience any redness, itching, swelling, or irritation, wash the area immediately and do not use the mask on your scalp or hair.
This simple check helps you avoid a potentially widespread and uncomfortable reaction.
Finding Your Rhythm: How Often to Use a DIY Hair Mask
Consistency is key, but overdoing it can be counterproductive. The ideal frequency for using a DIY hair mask depends on your hair’s condition.
- For Normal to Oily Hair: Once every 1-2 weeks is plenty to provide a nourishing boost without causing buildup.
- For Dry or Damaged Hair: A weekly treatment is ideal to consistently replenish moisture and nutrients.
- For Protein Masks: Be cautious. A strong protein mask (like the gelatin recipe) should only be used about once a month. Too much protein can make hair feel stiff and brittle.
Integrate your mask into a weekly self-care routine. It’s the perfect way to unwind while giving your hair the attention it deserves.
Troubleshooting Common DIY Hair Mask Issues
Sometimes your first attempt at a homemade hair mask might not go as planned. Here’s how to fix common problems.
- “My hair feels greasy or weighed down.” You likely used too much oil or a butter that was too heavy for your hair type. Next time, reduce the amount of oil by half, or switch to a lighter oil like almond or grapeseed. Focus application on the ends, avoiding the scalp. Also, ensure you are rinsing thoroughly with lukewarm water.
- “The mask was lumpy and hard to wash out.” This is a common issue with ingredients like banana and avocado. The solution is to blend, blend, blend! Use a blender or food processor to get the smoothest possible consistency before you apply it.
- “I don’t see any difference in my hair.” Results from a natural DIY hair mask can be more subtle and cumulative than with chemical-based products. Be consistent with your weekly treatments. If after a month you still see no change, your hair might need different ingredients. Try another recipe from our list!
Tools and Extras to Elevate Your Experience
You don’t need fancy equipment, but a few simple tools can make your DIY hair mask process cleaner, easier, and more effective.
- A small mixing bowl (non-metallic): Use glass or plastic, as metal can sometimes react with ingredients.
- A whisk or fork: For mixing ingredients to a smooth consistency.
- An application brush: A dye brush from a beauty supply store allows for precise, even application.
- Hair clips: To keep sections separate during application.
–A shower cap: Essential for trapping heat and preventing drips while you wait.
Frequently Asked Questions
Should I apply a DIY hair mask to wet or dry hair?
Damp hair is best. Clean, damp hair has the cuticle slightly raised, which allows the nourishing ingredients to penetrate more effectively than on dry hair. Applying to soaking wet hair will just dilute the mask.
Can I leave a homemade hair mask on overnight?
It’s generally not recommended. Leaving a wet mask on for hours can over-saturate the hair shaft, leading to a condition called hygral fatigue, which can weaken the hair over time. Furthermore, ingredients like yogurt or egg can spoil. A 20-30 minute application is sufficient for most benefits.
Do these natural hair masks actually work?
Yes! While a DIY hair mask won’t permanently change your hair structure, it can provide significant, tangible benefits. The emollients, humectants, and proteins in natural ingredients can temporarily improve moisture levels, smoothness, shine, and strength, contributing to overall better hair health with consistent use.
Sources and Further Reading
Creating a great DIY hair mask is a fantastic step in your hair care journey. For a deeper understanding of hair biology, scalp conditions, and overall hair health, we recommend exploring these authoritative resources. They provide evidence-based information from medical and dermatological experts.
- American Academy of Dermatology: Offers comprehensive information on hair care fundamentals and conditions.
- NHS (National Health Service): Provides reliable medical information on hair and scalp conditions.
- PubMed: A database of biomedical literature where you can find scientific studies on the effects of various natural ingredients.
- DermNet NZ: A trusted online resource for dermatological information, including topics on hair health.
“`