Introduction — What a DIY hair mask can actually do
Welcome to the ultimate guide to creating your own DIY hair mask! If you have ever looked at your dull, frizzy, or dry hair and wished for a simple, natural solution, you are in the right place. Forget expensive salon treatments for a moment and open your kitchen pantry. The secret to healthier, shinier hair might already be sitting on your shelves in the form of avocados, honey, or yogurt.
So, what can a homemade hair mask realistically achieve? While it is not a magic wand, a consistent masking routine can deliver significant benefits. A well-formulated DIY hair mask can provide deep hydration, restore softness and shine, reduce frizz, and nourish your scalp. It is about feeding your hair with wholesome, unprocessed ingredients. This guide will walk you through the science, the ingredients, and the step-by-step process to create the perfect treatment for your unique hair needs.
How DIY masks work: science in simple terms
To understand how a DIY hair mask works, let’s take a quick look at your hair’s structure. Each hair strand is covered in a protective layer called the cuticle, which looks like overlapping shingles on a roof. When hair is healthy and moisturized, these shingles lie flat, giving it a smooth, shiny appearance. When hair is damaged or dry, the cuticles lift, making it look dull and frizzy and causing it to tangle easily.
The goal of a hair mask is to penetrate this outer cuticle layer and deliver nutrients to the inner cortex. Ingredients in your mask work in different ways:
- Moisturizers (Humectants): Ingredients like honey and aloe vera attract water molecules, drawing moisture into the hair shaft.
- Sealants (Oils and Butters): Ingredients like coconut oil, olive oil, and shea butter do not add moisture themselves but seal it in by creating a protective barrier around the hair strand. This flattens the cuticle and prevents moisture from escaping.
- Proteins: Ingredients like eggs and yogurt contain proteins that can temporarily patch up gaps in the damaged cuticle, strengthening the hair strand and improving its elasticity.
By combining these elements, you create a potent treatment that can temporarily restore your hair’s health, appearance, and texture from the comfort of your home.
Match masks to hair type and concern
The most effective DIY hair mask is one that is tailored to your specific hair type and concerns. Using a heavy, oil-based mask on fine, oily hair will likely weigh it down, while a lightweight mask may not be enough for thick, dry hair. The first step is to understand your hair’s unique characteristics.
Identifying your hair type and porosity
Before you start mixing, get to know your hair. Consider two main factors: your hair type (texture) and its porosity (ability to absorb and retain moisture).
Hair Type:
- Straight: Tends to get oily faster because scalp oils travel down the shaft easily.
- Wavy: An S-shape pattern that can be prone to frizz.
- Curly: Defined curls or loops; often dry as oils do not travel down the shaft easily.
- Coily: Tightly-wound coils or zig-zag patterns; the most prone to dryness and breakage.
Hair Porosity:
Porosity is a game-changer for choosing ingredients. You can do a simple float test: drop a clean, product-free strand of hair into a glass of water.
- Low Porosity: The strand floats. Your hair cuticles are tightly packed. Hair is slow to get wet and slow to dry. It is prone to product buildup because it resists moisture. You need lightweight ingredients that can penetrate without sitting on top.
- Medium Porosity: The strand floats for a bit, then slowly sinks. This is considered the ideal, as it absorbs and retains moisture well.
- High Porosity: The strand sinks quickly. Your hair cuticles are raised or have gaps. It absorbs moisture fast but loses it just as quickly. It is often dry, frizzy, and prone to damage. You need richer, sealing ingredients and a bit of protein to fill the gaps.
Top pantry ingredients and their benefits
Your kitchen is a treasure trove of hair-loving ingredients. Understanding what each one does will empower you to customize your DIY hair mask recipes.
Oils, proteins, humectants and fats explained
Here is a breakdown of common pantry staples and their roles in hair care:
| Ingredient Category | Pantry Examples | Primary Benefit | Best For |
|---|---|---|---|
| Fats and Oils | Avocado, Coconut Oil, Olive Oil, Shea Butter | Seals in moisture, adds shine, reduces frizz, softens hair. | Dry, thick, high porosity, or damaged hair. |
| Humectants | Honey, Agave Nectar, Aloe Vera Gel | Attracts and binds water to the hair shaft for hydration. | All hair types, especially dry and dehydrated hair. |
| Proteins | Plain Yogurt, Egg, Gelatin | Temporarily strengthens the hair shaft and fills gaps in the cuticle. | High porosity, chemically treated, or damaged hair. Use with caution on low porosity hair. |
| Clarifiers | Apple Cider Vinegar, Bentonite Clay, Lemon Juice | Removes product buildup, balances scalp pH, adds shine. | Oily scalp, fine hair, or hair with product buildup. |
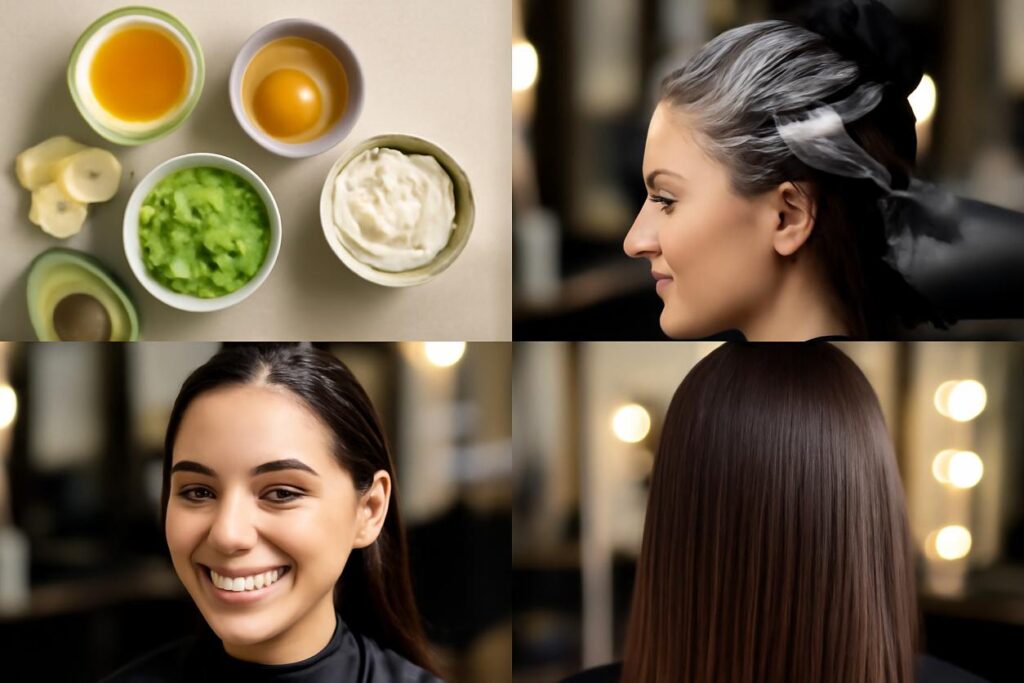
Signature recipes by hair need
Here are four simple, effective DIY hair mask recipes tailored to common hair concerns. Remember to use fresh ingredients and blend until completely smooth to avoid chunks in your hair.
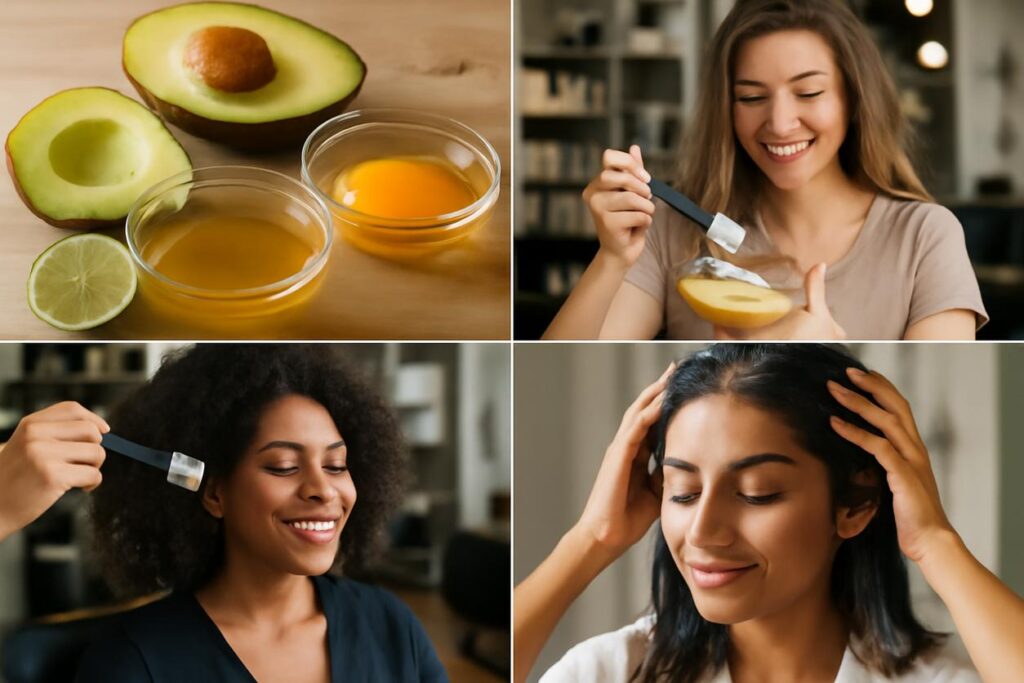
Deep nourishment mask for dry hair
This mask is a rich, hydrating treat for thirsty, brittle, or high-porosity hair.
- Ingredients: 1/2 ripe avocado, 1 tablespoon olive oil, 1 tablespoon honey.
- Why it works: Avocado is packed with fatty acids and vitamins that deeply nourish and soften. Olive oil seals in moisture, and honey acts as a natural humectant to draw in hydration.
- Instructions: Mash the avocado until it is completely lump-free. Stir in the olive oil and honey. Apply to hair and leave for 20-30 minutes.
Lightweight balancing mask for oily scalp
This mask helps absorb excess oil and clarify the scalp without stripping the lengths of your hair.
- Ingredients: 2 tablespoons bentonite clay, 1 tablespoon apple cider vinegar, 3-4 tablespoons water or aloe vera juice.
- Why it works: Bentonite clay is highly absorbent and pulls out impurities and excess sebum. Apple cider vinegar helps restore the scalp’s natural pH balance.
- Instructions: In a non-metal bowl, mix the clay and vinegar (it will fizz!). Slowly add water or aloe vera juice until you get a yogurt-like consistency. Apply mainly to the scalp and roots, leaving on for 15-20 minutes before it fully dries.
Repair mask for chemically treated or damaged hair
This protein-rich mask helps temporarily fortify weakened, over-processed strands.
- Ingredients: 1 egg, 2 tablespoons plain yogurt, 1 tablespoon coconut oil (melted).
- Why it works: The egg provides a strong dose of protein to patch up the hair’s cuticle. Yogurt contains lactic acid for gentle exfoliation and more protein. Coconut oil adds moisture and shine.
- Instructions: Whisk the egg thoroughly, then mix in the yogurt and melted coconut oil. Apply to hair and leave on for 20 minutes. Important: Rinse with cool or lukewarm water to avoid scrambling the egg in your hair!
Definition boost mask for curly hair
This mask provides moisture, slip, and encourages curl clumps for better definition.
- Ingredients: 2 tablespoons aloe vera gel, 1 tablespoon honey, 1 tablespoon avocado oil or sweet almond oil.
- Why it works: Aloe vera is incredibly hydrating and provides great slip for detangling. Honey draws in moisture, and the lightweight oil seals it all in without weighing down curls.
- Instructions: Mix all ingredients until well combined. Apply to damp hair in sections, smoothing it down to encourage curl patterns. Leave on for 30 minutes.
Step by step application and timing
Applying your DIY hair mask correctly is key to getting the best results.
- Prep Your Hair: It is best to apply a mask to clean, towel-dried (damp) hair. This allows the ingredients to penetrate without a barrier of dirt or product buildup.
- Section Your Hair: Divide your hair into 4-6 manageable sections. This ensures every strand is evenly coated.
- Apply the Mask: Using your fingers, start applying the mask from the ends and work your way up to the roots. The ends are usually the oldest and driest part of your hair and need the most attention. If you have an oily scalp, you might want to focus the mask from the mid-lengths to ends.
- Cover and Wait: Once your hair is fully saturated, twist it up and cover it with a shower cap or a warm towel. The heat trapped inside helps open the hair cuticles, allowing the mask to penetrate more deeply. Leave the mask on for the recommended time (usually 20-30 minutes).
- Rinse Thoroughly: Rinse the mask out completely with lukewarm water. Be patient and make sure there is no residue left, which can weigh hair down.
Frequency, safety and allergy checklist
While natural, not all ingredients are right for everyone. Safety first!
- Patch Test: Before applying any new DIY hair mask to your entire head, perform a patch test. Apply a small amount of the mixture to your inner elbow or behind your ear. Wait 24 hours to see if any irritation, redness, or itching occurs.
- Know Your Allergies: If you have food allergies (like to eggs or dairy), do not put those ingredients on your scalp or hair.
- Frequency: How often you use a mask depends on your hair’s needs. For very dry or damaged hair, once a week is beneficial. For normal or oily hair, once every two weeks or once a month may be sufficient. Overusing protein masks can lead to stiff, brittle hair, so listen to your hair.
- Fresh is Best: Always make your mask fresh for each use. Pantry ingredients can spoil quickly without preservatives, leading to bacteria or mold growth.
Before and after care for best results
To maximize the benefits of your homemade hair treatment, follow these simple steps.
Before:
- Clarify if needed: If you use a lot of styling products, consider using a clarifying shampoo before your mask to remove buildup and help the ingredients absorb better.
- Detangle: Gently detangle your hair with a wide-tooth comb while it is damp, before applying the mask. This helps with even distribution.
After:
- Rinse Well: This is the most crucial step. Rinse until the water runs clear. Any leftover mask can make your hair feel greasy or heavy.
- Follow with Conditioner (Optional): For most hair types, following up with a light conditioner can help seal the cuticle and lock in all the benefits of the mask. If you have fine hair, you might be able to skip this step.
- Cool Rinse: Finish with a quick rinse of cool water. This helps to fully close the hair cuticle, which enhances shine and reduces frizz.
Troubleshooting common problems
Sometimes your DIY hair mask experience does not go as planned. Here is how to fix common issues.
- Problem: My hair feels greasy or weighed down.
Solution: You may have used too much oil for your hair type, or you did not rinse thoroughly enough. Next time, reduce the amount of oil or focus the mask only on your ends. Try a light shampoo after rinsing the mask to remove excess residue.
- Problem: It is too difficult to wash out.
Solution: This often happens with thick ingredients like banana or avocado if they are not blended smoothly. Ensure your mixture is completely pureed. Rinsing with the help of a conditioner can also provide “slip” to help remove the mask.
- Problem: I do not see any difference.
Solution: Consistency is key! You may not see dramatic results after one use. It can take a few sessions. Also, ensure the recipe you chose is right for your hair’s porosity and needs. Perhaps your hair needs more protein instead of moisture, or vice versa.
Evidence and further reading
The benefits of many pantry ingredients are supported by their chemical composition. For instance, studies on coconut oil have shown its fatty acids (specifically lauric acid) have a high affinity for hair proteins and can penetrate inside the hair shaft, reducing protein loss for both undamaged and damaged hair. Similarly, the viscosity of honey makes it an effective humectant. For a deeper dive into hair science and care, resources like the stylists at Rich Hair UK offer expert insights into maintaining healthy hair. While we embrace a 2025 outlook on new strategies, the foundational science of these natural ingredients remains timeless.
Sustainable sourcing and storage tips
One of the best parts of a DIY hair mask routine is its low environmental impact.
- Use What You Have: Get creative with leftovers. A slightly overripe banana or the last bit of yogurt in the container is perfect for a hair mask.
- Avoid Waste: Only make as much as you need for one application. These masks are preservative-free and should not be stored for more than a day, even in the refrigerator.
- Compost Scraps: Compost any leftover food scraps like avocado peels or eggshells.
Quick routines and sample plans
Here is how you can incorporate a DIY hair mask into your routine:
- For Dry or Curly Hair (Weekly): Designate a “self-care Sunday” for your deep conditioning treatment. Use the Deep Nourishment or Definition Boost mask.
- For Normal or Wavy Hair (Bi-weekly): Every other week, treat your hair to a mask that targets your current concern—maybe a moisturizing one in winter and a frizz-reducing one in summer.
- For Oily or Fine Hair (Monthly): Once a month, use a clarifying or balancing mask to reset your scalp and remove buildup without over-moisturizing.
Frequently asked questions
Can I leave a DIY hair mask on overnight?
It is generally not recommended. Leaving a wet mask on for too long can lead to hygral fatigue (damage from excessive swelling of the hair shaft) or scalp issues. Stick to the 20-40 minute window for the best results.
Do I need to shampoo after a DIY hair mask?
Typically, you apply the mask after shampooing and before conditioning. If your hair feels greasy after rinsing, you can use a light shampoo to remove the excess.
Can I use a DIY hair mask on colored hair?
Yes, most moisturizing masks are safe. However, be cautious with clarifying ingredients like lemon juice or apple cider vinegar, as they can be slightly acidic and may affect color over time. Always do a strand test first.
Conclusion and next steps
Creating a DIY hair mask is a simple, affordable, and effective way to give your hair a boost of nutrients. By understanding your hair type, choosing the right pantry ingredients, and applying them correctly, you can unlock a new level of health and shine. The journey to great hair is personal, so do not be afraid to experiment with different combinations to find what your hair loves.
Your next step is simple: pick a recipe that speaks to your hair’s needs, head to the kitchen, and treat yourself to a nourishing at-home spa experience. Happy masking!