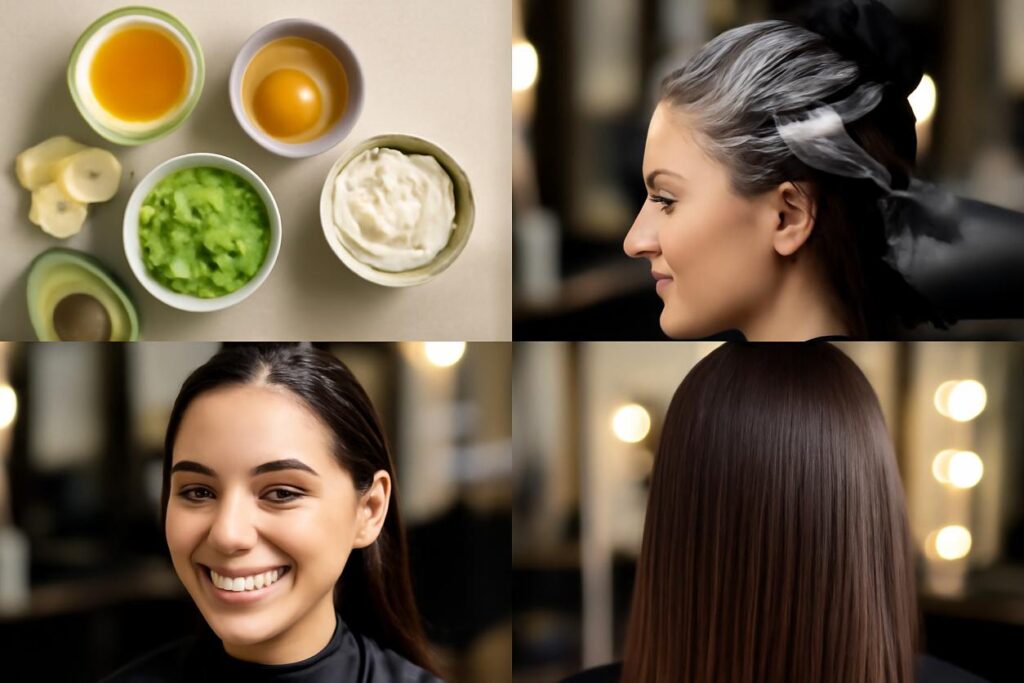
Why Choose Homemade Hair Masks?
Welcome to the wonderful world of at-home hair care! If you’ve ever felt overwhelmed by the endless aisles of hair products promising miracles, you’re not alone. Creating a DIY hair mask is more than just a fun weekend project; it’s an empowering way to take control of your hair’s health. You get to play kitchen chemist, hand-picking fresh, natural ingredients specifically for your hair’s unique needs. There are no mystery chemicals, no harsh preservatives, and no eye-watering price tags.
Choosing a homemade hair mask means you know exactly what you’re putting on your scalp and strands. It’s a sustainable, budget-friendly approach to beauty that connects you back to the simple, nourishing power of nature. Plus, the ritual of mixing your mask and taking 30 minutes for yourself is a beautiful act of self-care that your hair—and your mind—will thank you for.
How to Assess Your Hair Needs (Porosity, Texture, Concerns)
Before you start mixing, let’s play detective. The perfect DIY hair mask starts with understanding your hair’s personality. Knowing its porosity, texture, and primary concerns will help you choose ingredients that deliver real results instead of a greasy mess.
- Hair Porosity: This is your hair’s ability to absorb and retain moisture. It’s a game-changer for product selection.
- Low Porosity: The hair cuticle is tightly packed. Hair takes a long time to get wet and products tend to sit on top. It needs lightweight, hydrating ingredients that won’t cause build-up.
- Medium Porosity: The cuticle is looser, allowing moisture to penetrate easily and be retained well. This is often considered the “normal” or easiest hair type to manage.
- High Porosity: The cuticle has gaps or holes, causing it to absorb moisture quickly but lose it just as fast. This hair type is often dry, frizzy, and prone to breakage, needing sealing oils and protein.
The Float Test: Drop a clean, dry strand of hair into a glass of water. If it sinks quickly, you likely have high porosity. If it floats on top, it’s low porosity. If it hovers in the middle, you have medium porosity.
- Hair Texture: This refers to the thickness of individual hair strands.
- Fine: Strands are very thin, often feeling silky. This hair type can be easily weighed down by heavy products.
- Medium: Strands are thicker than fine hair, holding styles well.
- Coarse: Strands are thick and strong, often resistant to styling and prone to dryness.
- Primary Concerns: What is your main hair goal? Be honest!
- Dryness and Brittleness: Lacks moisture and feels rough.
- Frizz and Flyaways: The outer cuticle is raised, often from a lack of moisture.
- Damage: Caused by heat, chemicals, or environmental stress. It often looks like split ends and breakage.
- Oiliness: The scalp overproduces sebum, making roots greasy.
- Dullness: Hair lacks shine and vibrancy.
Once you’ve identified your hair’s profile, you can confidently choose the right natural hair treatment to bring it back to life.
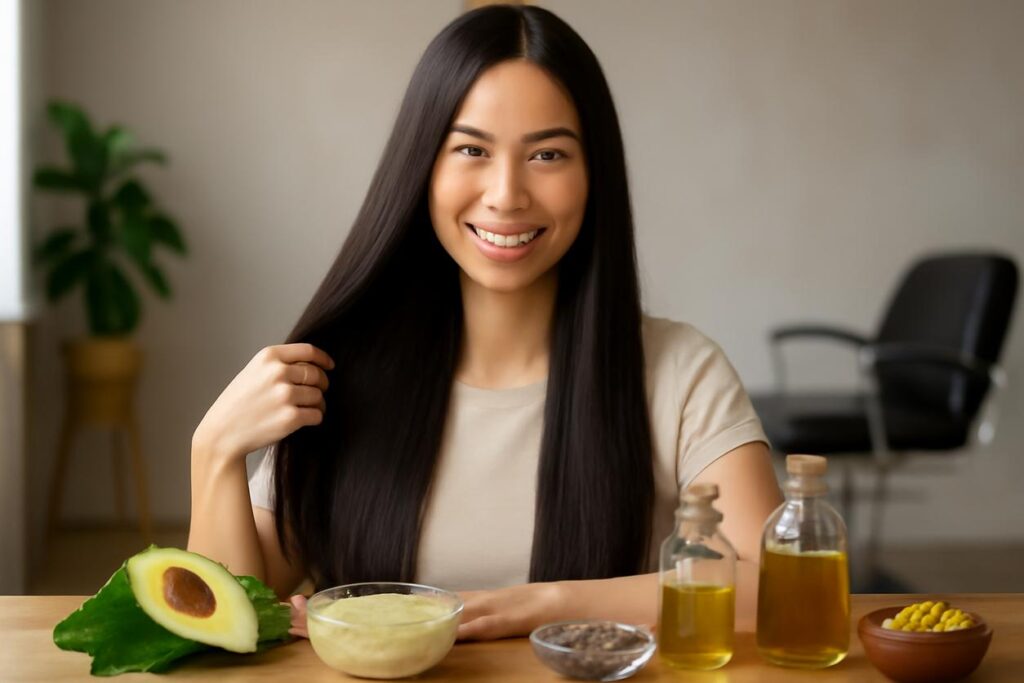
Ingredient Guide: Benefits, How They Work and Safety
Your kitchen is a treasure trove of hair-loving ingredients. Understanding what each one does is the secret to formulating an effective DIY hair mask. Remember that a balanced diet is also crucial for hair health, as highlighted by resources like the NHS guide on healthy eating.
Carrier Oils and When to Use Each
Carrier oils form the base of many masks, delivering moisture and nutrients deep into the hair shaft. Scientific research on oils has shown that certain ones can penetrate the hair shaft while others coat it.
- Coconut Oil: This oil is a star for its ability to penetrate the hair shaft, reducing protein loss. Best for: Damaged, high porosity, and medium-to-coarse hair. Can be too heavy for fine or low porosity hair.
- Olive Oil: A fantastic emollient that softens and moisturizes. It mostly coats the hair, sealing in moisture. Best for: Dry, thick, or coarse hair.
- Avocado Oil: Rich in vitamins A, D, and E, and fatty acids. It’s lighter than olive oil and penetrates well. Best for: Dry, damaged, and frizzy hair of most textures.
- Jojoba Oil: Its molecular structure is the closest to our scalp’s natural sebum, making it excellent for balancing oil production. Best for: Oily scalps, fine hair, and dry ends.
- Argan Oil: A lightweight, non-greasy oil packed with antioxidants. It adds shine and tames frizz without weighing hair down. Best for: All hair types, especially fine or frizz-prone hair.
Active Additions: Dairy, Fruit, Proteins and Sweeteners
- Yogurt or Kefir: Full-fat, plain yogurt contains lactic acid, which gently cleanses the scalp, and proteins that strengthen hair. Best for: Dullness, strengthening, and scalp health.
- Avocado or Banana: These fruits are moisture bombs, packed with vitamins, potassium, and natural oils to nourish and soften hair. Best for: Dry, brittle, or frizzy hair. Ensure they are blended completely smooth to avoid chunks!
- Egg: The yolk is rich in fats and vitamins for moisture, while the white is packed with protein for strength. Best for: Damaged or fine hair needing a protein boost. Use with caution, as too much protein can cause stiffness.
- Honey or Agave Nectar: These are natural humectants, meaning they attract and lock moisture into the hair. They also add incredible shine. Best for: Dry, dull, or dehydrated hair.
Eight Original DIY Recipes Mapped to Hair Types and Goals
Ready to get mixing? Here are eight exclusive recipes designed for specific hair needs. For every DIY hair mask, blend the ingredients until smooth. Adjust quantities based on your hair length.
| Mask Name | Best For | Ingredients |
|---|---|---|
| 1. Intense Moisture Rescue | Very Dry, Damaged, High Porosity Hair | 1/2 Ripe Avocado, 1 tbsp Coconut Oil, 1 tbsp Honey |
| 2. Feather-Light Volume Booster | Fine, Limp, or Low Porosity Hair | 2 tbsp Plain Yogurt, 1 tbsp Aloe Vera Gel, 1 tsp Jojoba Oil |
| 3. Scalp and Ends Balancer | Oily Scalp with Dry Ends | 3 tbsp Green Tea (cooled), 1 tbsp Honey, 1 tsp Jojoba Oil |
| 4. Frizz-Taming Smoothie | Frizzy, Unruly, Coarse Hair | 1/2 Ripe Banana, 2 tbsp Olive Oil, 1 tbsp Agave Nectar |
| 5. High-Shine Gloss Treatment | Dull Hair of Any Type | 1/4 cup Plain Yogurt, 2 tbsp Apple Cider Vinegar, 1 tsp Argan Oil |
| 6. Protein Power Rebuilder | Weak, High Porosity, Processed Hair | 1 Egg, 2 tbsp Greek Yogurt, 1 tsp Olive Oil |
| 7. Low Porosity Hydrator | Low Porosity, Build-up Prone Hair | 1/4 cup Aloe Vera Gel, 1 tbsp Argan Oil, 1 tsp Vegetable Glycerin |
| 8. Scalp-Stimulating Growth Mask | Thinning Hair or Promoting Growth | 2 tbsp Coconut Oil, 3 drops Rosemary Essential Oil, 3 drops Peppermint Essential Oil |
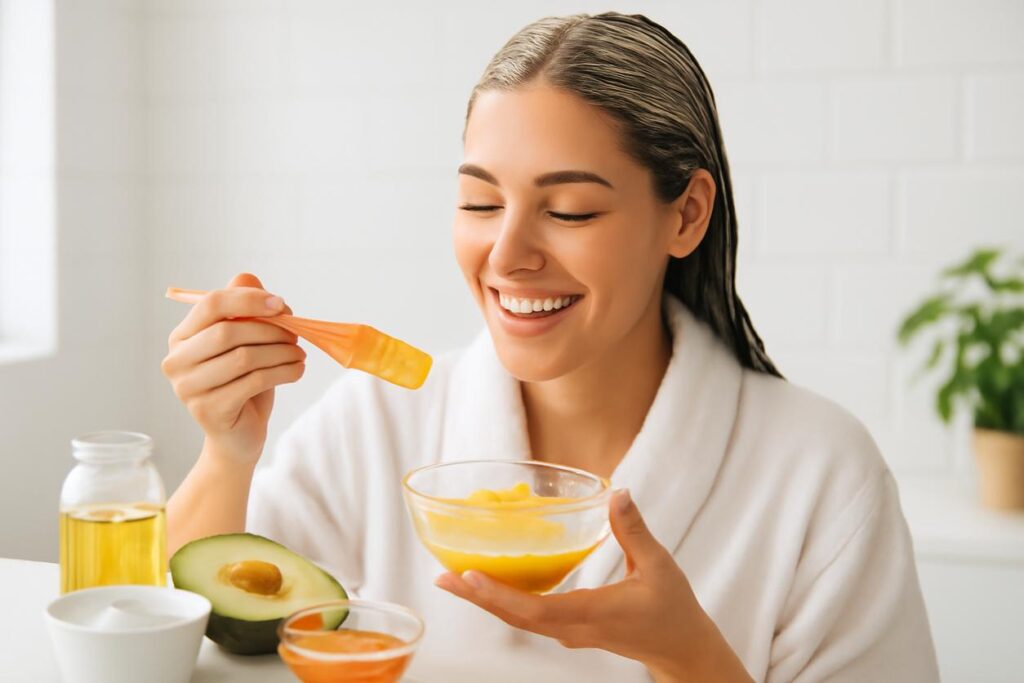
Step-by-Step Preparation and Application Routine
Applying your homemade hair mask correctly ensures you get all the benefits. Follow this simple routine for a spa-like experience.
- Prepare Your Mask: Gather your fresh ingredients. Use a blender for fruits like banana and avocado to get a perfectly smooth, lump-free consistency. Mix everything in a clean, non-metallic bowl.
- Start with Clean, Damp Hair: For best absorption, apply your mask to hair that has been freshly shampooed and towel-dried. It should be damp, not dripping wet.
- Section and Apply: Divide your hair into 4-6 sections. Use your fingers or a clean application brush to apply the DIY hair mask from roots to ends, focusing on the areas that need the most love (e.g., dry ends or an oily scalp).
- Massage and Cover: Gently massage your scalp for a minute to boost circulation. Then, pile your hair on top of your head and cover it with a shower cap or plastic wrap. The trapped heat will help the ingredients penetrate more deeply.
- Wait it Out: Let the mask work its magic for 20-30 minutes. This is your time to relax!
- Rinse Thoroughly: Rinse the mask out with lukewarm water. Avoid hot water, which can strip moisture. Be patient and rinse until your hair feels clean. For oil-heavy masks, you may need to follow with a light shampoo.
Patch Testing, Allergy Precautions and Safe Mixing
Just because an ingredient is natural doesn’t mean it’s safe for everyone. Your skin’s safety comes first. Always follow official cosmetics safety guidance, even for homemade products.
- Perform a Patch Test: Before applying a new ingredient or mask all over your head, test a small amount on your inner arm or behind your ear. Wait 24 hours to check for any signs of redness, itching, or irritation.
- Be Mindful of Allergies: If you have known allergies to foods like eggs, dairy, or nuts, do not use them in your hair masks. Be aware that oils like almond oil can trigger nut allergies.
- Freshness is Key: Always make your DIY hair mask fresh for each use. Bacteria can grow quickly in homemade concoctions without preservatives. Never use spoiled food.
Troubleshooting: Common Results and How to Adjust Formulas
Sometimes your first attempt at a DIY hair mask doesn’t go exactly as planned. Don’t worry! It’s a learning process. Here’s how to adjust your formula.
- If Your Hair Feels Greasy or Weighed Down: You likely used too much oil or an oil that was too heavy for your hair type. Next time, reduce the amount of oil, focus it only on the very ends of your hair, or switch to a lighter oil like jojoba or argan.
- If You Don’t See a Difference: Consistency is crucial. It may take a few applications to see results. Also, double-check that the ingredients you chose match your hair’s needs. A moisture mask won’t help if your hair really needs protein.
- If Your Hair Feels Stiff or Brittle: This is the classic sign of “protein overload.” Your hair has too much protein and not enough moisture to balance it out. Skip any masks with egg or yogurt for a few weeks and focus on purely moisturizing recipes with ingredients like avocado, banana, and honey.
Frequency, Aftercare and Styling-Friendly Tips
To integrate your new DIY hair mask into your routine, follow these tips for long-term success.
- Frequency: As a general rule, use a hair mask once a week. If your hair is extremely damaged, you can use a deep conditioning mask up to twice a week. If you have fine or oily hair, once every two weeks might be sufficient.
- Aftercare: After rinsing the mask, you may or may not need a conditioner. If your hair feels fully detangled and soft, you can skip it. Always finish with a cool water rinse to seal the hair cuticle, which locks in moisture and adds shine.
- Styling-Friendly Tips: Well-moisturized and balanced hair is easier to style. You should notice less frizz, more manageability, and better curl definition. If your hair feels slightly coated after an oil-heavy mask, a tiny amount of dry shampoo at the roots can help absorb any excess. For the best hair, consider professional insights, like those offered at specialists such as Rich Hair UK.
How to Measure Improvement and When to Consult a Pro
The best part of this journey is seeing the results! In our 2025 guide to hair health, we encourage you to track your progress.
- Visual Cues: Take photos in the same lighting before you start and after a month of consistent treatments. Look for increased shine, smoother texture, and less visible frizz or split ends.
- Tactile Cues: Pay attention to how your hair feels. Is it softer? Does it detangle more easily? Does it feel stronger and less “stretchy” when wet? These are all signs of improved health.
- When to Consult a Professional: A DIY hair mask can solve many common hair woes, but it can’t fix everything. You should consult a doctor, dermatologist, or trichologist if you experience sudden, significant hair loss, a painful or flaky scalp condition that doesn’t improve, or breakage that continues despite gentle care.
Quick FAQs and One-Page Cheat Sheet
Frequently Asked Questions
Can I leave a DIY hair mask on overnight?
It’s generally not recommended. Leaving food-based ingredients on your scalp for too long can lead to bacterial growth or irritation. 30-60 minutes is the sweet spot for most masks. An exception can be made for pure oils like coconut oil on the ends of hair.
Do I apply a DIY hair mask to wet or dry hair?
Damp hair is best. It allows the ingredients to be absorbed more effectively without being diluted by excess water or blocked by dirt and oils on dry hair.
How long do homemade hair masks last?
They don’t! Because they contain fresh ingredients and no preservatives, you must make a new batch for every single use and discard any leftovers immediately.
DIY Hair Mask Cheat Sheet
| If Your Hair Is… | Your Main Goal Is… | Reach For These Ingredients |
|---|---|---|
| Dry, Brittle, Frizzy | Moisture and Hydration | Avocado, Banana, Honey, Olive Oil, Argan Oil, Agave |
| Limp, Fine, Weak | Strength and Volume | Egg, Yogurt, Green Tea, Aloe Vera Gel |
| Oily, Prone to Build-up | Balancing and Clarifying | Jojoba Oil, Apple Cider Vinegar, Green Tea, Aloe Vera |
| Dull and Lackluster | Shine and Vibrancy | Yogurt, Honey, Argan Oil, Apple Cider Vinegar |