
Table of Contents
- Introduction — what a hair mask actually does
- How hair structure and porosity affect mask choice
- How to check porosity at home
- Safety and prep: allergies, patch tests and timing
- Pantry staples explained: oils, proteins, humectants and acids
- Quick swaps and ingredient pairings for common needs
- Six step-by-step DIY masks with purpose and timing
- Moisture booster (avocado and honey)
- Protein repair (egg and yogurt)
- Scalp clarifying and soothing (oat and aloe)
- Deep conditioning overnight oil treatment
- Shine and color-refresh rinse
- Lightweight hydrator for fine hair
- How often to use each mask and layering rules
- Application technique and tools for best results
- Troubleshooting: buildup, greasiness and breakage
- FAQ — quick answers to common concerns
- Sources and further reading
Introduction — what a hair mask actually does
Welcome to the ultimate guide to the DIY hair mask! If you’ve ever felt your hair needed a little extra love that your regular conditioner just can’t provide, a hair mask is your answer. Think of it as a high-potency, intensive conditioning treatment. While conditioners work on the surface of the hair to smooth and detangle, a hair mask is formulated with concentrated ingredients designed to penetrate deeper into the hair shaft. The goal is to tackle specific concerns like dryness, damage, frizz, or dullness from the inside out.
Creating a DIY hair mask at home allows you to control exactly what you put on your hair, using fresh, natural ingredients straight from your pantry. It’s a fantastic, budget-friendly option for home haircare beginners and anyone looking to adopt a more eco-conscious beauty routine. This guide will walk you through understanding your hair’s needs, choosing the right ingredients, and mixing up the perfect homemade treatment for healthier, happier locks.
How hair structure and porosity affect mask choice
To create an effective DIY hair mask, it helps to understand the basic structure of a hair strand. Each strand has three main layers: the medulla (the innermost core), the cortex (the middle layer, which provides strength and color), and the cuticle (the outermost protective layer, composed of overlapping scales).
The condition of your cuticle layer determines your hair’s porosity—its ability to absorb and retain moisture. This is the single most important factor in choosing your mask ingredients.
- Low Porosity Hair: The cuticles are tightly packed and flat. This hair type resists moisture, making it prone to product buildup. It needs lightweight, water-based ingredients that can penetrate without weighing it down.
- Normal Porosity Hair: The cuticles are slightly raised, allowing moisture to enter and be retained easily. This hair type is the most balanced and benefits from a mix of moisture and light protein treatments.
- High Porosity Hair: The cuticles are widely spaced or have gaps, often due to chemical processing, heat styling, or environmental damage. This hair absorbs moisture quickly but loses it just as fast, leading to frizz and breakage. It craves sealing oils and reparative proteins to fill the gaps and lock in hydration.
How to check porosity at home
You can perform a simple test to determine your hair’s porosity. It’s a great first step before starting your DIY hair mask journey.
- Wash and rinse your hair to remove any product buildup. Do not apply conditioner.
- Allow your hair to air dry completely.
- Pluck a single clean strand of hair.
- Drop the strand into a glass of room-temperature water.
- Observe what happens over the next 2-4 minutes.
- If the strand floats at the top, you likely have low porosity hair.
- If the strand sinks slowly or floats in the middle, you have normal porosity hair.
- If the strand sinks quickly to the bottom, you likely have high porosity hair.
Safety and prep: allergies, patch tests and timing
Before you mix up your first DIY hair mask, safety is paramount. Just because an ingredient is natural doesn’t mean it can’t cause an allergic reaction. Always perform a patch test 24-48 hours before applying a new mixture to your entire head.
How to Patch Test:
- Mix a small amount of your intended mask.
- Apply a dab to a discreet area of skin, like behind your ear or on your inner elbow.
- Leave it on for the recommended mask duration (e.g., 20-30 minutes), then rinse.
- Monitor the area for the next 24-48 hours. If you experience any redness, itching, swelling, or irritation, do not use the mask.
Also, always use fresh ingredients. An avocado that’s past its prime or yogurt that’s been open for weeks can harbor bacteria you don’t want on your scalp. Finally, pay attention to timing. Leaving certain ingredients (especially acidic ones like lemon juice or apple cider vinegar) on for too long can cause irritation or damage.
Pantry staples explained: oils, proteins, humectants and acids
Your kitchen is a treasure trove of hair-loving ingredients. Understanding their function is key to customizing your DIY hair mask. These ingredients generally fall into four categories:
- Oils (Emollients and Sealants): These ingredients smooth the hair cuticle and lock in moisture. They are especially beneficial for high porosity and dry hair. Examples include coconut oil, olive oil, avocado, and shea butter.
- Proteins (Strengtheners): Proteins temporarily patch gaps in the hair cuticle, adding strength and structure. They are essential for high porosity and damaged hair but should be used in moderation by those with low porosity hair to avoid stiffness. Think egg, Greek yogurt, and gelatin.
- Humectants (Moisturizers): These ingredients attract water from the atmosphere and bind it to the hair strand. They are excellent for all hair types needing a hydration boost. Common humectants are honey, aloe vera gel, and glycerin.
- Acids (Cuticle Sealers): Mild acids help to flatten and seal the hair cuticle, which boosts shine and reduces frizz. They work by lowering the pH of the hair. Use apple cider vinegar (ACV) and lemon juice sparingly and always diluted.
Quick swaps and ingredient pairings for common needs
Don’t have a specific ingredient on hand? No problem. The beauty of a DIY hair mask is its flexibility. Here are some easy swaps and effective pairings to target your hair goals for 2025 and beyond.
| If you need… | And you don’t have… | You can swap it for… | Great pairing idea |
|---|---|---|---|
| Deep Moisture | Avocado | Banana or Mango (mashed well) | Pair with a humectant like honey to draw in extra water. |
| Strength/Repair | Egg | Plain Greek Yogurt or Gelatin | Pair with an oil like olive oil to balance protein with moisture. |
| Scalp Soothing | Aloe Vera Gel | Finely blended oatmeal or chamomile tea | Pair with a drop of peppermint oil for a cooling sensation. |
| Shine | Apple Cider Vinegar | Diluted lemon juice or black tea rinse | Use as a final rinse after a deep conditioning mask. |
Six step-by-step DIY masks with purpose and timing
Ready to get mixing? Here are six purposeful, easy-to-make recipes. Remember to blend all ingredients thoroughly to avoid chunks, and adjust quantities based on your hair length and thickness.
Moisture booster (avocado and honey)
Best for: Dry, dull, or high porosity hair.
This creamy DIY hair mask is packed with fatty acids, vitamins, and humectants to deliver intense hydration.
- Ingredients: 1/2 ripe avocado, 1 tablespoon honey, 1 tablespoon olive oil.
- Instructions: Mash the avocado until completely smooth. Stir in the honey and olive oil until you have a consistent, creamy paste.
- Application: Apply to clean, damp hair from roots to ends. Cover with a shower cap and leave on for 20-30 minutes. Rinse thoroughly with lukewarm water.
Protein repair (egg and yogurt)
Best for: Damaged, brittle, or high porosity hair.
Use this mask to temporarily strengthen the hair cuticle and improve elasticity. Avoid if your hair is protein-sensitive or low porosity.
- Ingredients: 1 whole egg, 2 tablespoons plain Greek yogurt.
- Instructions: Whisk the egg until frothy. Fold in the Greek yogurt until well combined.
- Application: Apply to damp hair, focusing on the mid-lengths and ends. Leave on for 15-20 minutes. Rinse with cool water (hot water can cook the egg!) before shampooing.
Scalp clarifying and soothing (oat and aloe)
Best for: Oily roots, itchy scalp, or product buildup.
This gentle mask calms irritation and absorbs excess oil without stripping your hair. A great choice for scalp health.
- Ingredients: 1/4 cup colloidal oatmeal (or rolled oats blended into a fine powder), 3 tablespoons aloe vera gel, 1 tablespoon apple cider vinegar.
- Instructions: Mix the fine oatmeal powder with aloe vera gel and ACV to form a paste. Add a little water if it’s too thick.
- Application: Part your hair and apply directly to the scalp. Gently massage for a minute. Leave on for 15-20 minutes before rinsing and shampooing.
Deep conditioning overnight oil treatment
Best for: Extremely dry, coarse, or damaged hair.
This is a simple yet powerful treatment to deeply nourish and soften hair.
- Ingredients: 2-4 tablespoons of your chosen oil (coconut, argan, or jojoba work well).
- Instructions: Gently warm the oil until it is liquid but not hot.
- Application: Apply the warm oil to dry hair, focusing on the ends. Braid your hair loosely and cover it with a shower cap or silk scarf to protect your pillow. Leave on overnight. Shampoo out in the morning (you may need to shampoo twice).
Shine and color-refresh rinse
Best for: All hair types, especially for boosting shine and vibrancy.
This isn’t a thick mask but a final rinse to seal the cuticle and enhance your hair’s natural tones.
- Ingredients: 2 tablespoons apple cider vinegar (for all hair types), OR 1 cup of strongly brewed black tea (for brunettes), OR 1 cup of strongly brewed chamomile tea (for blondes). Add these to 2 cups of cool water.
- Instructions: Mix your chosen ingredient with the cool water.
- Application: After shampooing and conditioning, pour the rinse over your hair slowly. Do not rinse it out. Style as usual.
Lightweight hydrator for fine hair
Best for: Fine or low porosity hair that gets weighed down easily.
This DIY hair mask provides moisture without heavy oils or butters.
- Ingredients: 1/4 cup aloe vera gel, 1 tablespoon of a light oil like grapeseed or jojoba.
- Instructions: Whisk the ingredients together until they form a light, smooth gel.
- Application: Apply to the lengths and ends of damp hair. Leave on for 10-15 minutes, then rinse well.
How often to use each mask and layering rules
The frequency of your DIY hair mask routine depends on the mask type and your hair’s condition. Over-masking can lead to buildup or imbalance.
- Moisture Masks (like the avocado one): Can be used once a week for dry hair, or every two weeks for normal hair.
- Protein Masks (like the egg one): Should be used sparingly. Start with once a month. Overuse can lead to “protein overload,” making hair stiff and brittle.
- Clarifying Masks (like the oat one): Use once or twice a month, or whenever you feel your scalp is congested.
- Oil Treatments: Can be done weekly for very dry hair, or monthly as a preventative treatment.
As a general rule, always apply your DIY hair mask after shampooing (which opens the cuticle) and before conditioning (which seals it). The only exception is an oil pre-treatment, which is applied to dry hair before washing.
Application technique and tools for best results
How you apply your homemade hair treatment can make a big difference.
- Start with clean, towel-dried hair. Most masks absorb better on damp hair that isn’t dripping wet.
- Section your hair. Use clips to divide your hair into 4-6 manageable sections. This ensures even coverage.
- Apply from ends to roots. Your ends are the oldest and usually most damaged part of your hair, so they need the most attention.
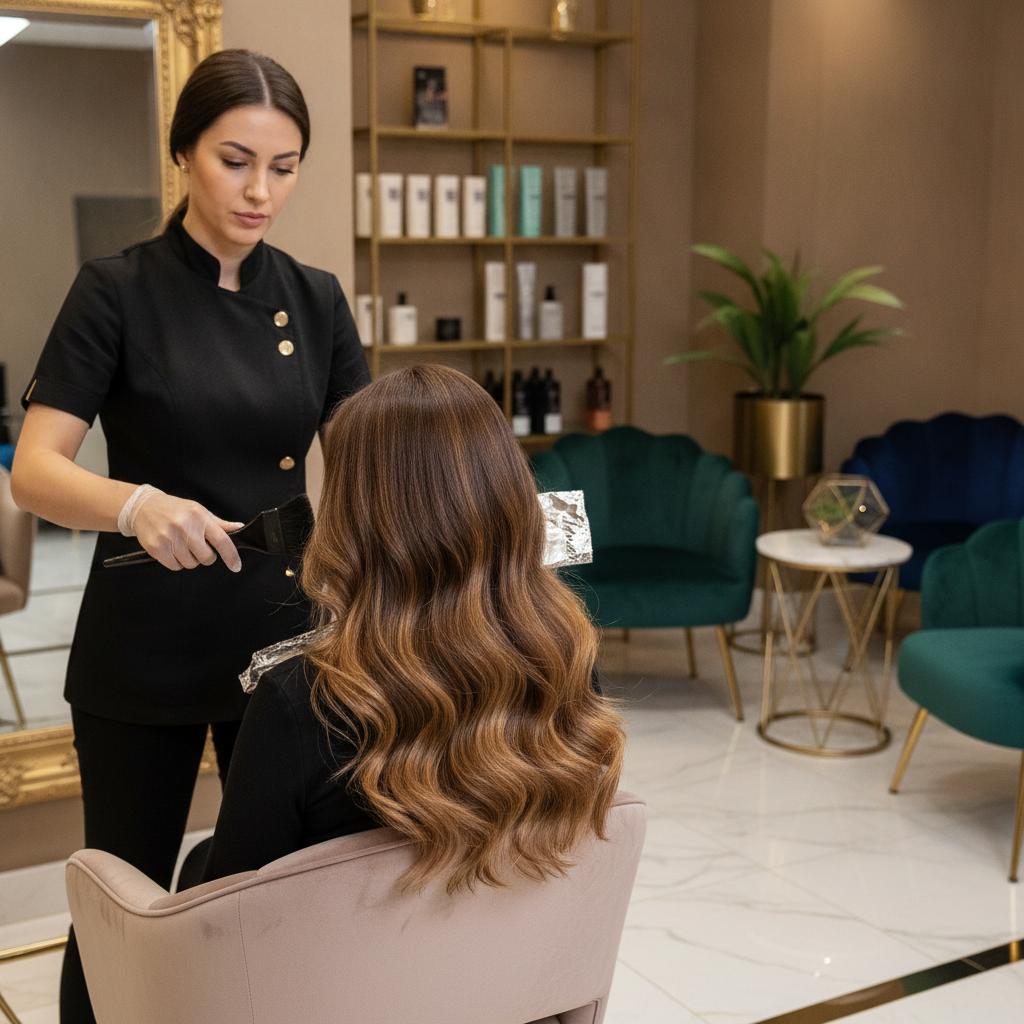
- Use a tool. A dye brush can help with precise application, especially for scalp treatments. For length, your fingers work just fine.
- Comb it through. Use a wide-tooth comb to gently distribute the mask evenly through your strands.
- Add gentle heat. Trap heat by covering your hair with a shower cap or a warm towel. This helps open the cuticles and allows the ingredients to penetrate more deeply.
- Rinse thoroughly. Use lukewarm or cool water to rinse the mask out completely to prevent buildup.
Troubleshooting: buildup, greasiness and breakage
Sometimes your DIY hair mask might not give you the results you expected. Here’s how to fix common issues.
- My hair feels greasy or weighed down: This is a common issue for fine or low porosity hair. The cause is likely too much oil or not rinsing thoroughly enough. Try using less oil in your recipe, focusing application on the ends only, or using a lighter formula like the aloe vera hydrator. Ensure you are rinsing with lukewarm water until your hair feels clean.
- My hair feels stiff or brittle: You may be experiencing protein overload. This happens when there’s too much protein and not enough moisture, making the hair rigid. Cut back on protein-rich masks (egg, yogurt) and focus on purely moisturizing treatments (avocado, honey, aloe) until your hair feels soft again.
- I see more breakage after the mask: If your hair is very fragile, the manipulation of applying the mask can cause some shedding. Be extra gentle, use a wide-tooth comb, and never pull or tug at your hair while the mask is in. Breakage could also be a delayed sign of protein overload.
FAQ — quick answers to common concerns
Can I leave a DIY hair mask on overnight?
Pure oil treatments are generally safe to leave on overnight. However, masks containing acidic ingredients (lemon, ACV) or protein (egg, yogurt) should not be left on for more than the recommended time, as they can cause irritation or damage.
Should I apply my DIY hair mask to wet or dry hair?
For most masks, applying to clean, damp (towel-dried) hair is best. This allows for maximum absorption without the mask being diluted by excess water. The exception is a pre-shampoo oil treatment, which is best applied to dry hair.
How do I get thick masks like avocado or banana out of my hair?
The key is to blend the ingredients until they are completely smooth. A blender is your best friend here! When rinsing, use your fingers to rake through your hair under running water before reaching for shampoo.
Can a DIY hair mask fix split ends?
No product can permanently “fix” split ends—the only true solution is a trim. However, a nourishing DIY hair mask can temporarily seal the ends, improve their appearance, and help prevent new splits from forming by keeping the hair moisturized and strong.
Sources and further reading
For those interested in the science behind hair care, these resources provide evidence-based information on nutrition, scalp health, and ingredient safety.
- Hair Nutrition Research: Explore studies on the role of vitamins and minerals in hair health via the National Center for Biotechnology Information.
- Scalp Health Guidance: Find expert advice on common scalp conditions from the Mayo Clinic.
- Ingredient Safety and Labeling: Learn about how cosmetic ingredients are regulated by the U.S. Food and Drug Administration.